What is Pages CMS?
Pages CMS is a free, open-source content management system that works directly with your Git repository. It allows non-technical users to edit website content in a simple web interface, no need to touch code, Git, or Markdown directly.
The online version of Pages CMS makes setup easy: you don’t need to self-host, and everything stays in sync with your repo automatically. Though if you want to, you can self-host it easily.
How does it work?
Pages CMS works by connecting directly to your GitHub repository. Instead of storing content in a separate database, it edits the Markdown (or other content) files that already live inside your repo.
Here’s the flow:
-
User edits content A user logs into Pages CMS and edits text, images, or metadata through a clean web interface.
-
Pages CMS commits changes When they hit save, Pages CMS creates a commit in your GitHub repository, just like a developer would.
-
Your site rebuilds Since your hosting provider (like Netlify or Vercel) is watching the repo, any new commit automatically triggers a rebuild and deployment.
-
Updated site goes live The updated content appears on the live website, with no developer involvement required.
In short: Pages CMS acts as a Git-based editor for your content. It gives users a friendly UI, while you still keep the simplicity and power of a fully static site.
Setup Pages CMS
This is quite easy.
-
Sign In with your GitHub account here.
-
Then you will be prompted to add an account.

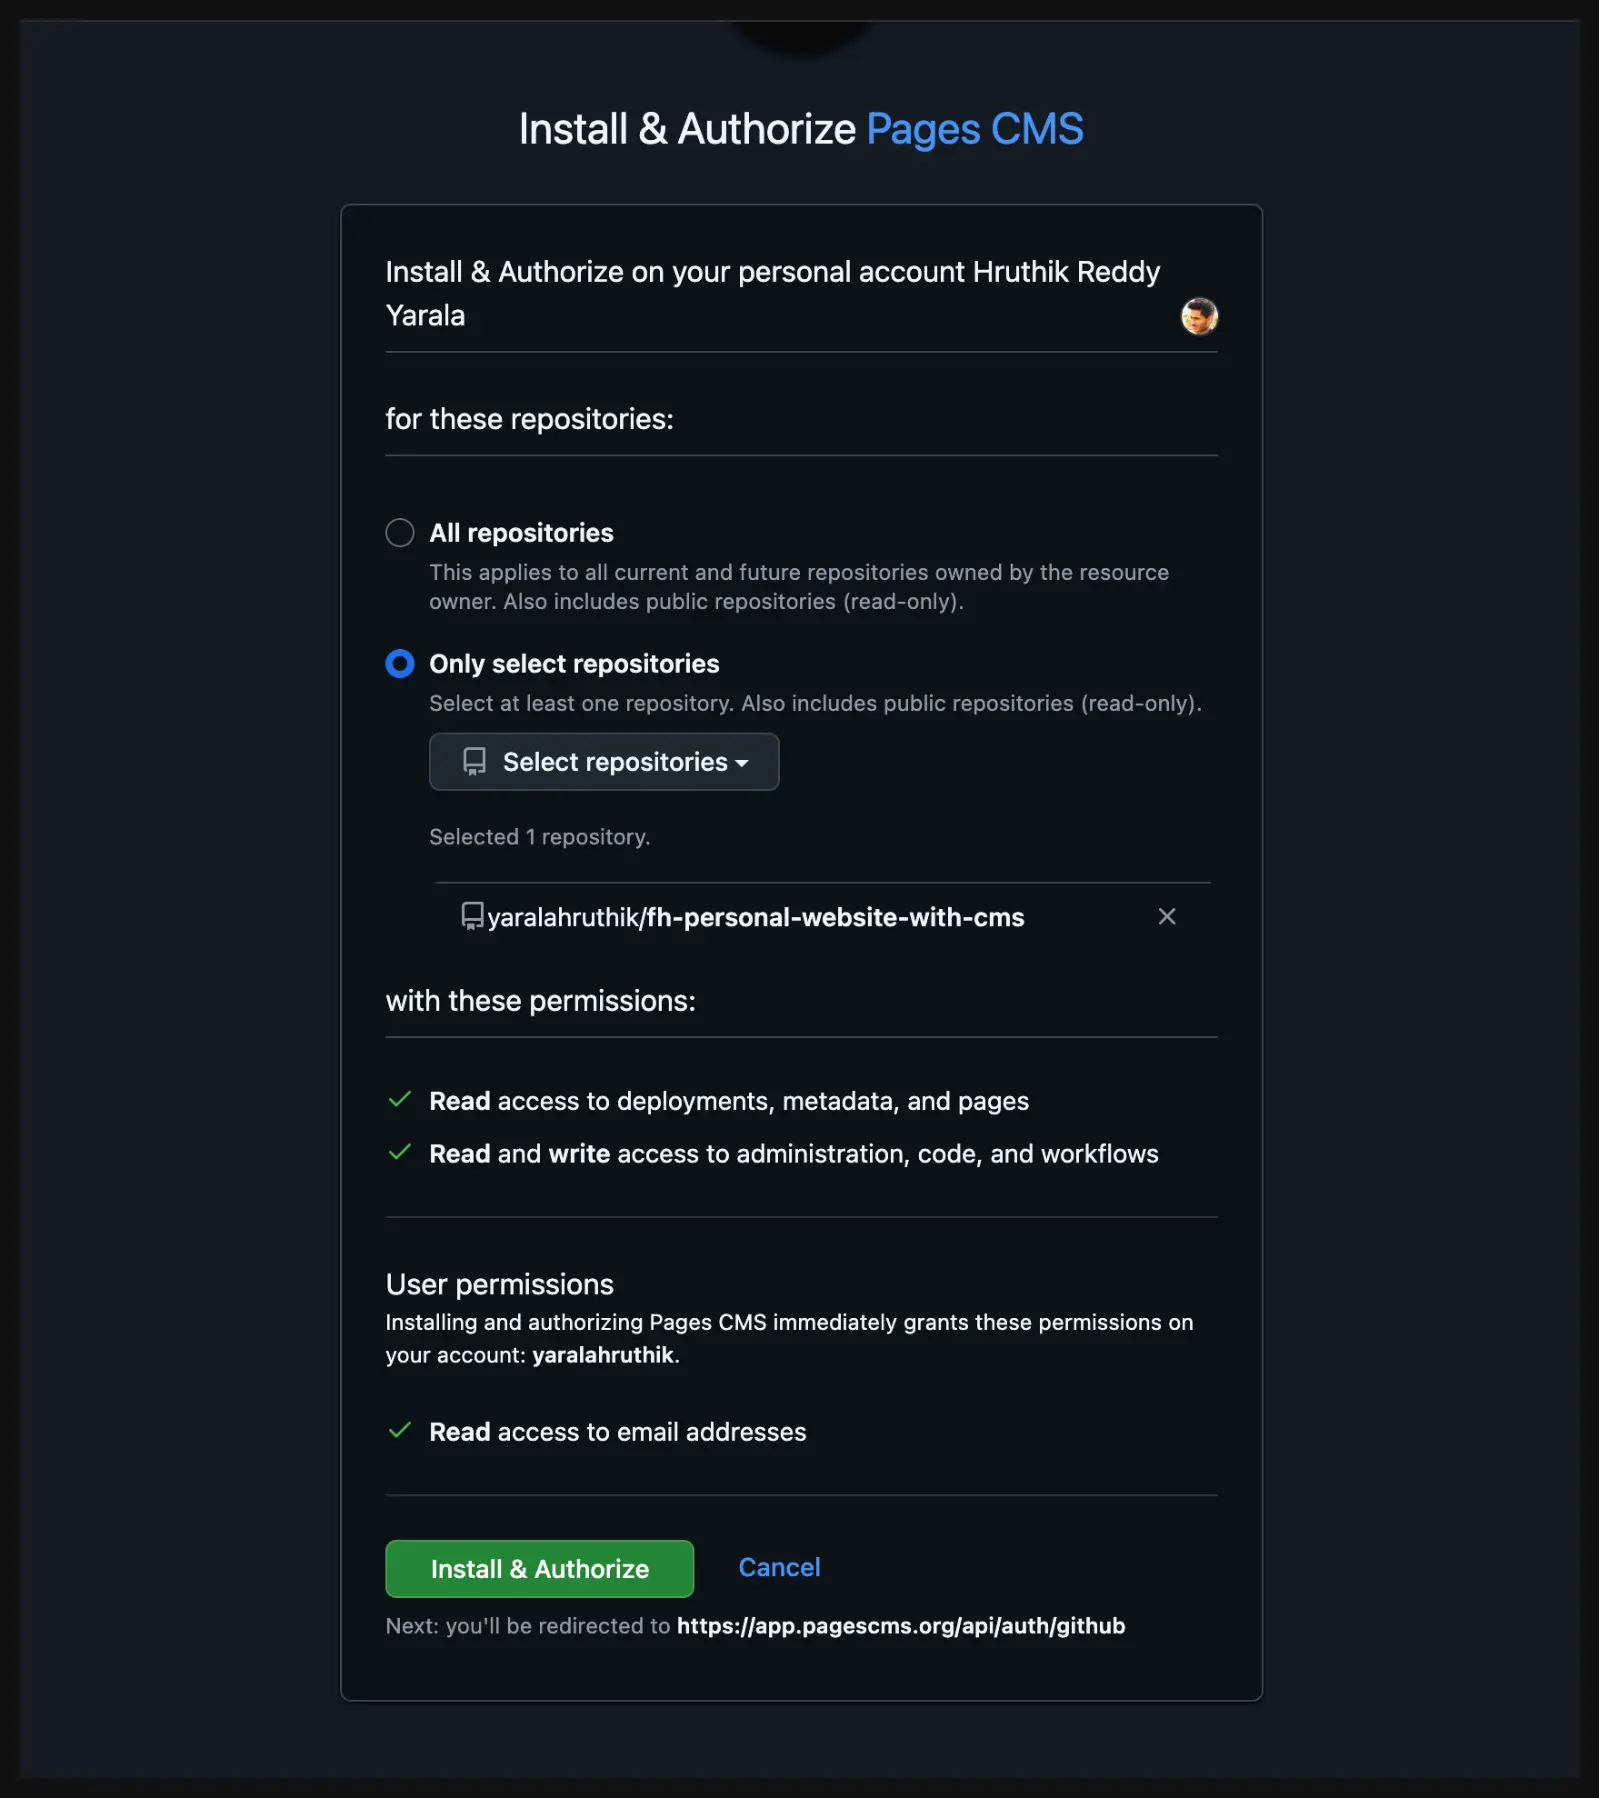
- Choose the account where you want to install the Pages CMS client. (This is safe!)
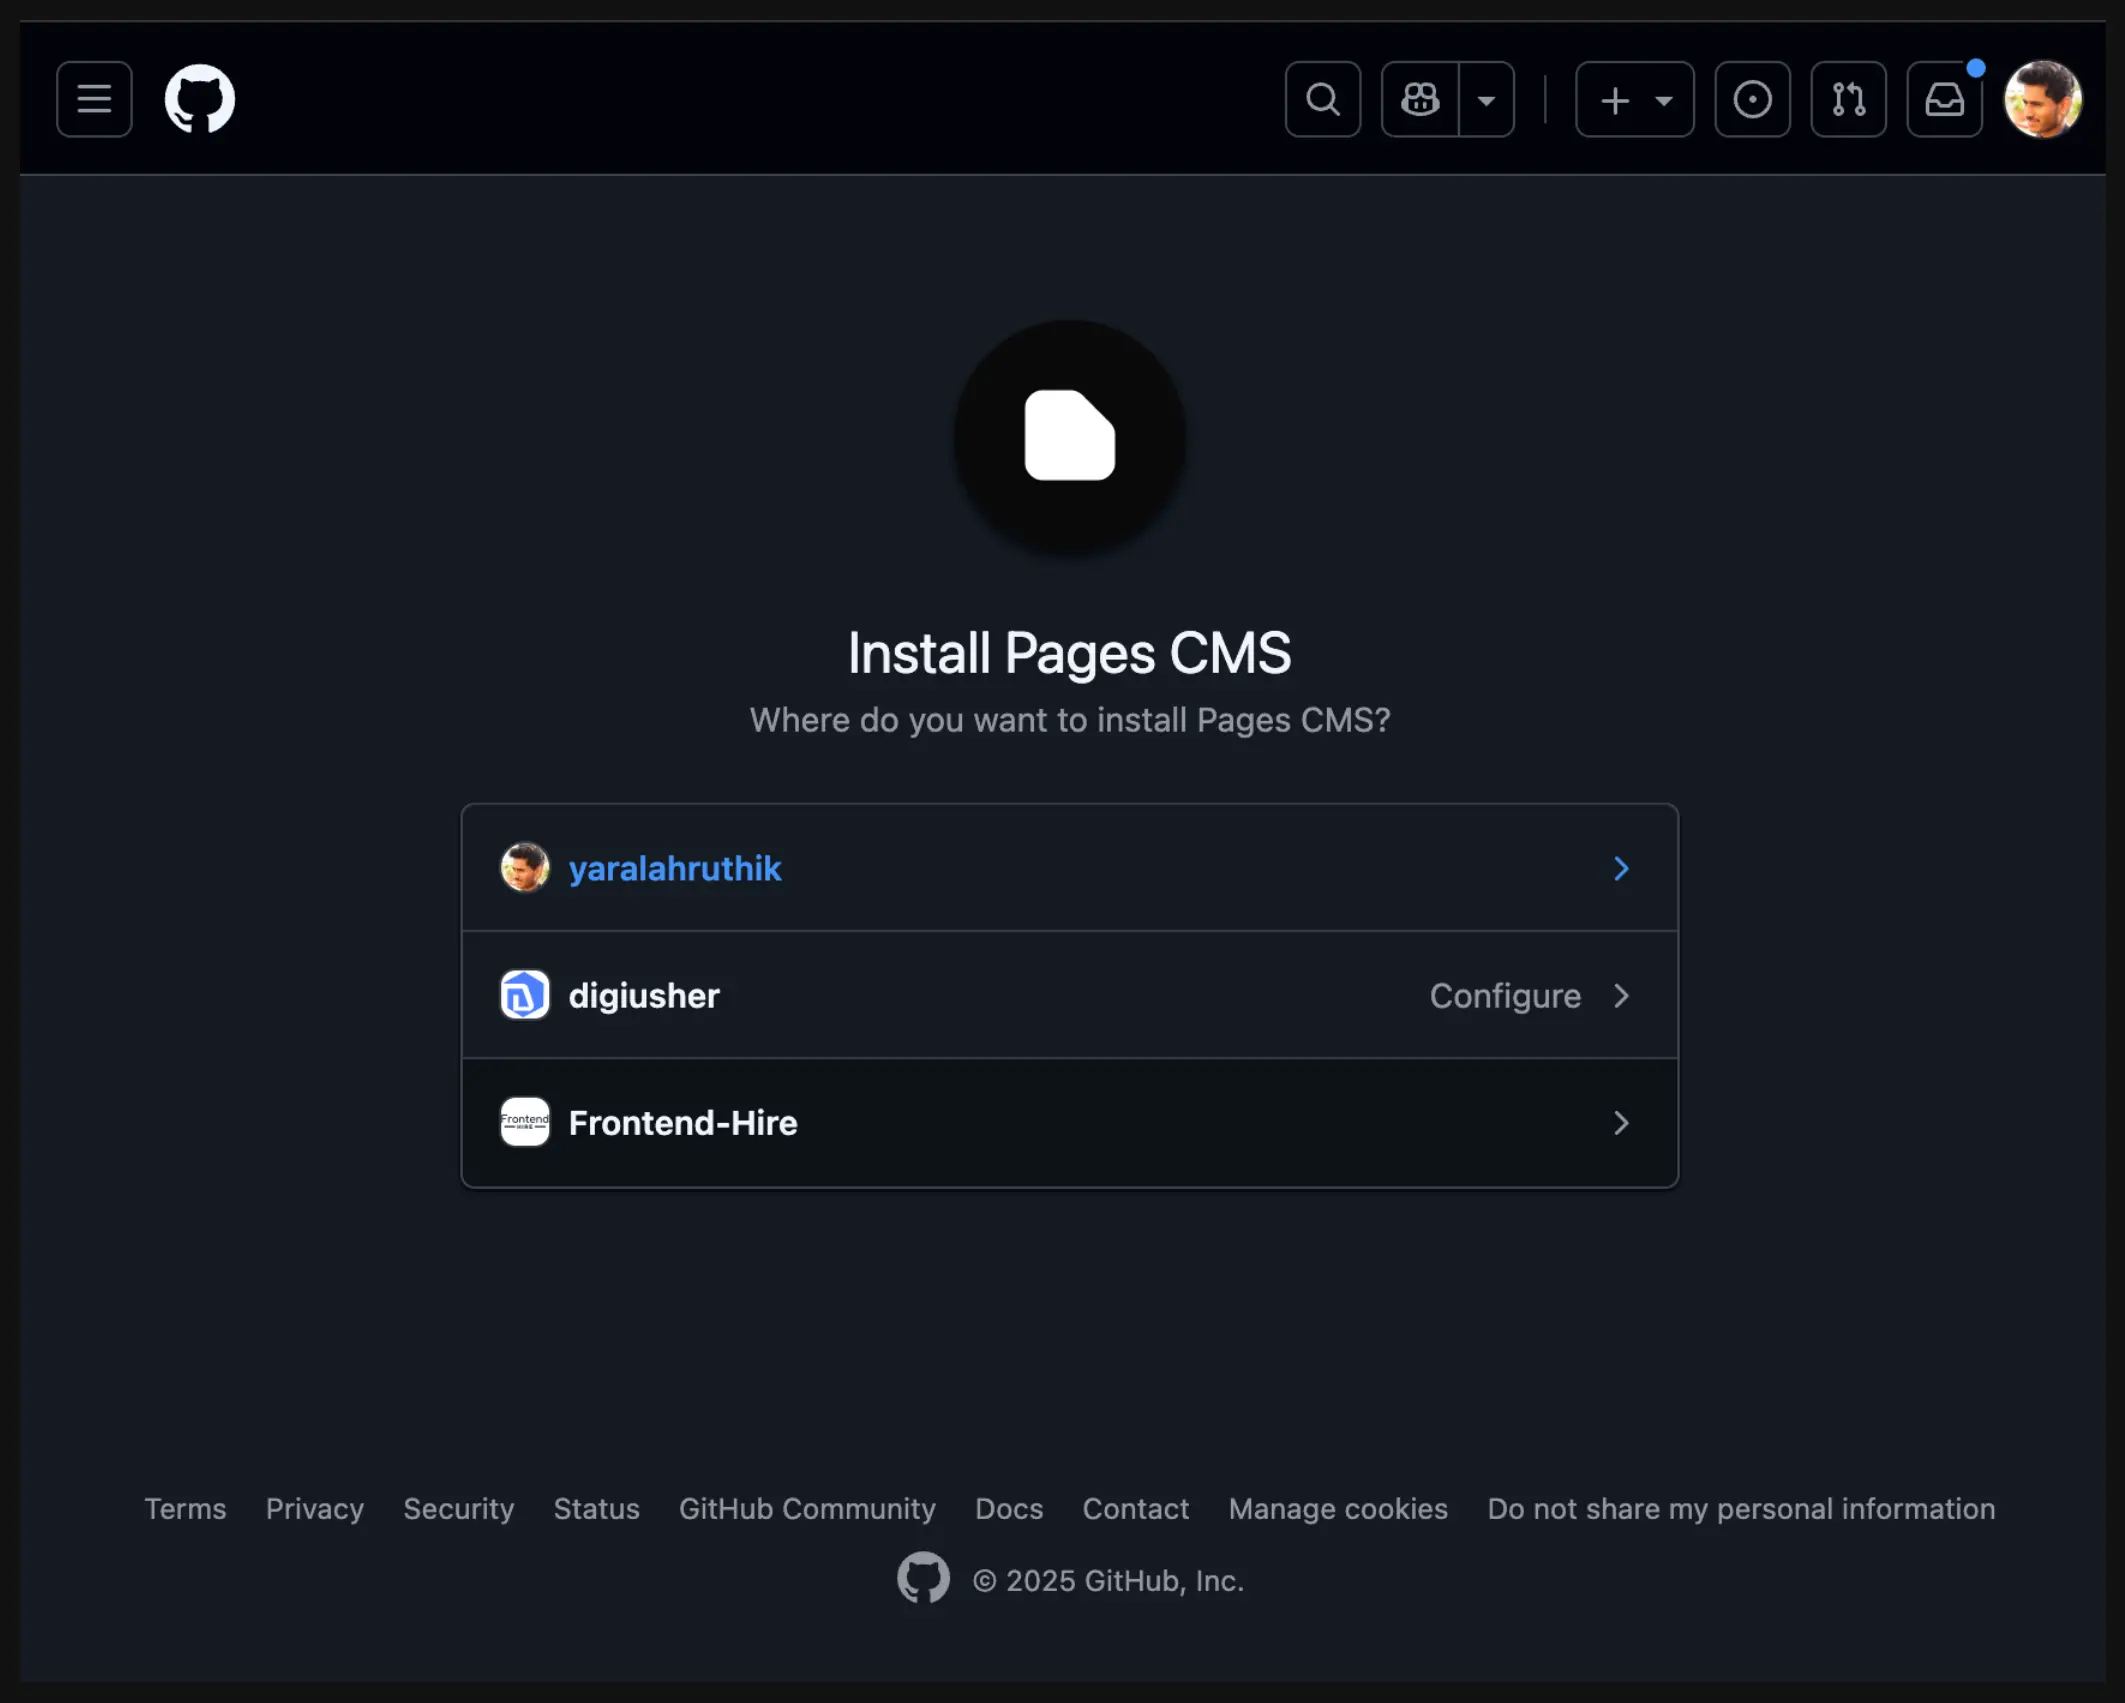
- But ideally, only install it for select repositories for better security. (Highly recommended!)
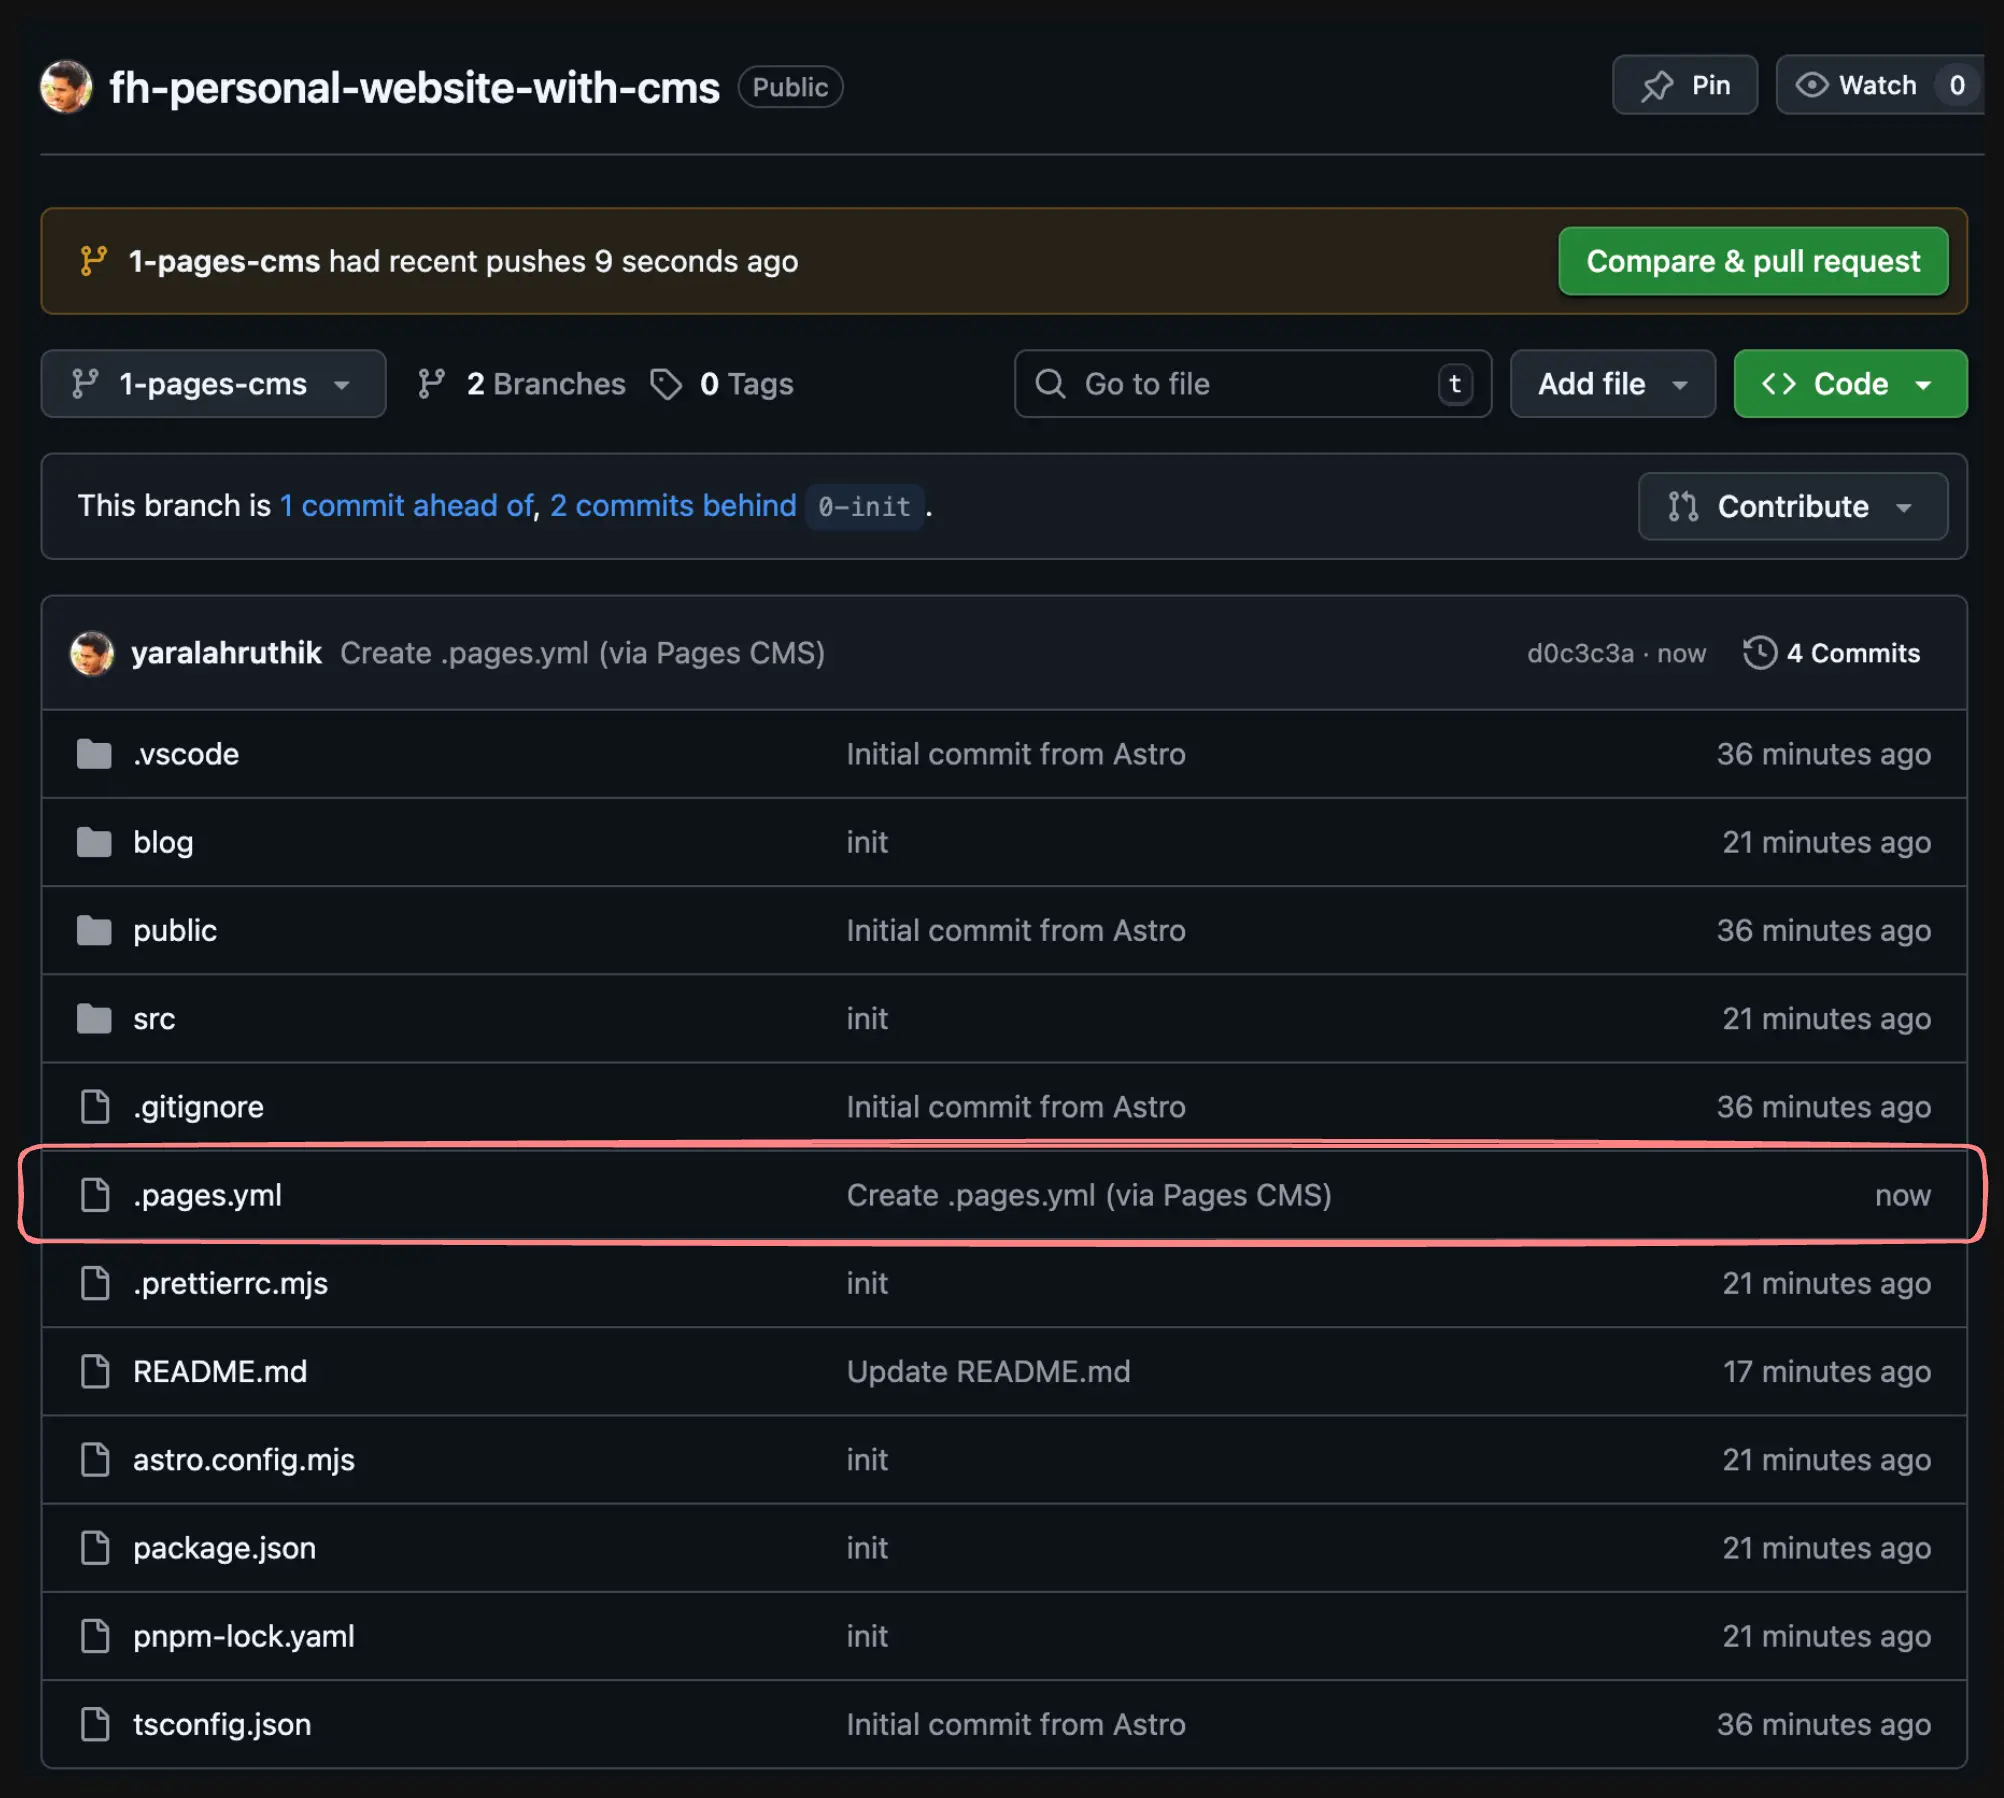
- After installing the Pages CMS app, you will land up on a page asking you to create a configuration file. By the way, if you want to do this on a different branch you can do that by selecting the dropdown with your account to top-left.

- The moment you click on the "Create a configuration file", it creates a file and commits it to the repo.
Astro project structure
Let us quickly have a look at how our Astro project is structured.
blog
assets
node_modules
public
src
components
layouts
pages
styles
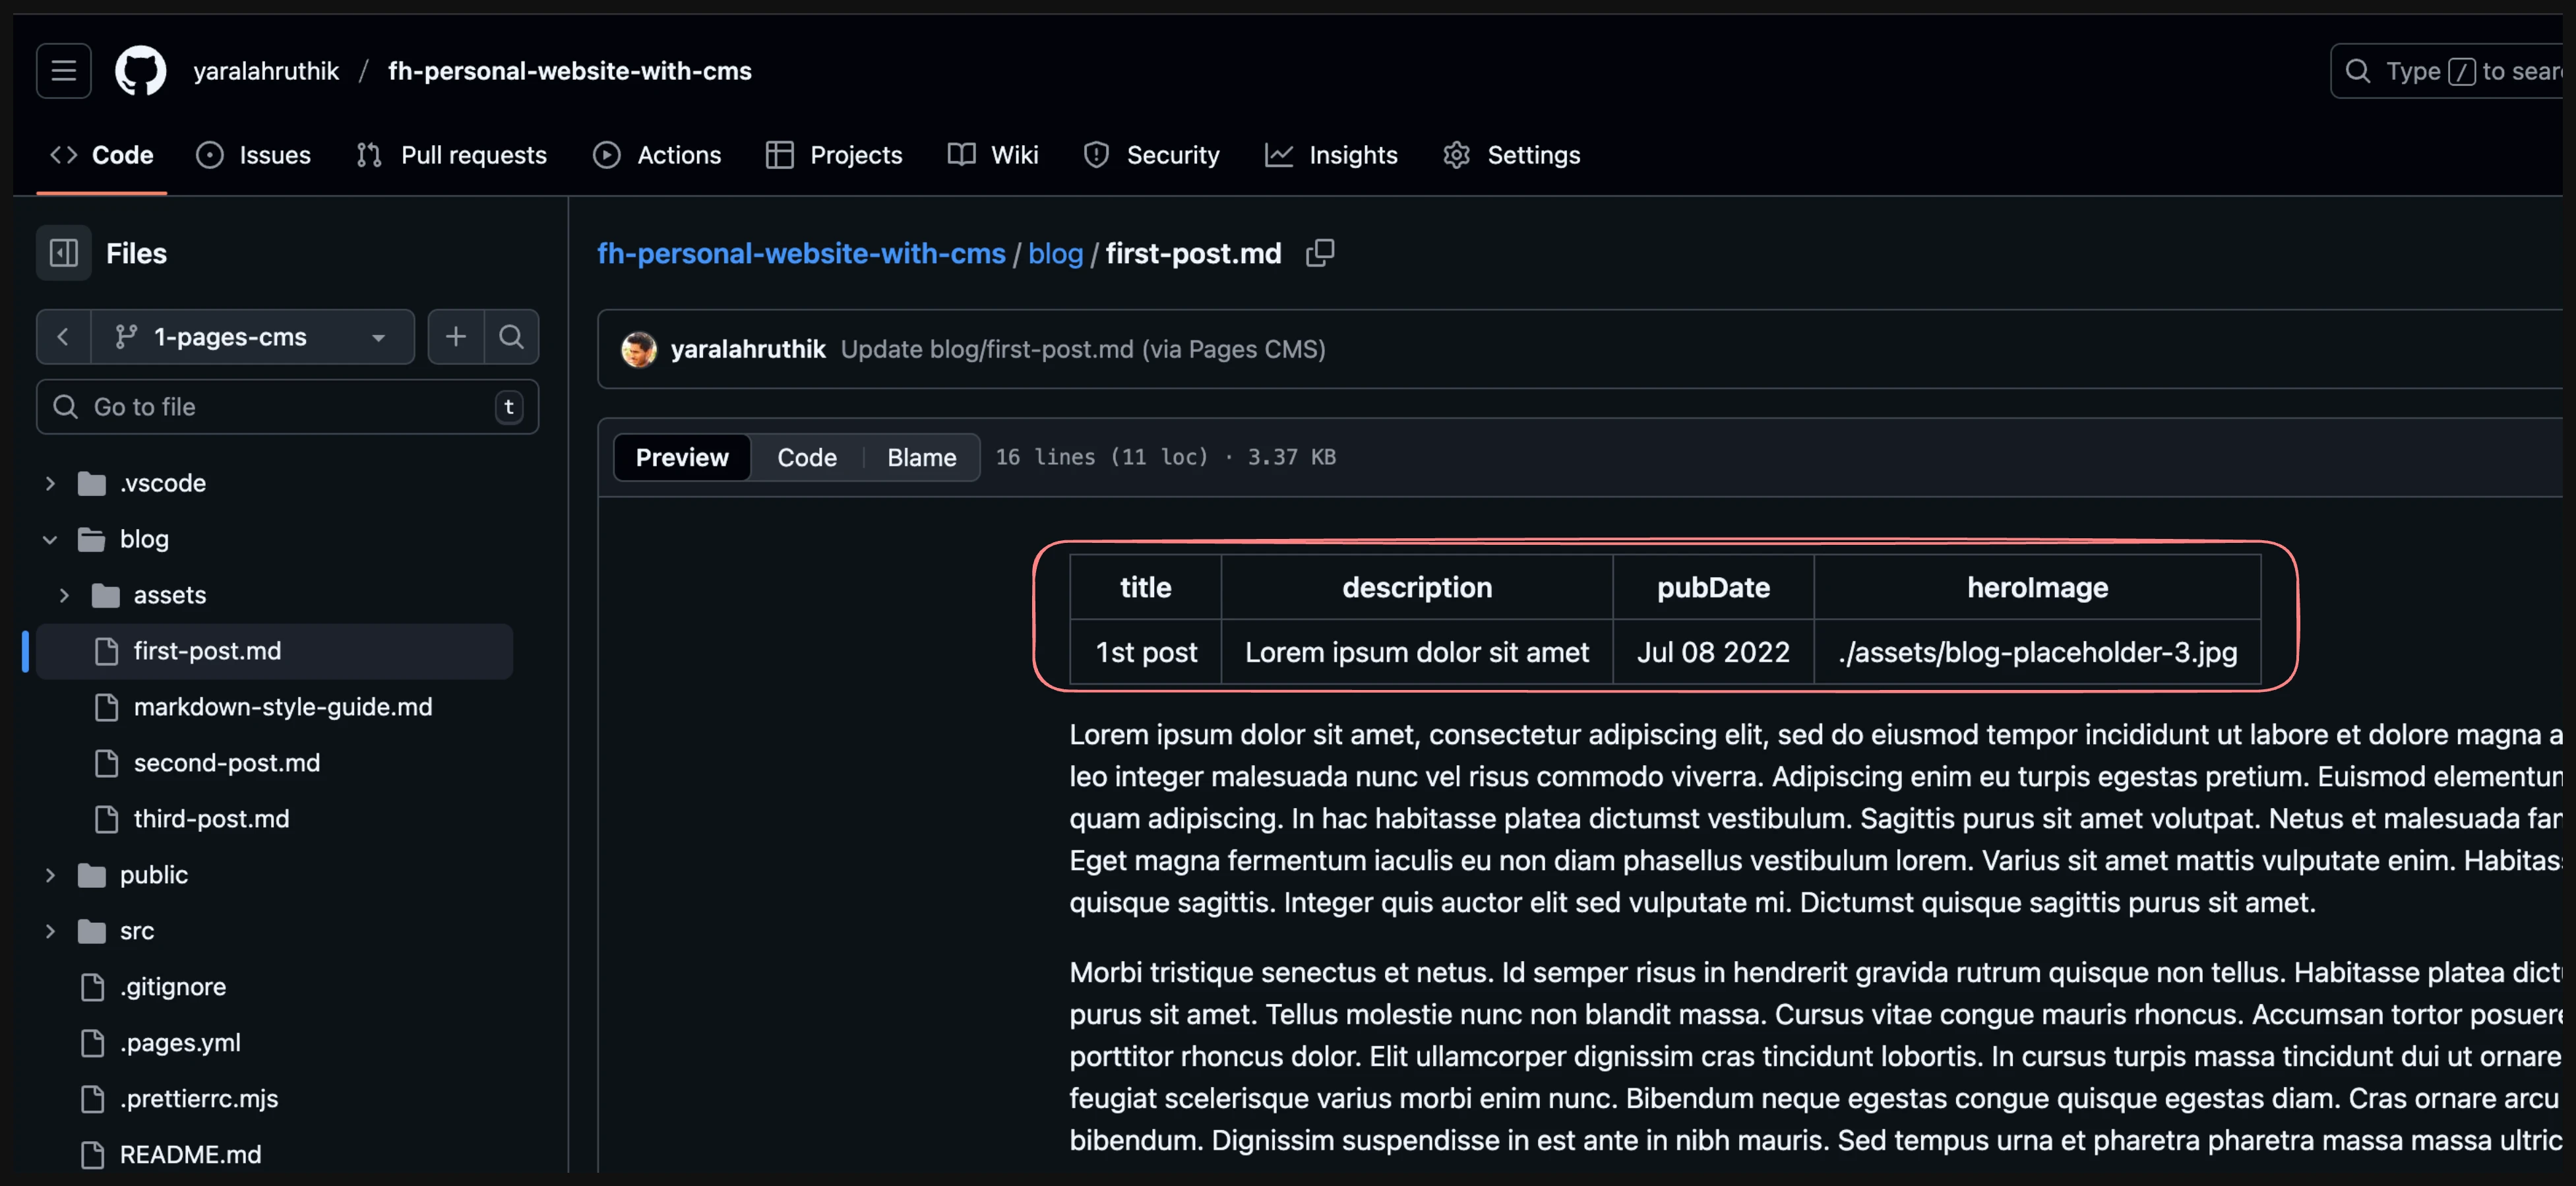
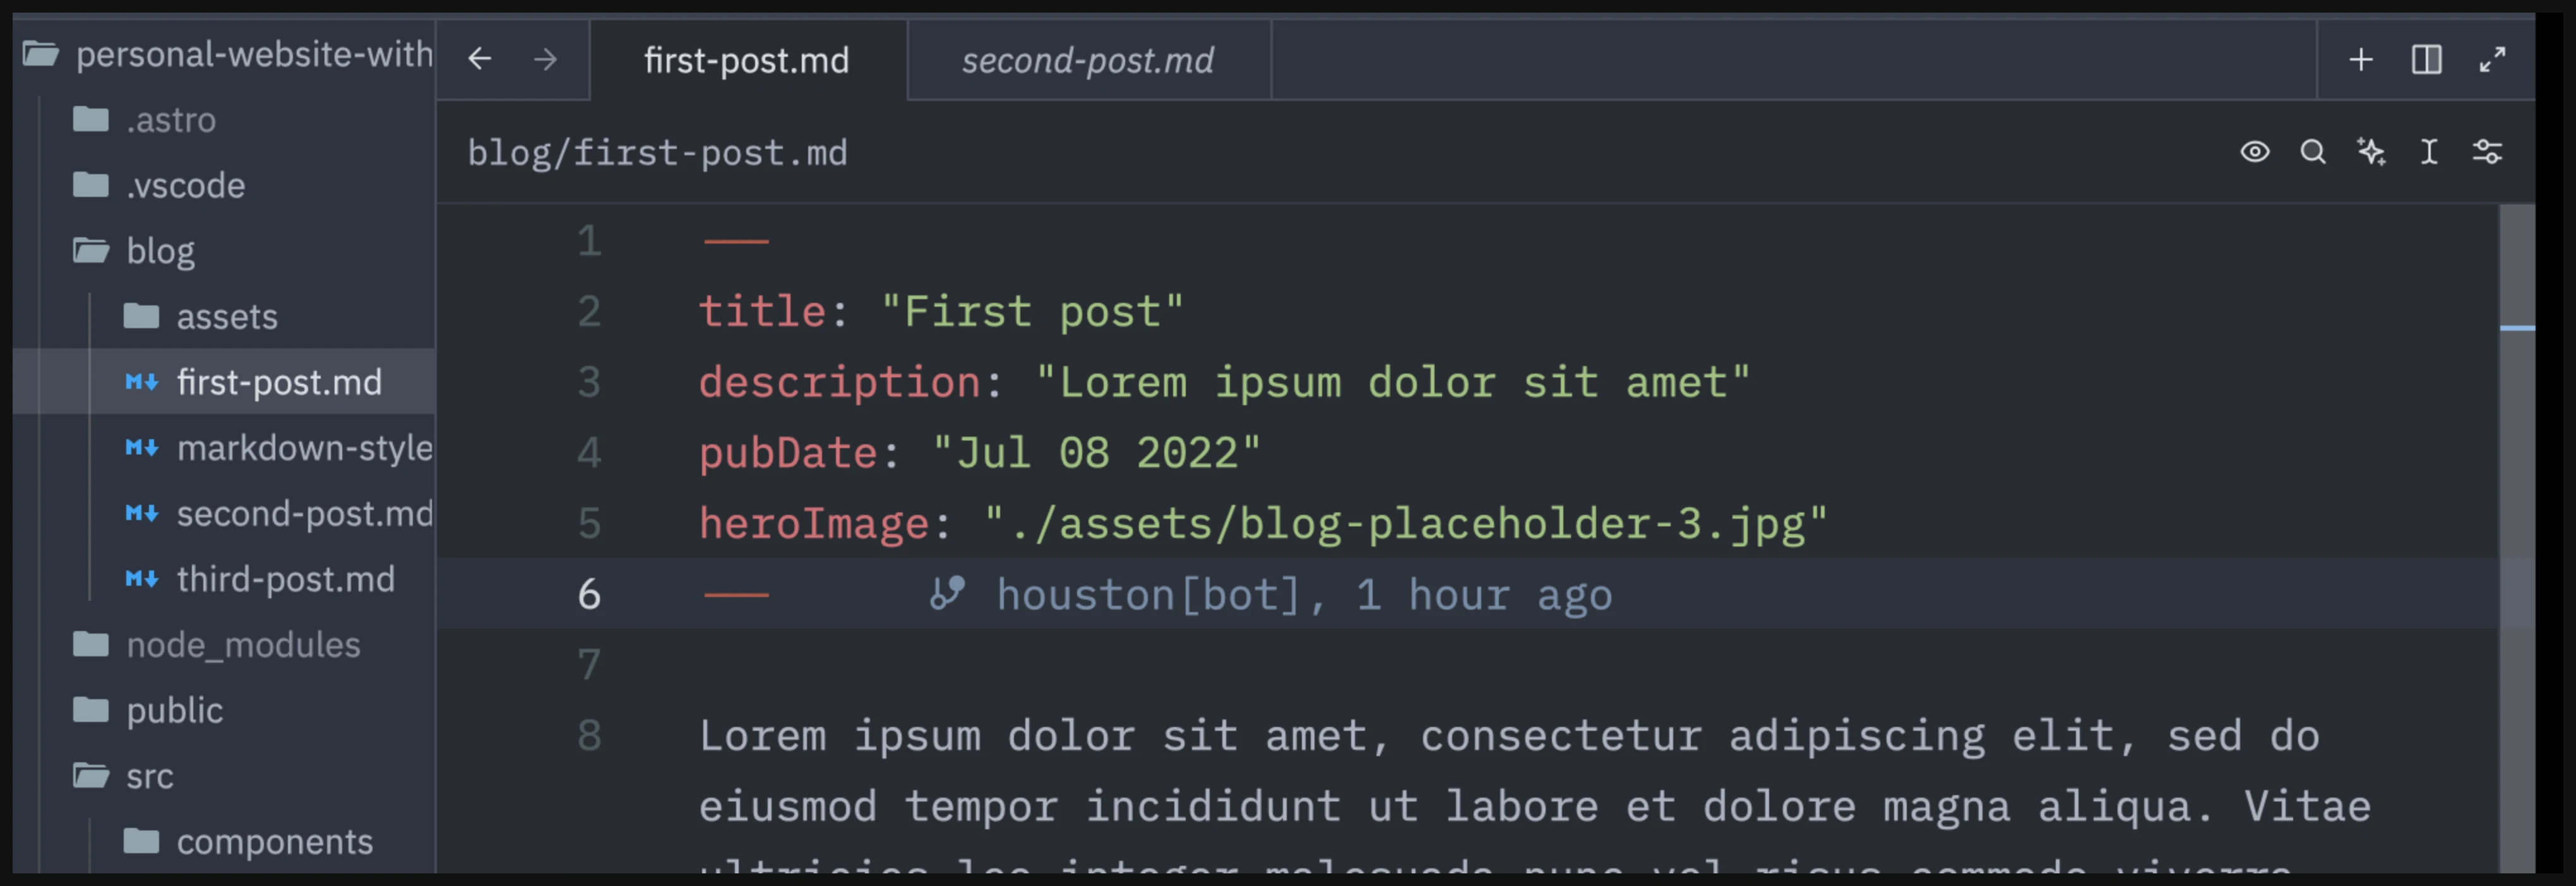
The "blog" content is at the root of the repository. This folder holds our assets (images) and individual blog posts as markdown files. You can quickly check out the structure of each blog post or have a look at the content.config.ts, this is an Astro feature that helps provide better type-safety with your content.
---
title: 'First post'
description: 'Lorem ipsum dolor sit amet'
pubDate: 'Jul 08 2022'
heroImage: './assets/blog-placeholder-3.jpg'
---

Lorem ipsum dolor sit amet, consectetur adipiscing elit, sed do eiusmod tempor incididunt ut labore et dolore magna aliqua. Vitae ultricies leo integer malesuada nunc vel risus commodo viverra. Adipiscing enim eu turpis egestas pretium. Euismod elementum nisi quis eleifend quam adipiscing. In hac habitasse platea dictumst vestibulum. Sagittis purus sit amet volutpat. Netus et malesuada fames ac turpis egestas. Eget magna fermentum iaculis eu non diam phasellus vestibulum lorem. Varius sit amet mattis vulputate enim. Habitasse platea dictumst quisque sagittis. Integer quis auctor elit sed vulputate mi. Dictumst quisque sagittis purus sit amet.import { glob } from 'astro/loaders';
import { defineCollection, z } from 'astro:content';
const blog = defineCollection({
loader: glob({ base: 'blog', pattern: '**/*.{md,mdx}' }),
schema: ({ image }) =>
z.object({
title: z.string(),
description: z.string(),
pubDate: z.coerce.date(),
heroImage: image().optional(),
}),
});
export const collections = { blog };These files should help you understand our blog posts structure.
We will now setup Pages CMS to work with this structure. We can do this with configuration file.
.pages.yml configuration file
Let us first try to have a look at our assets (images in this case) through Pages CMS.
Media
- We tell Pages CMS, the location of our Media (assets) with
input, and the relative path with theoutput(we will talk more aboutoutputsoon).
media:
  input: blog/assets
  output: assets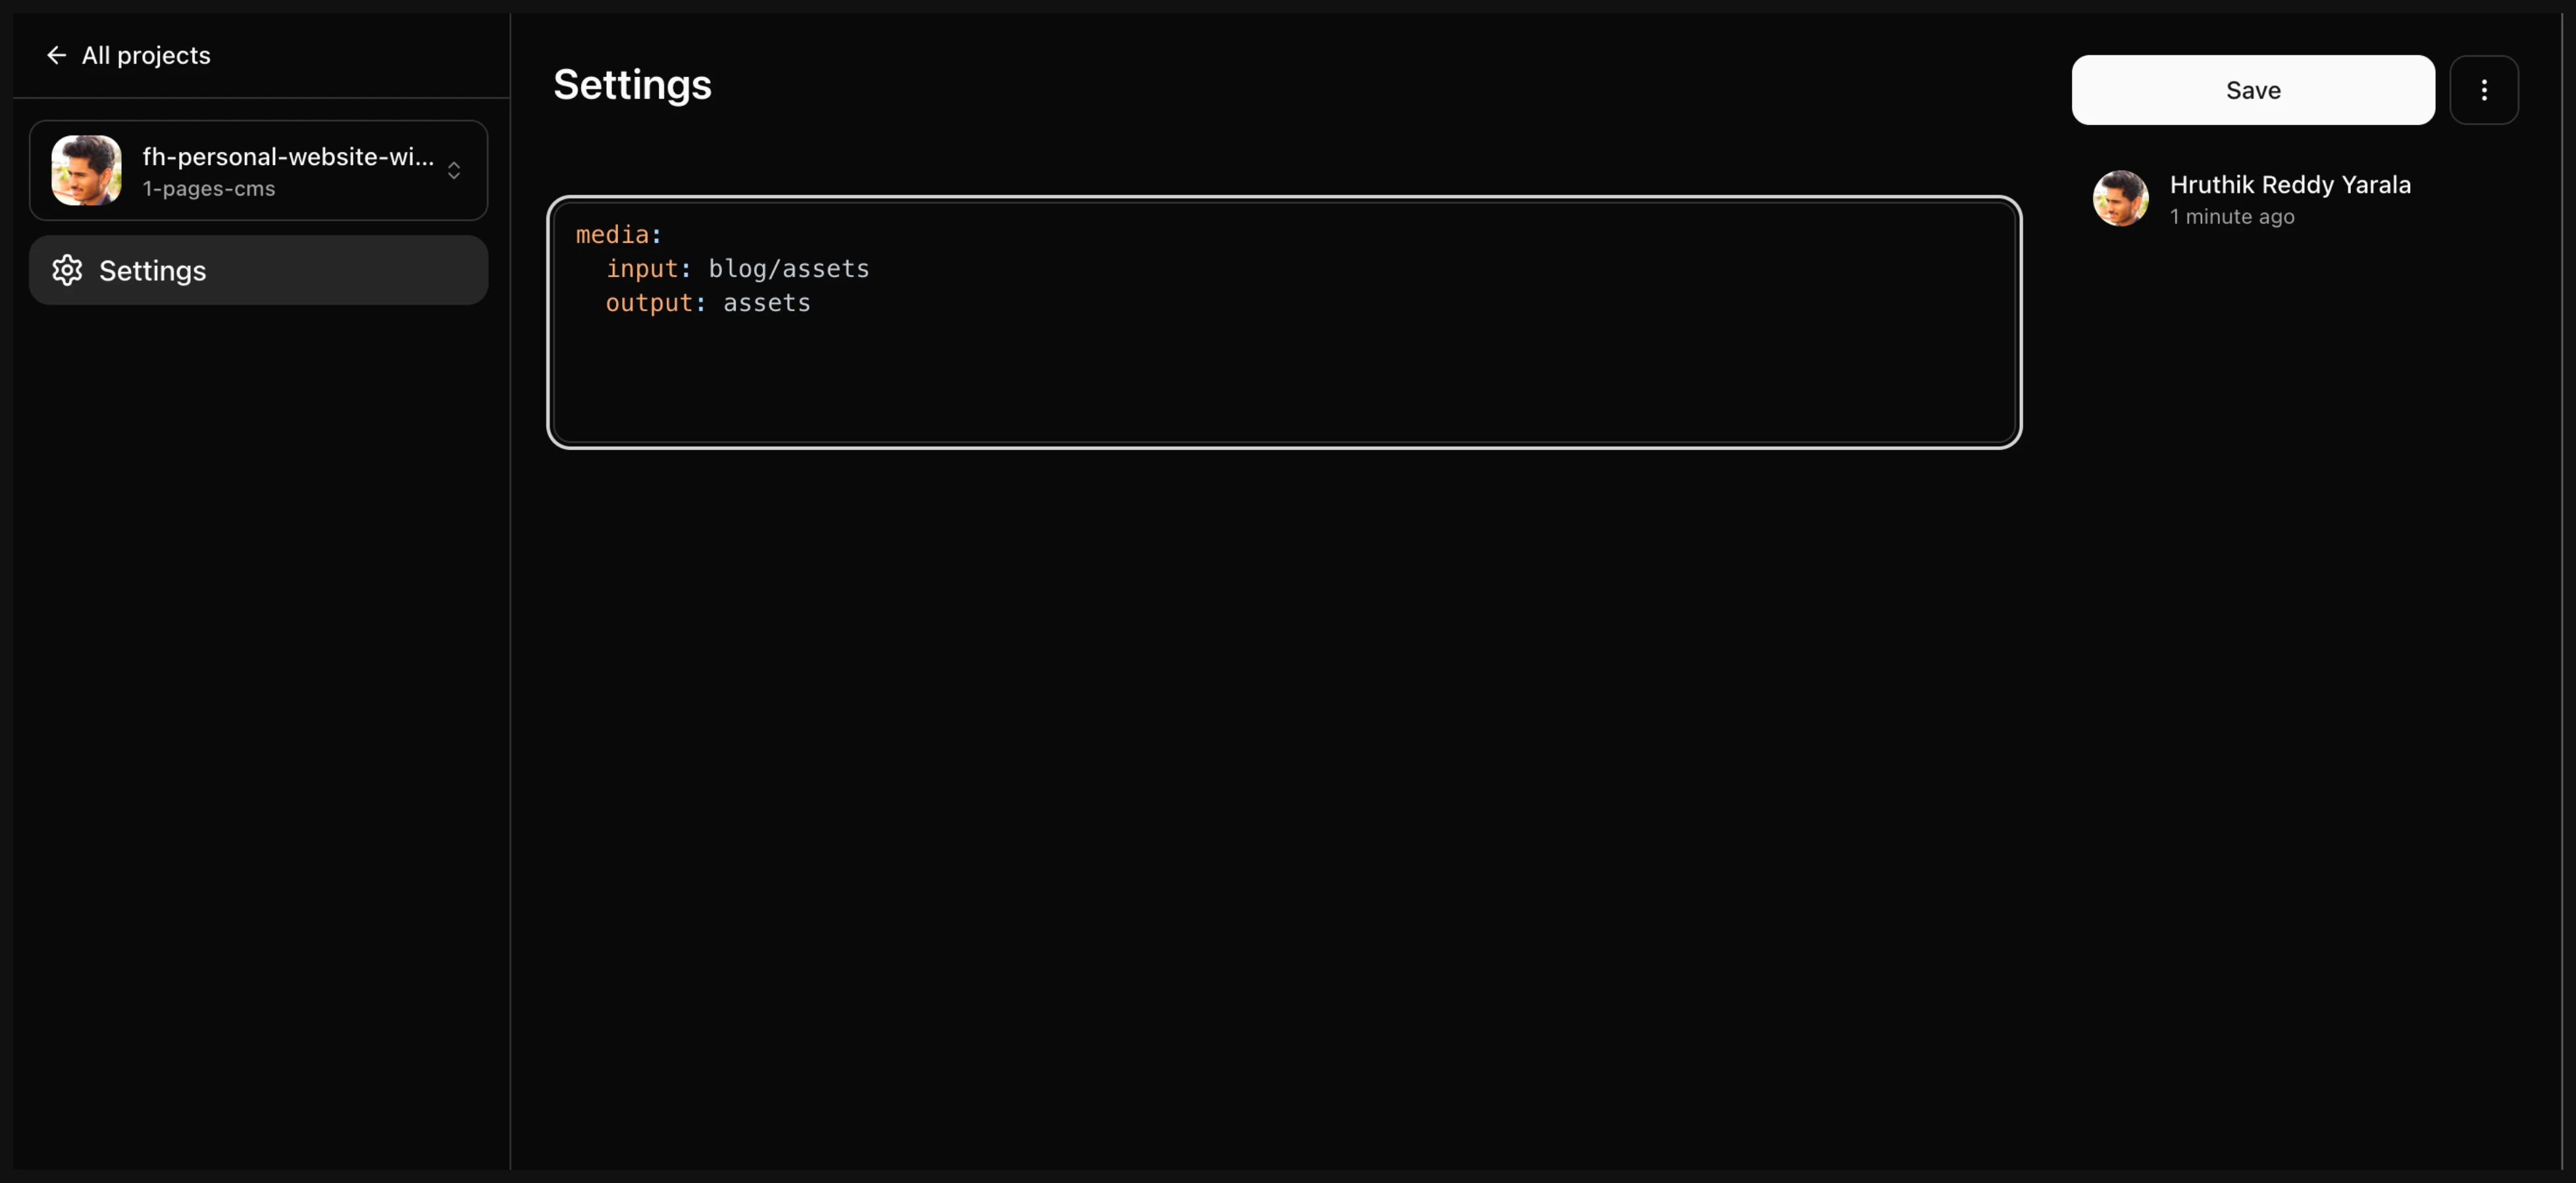
- Save, and you should immediately see a
Mediatab on the dashboard.
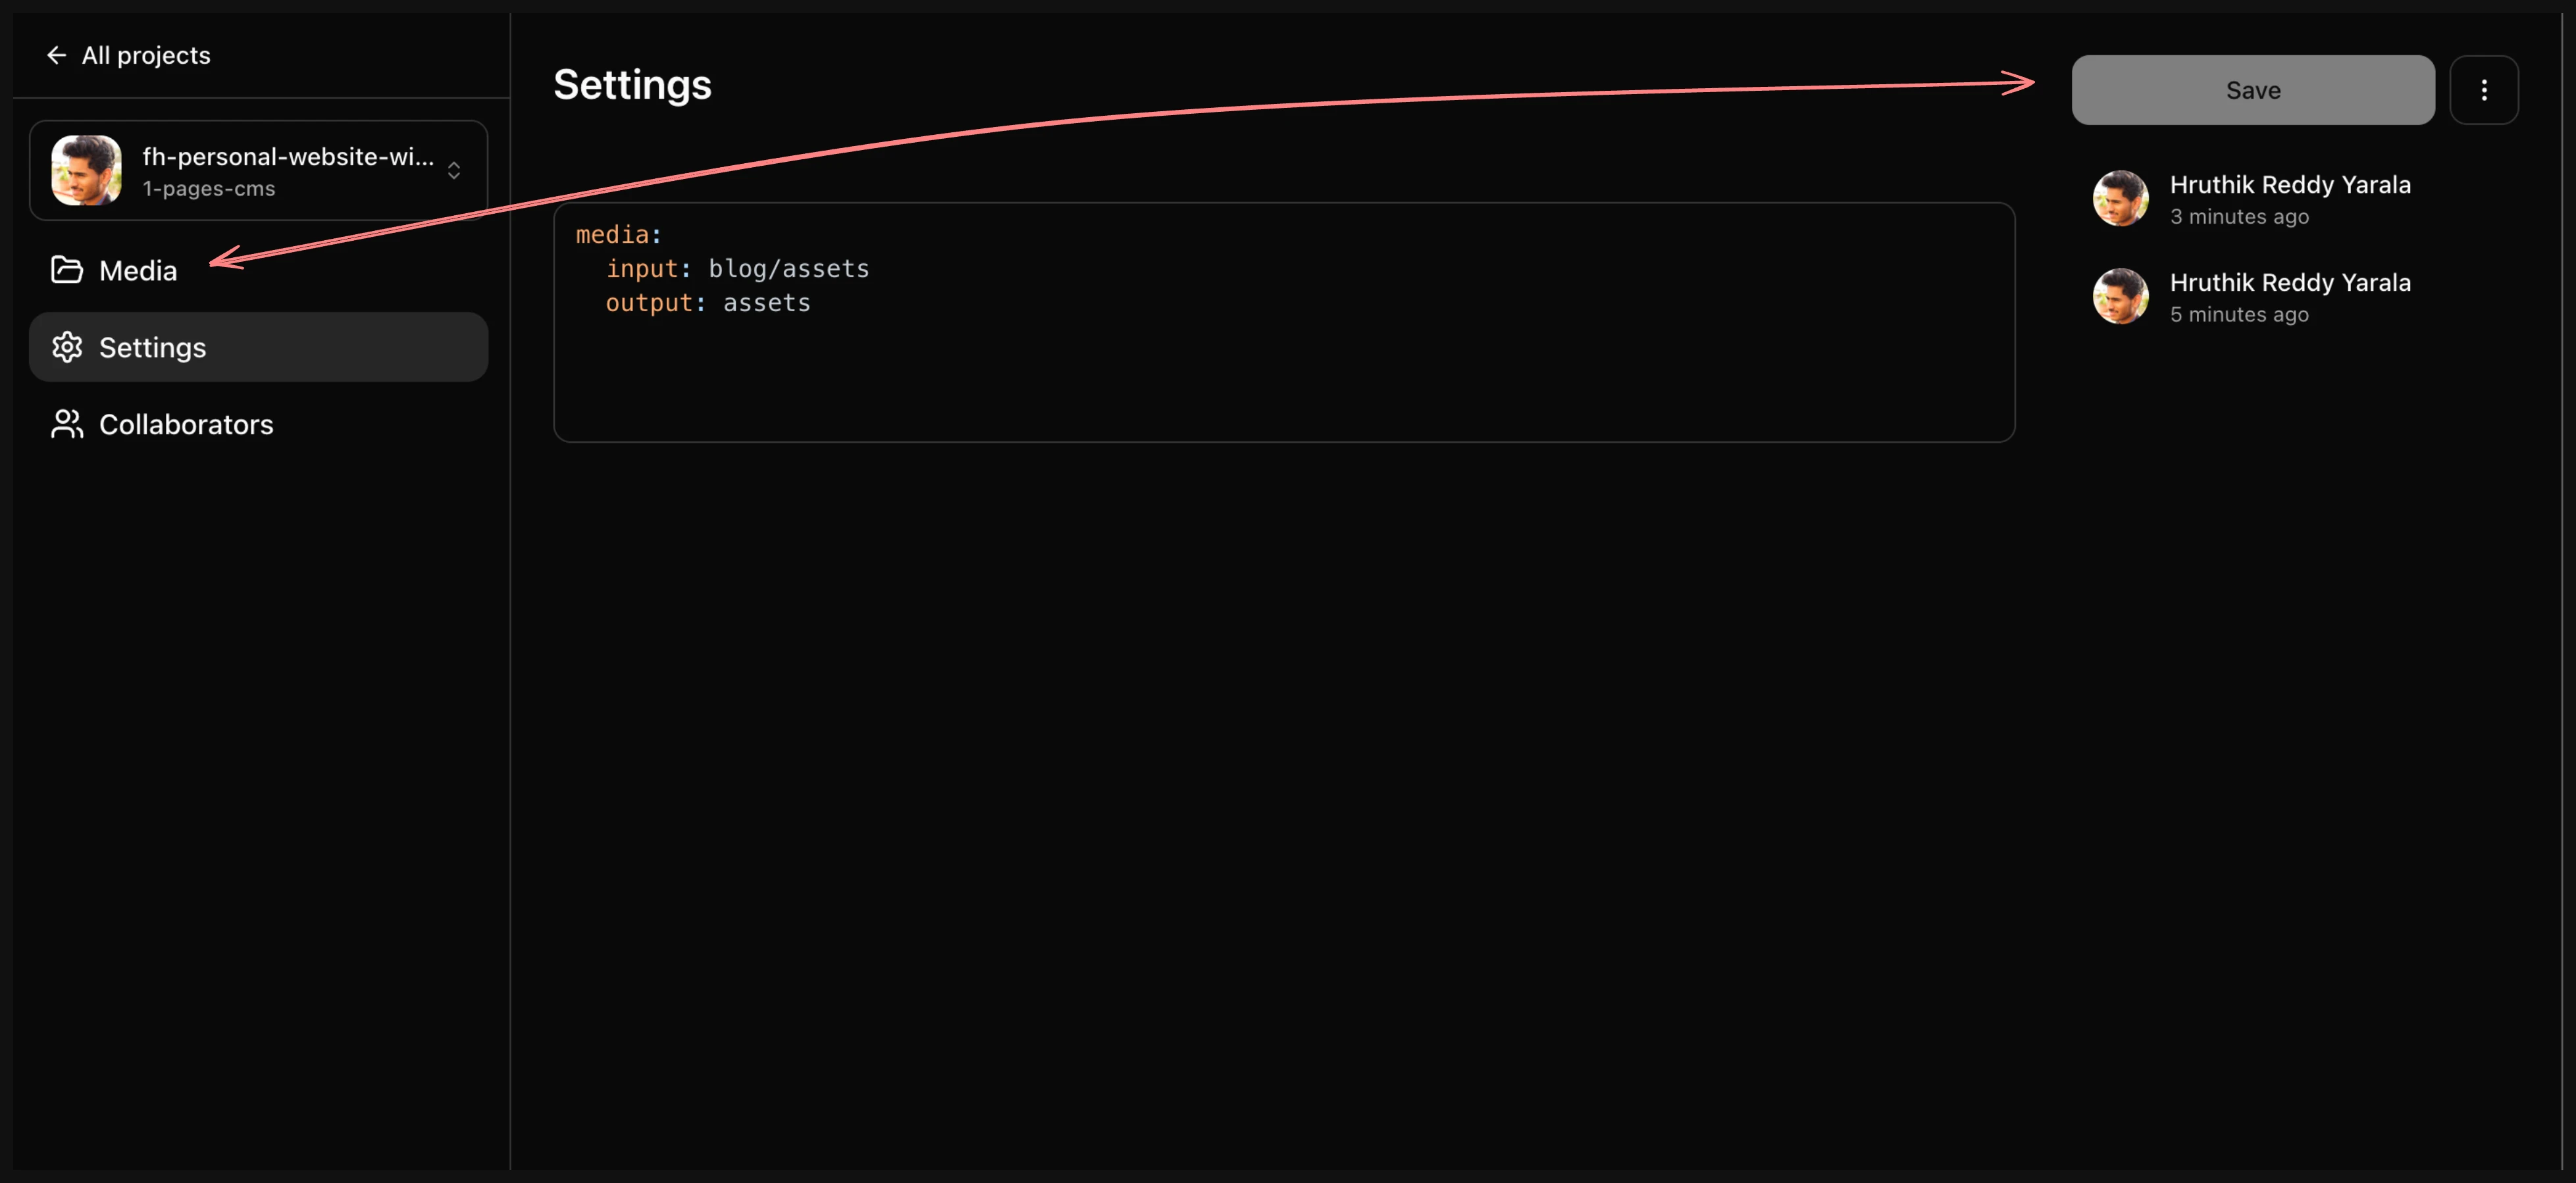
- Check the
Mediatab out and you will see all the assets you have in the repo.

So, you should be getting the idea of how Pages CMS works. Let us now try to also wire up the actual content.
Content
- Just like our
mediasetup, we will add a new keycontentin our settings.
media:
  input: blog/assets
  output: assets
content:
  - name: posts
    type: collection
    path: blog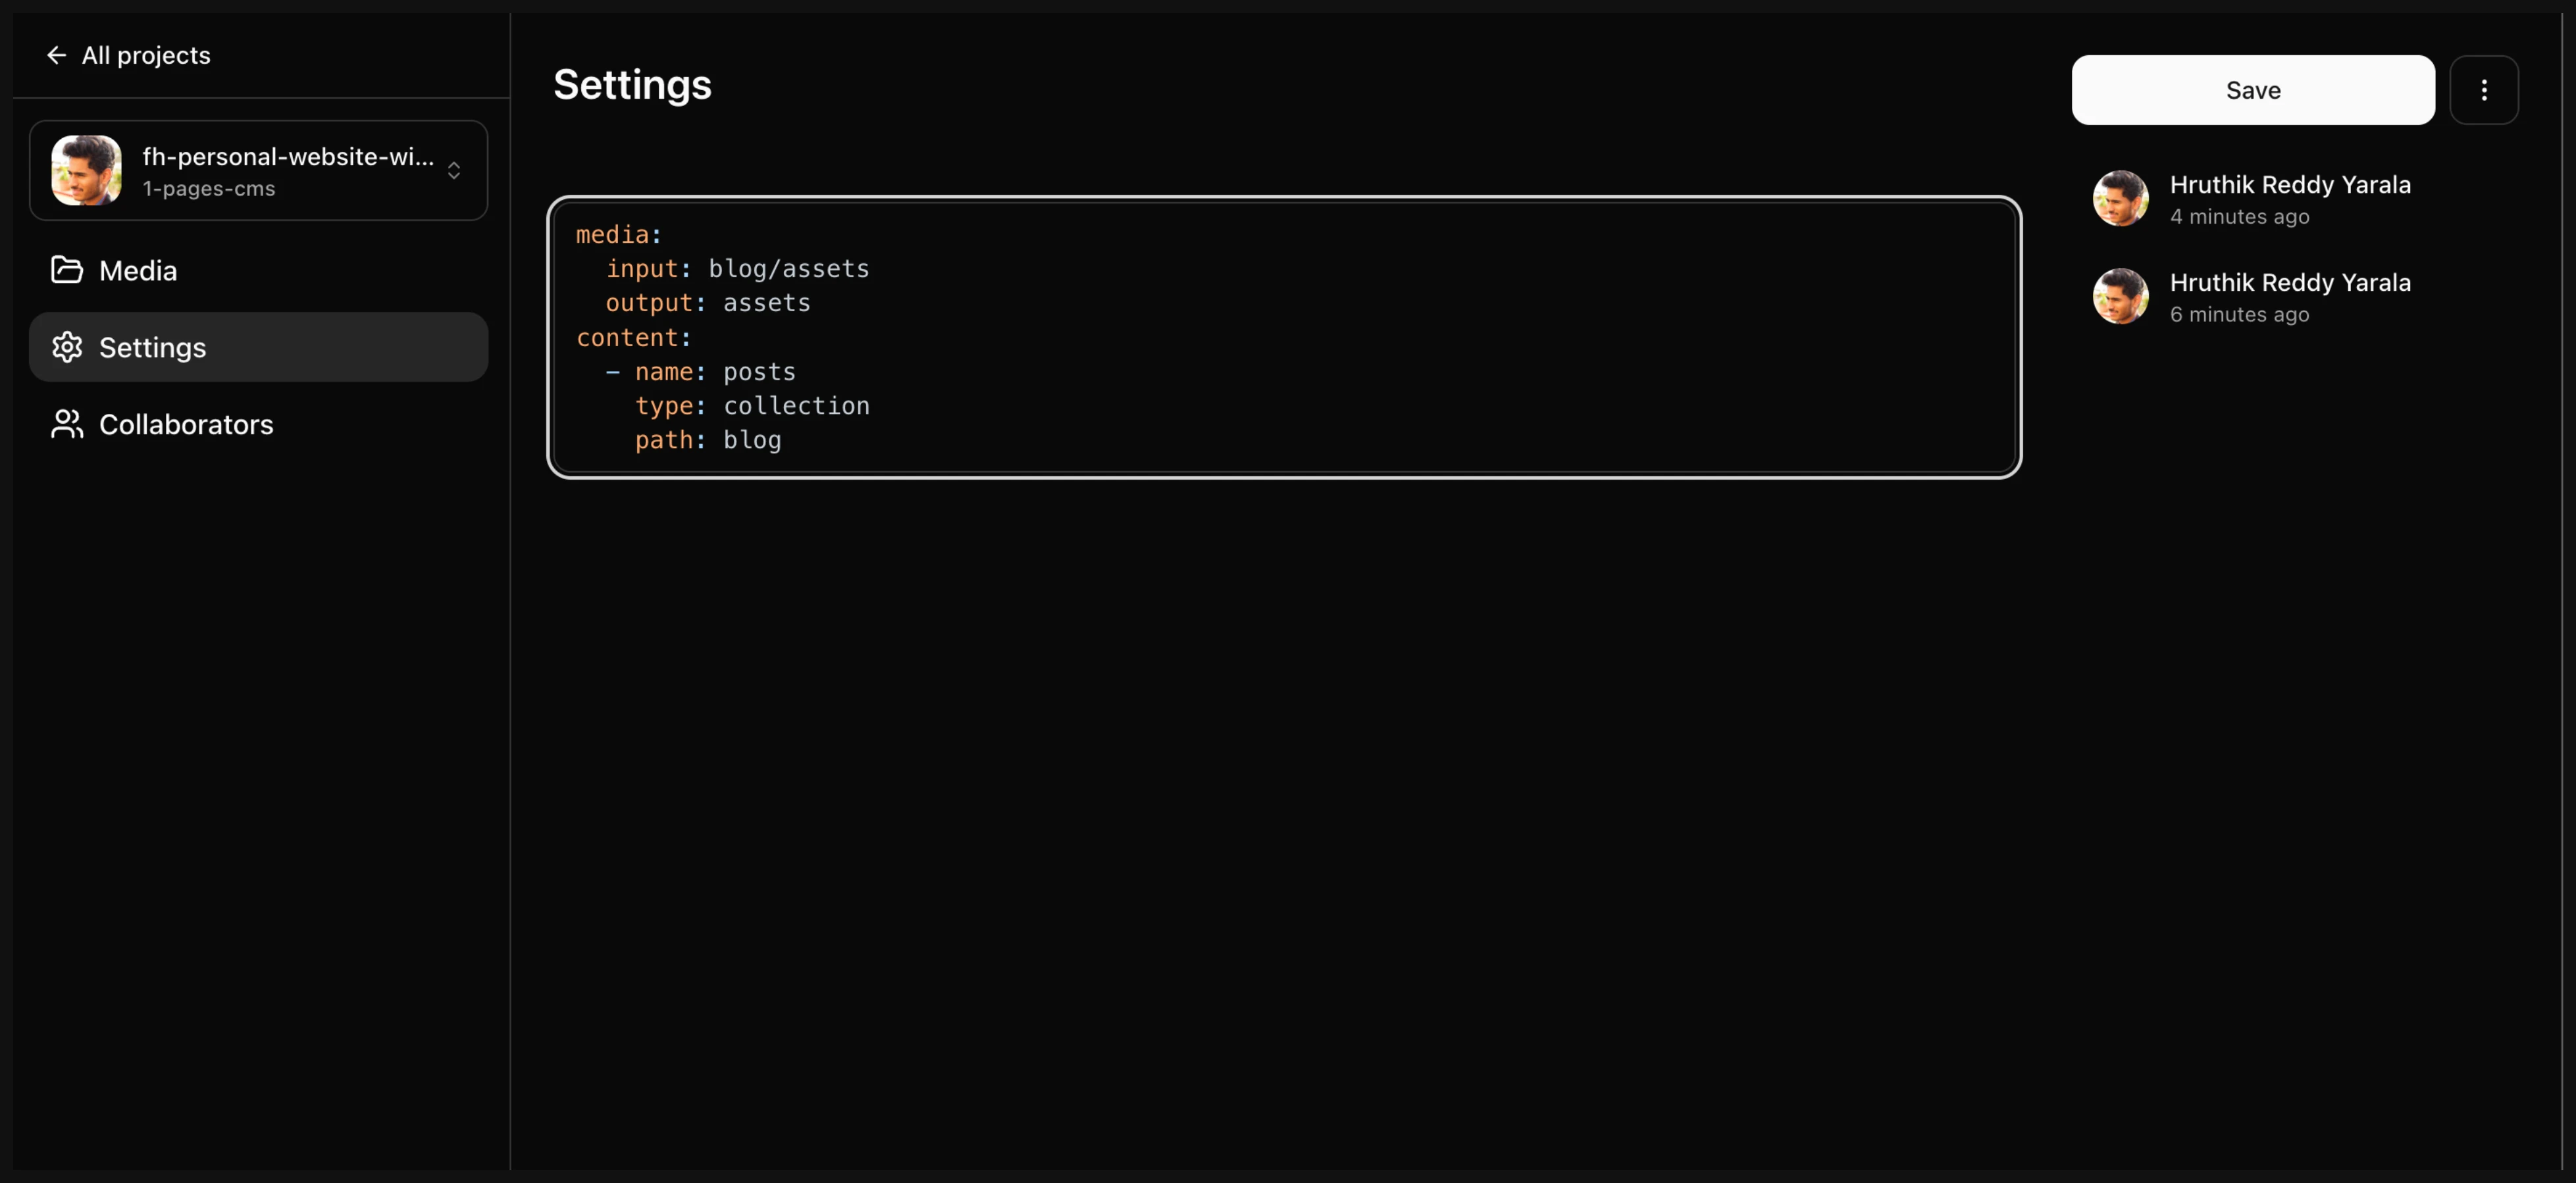
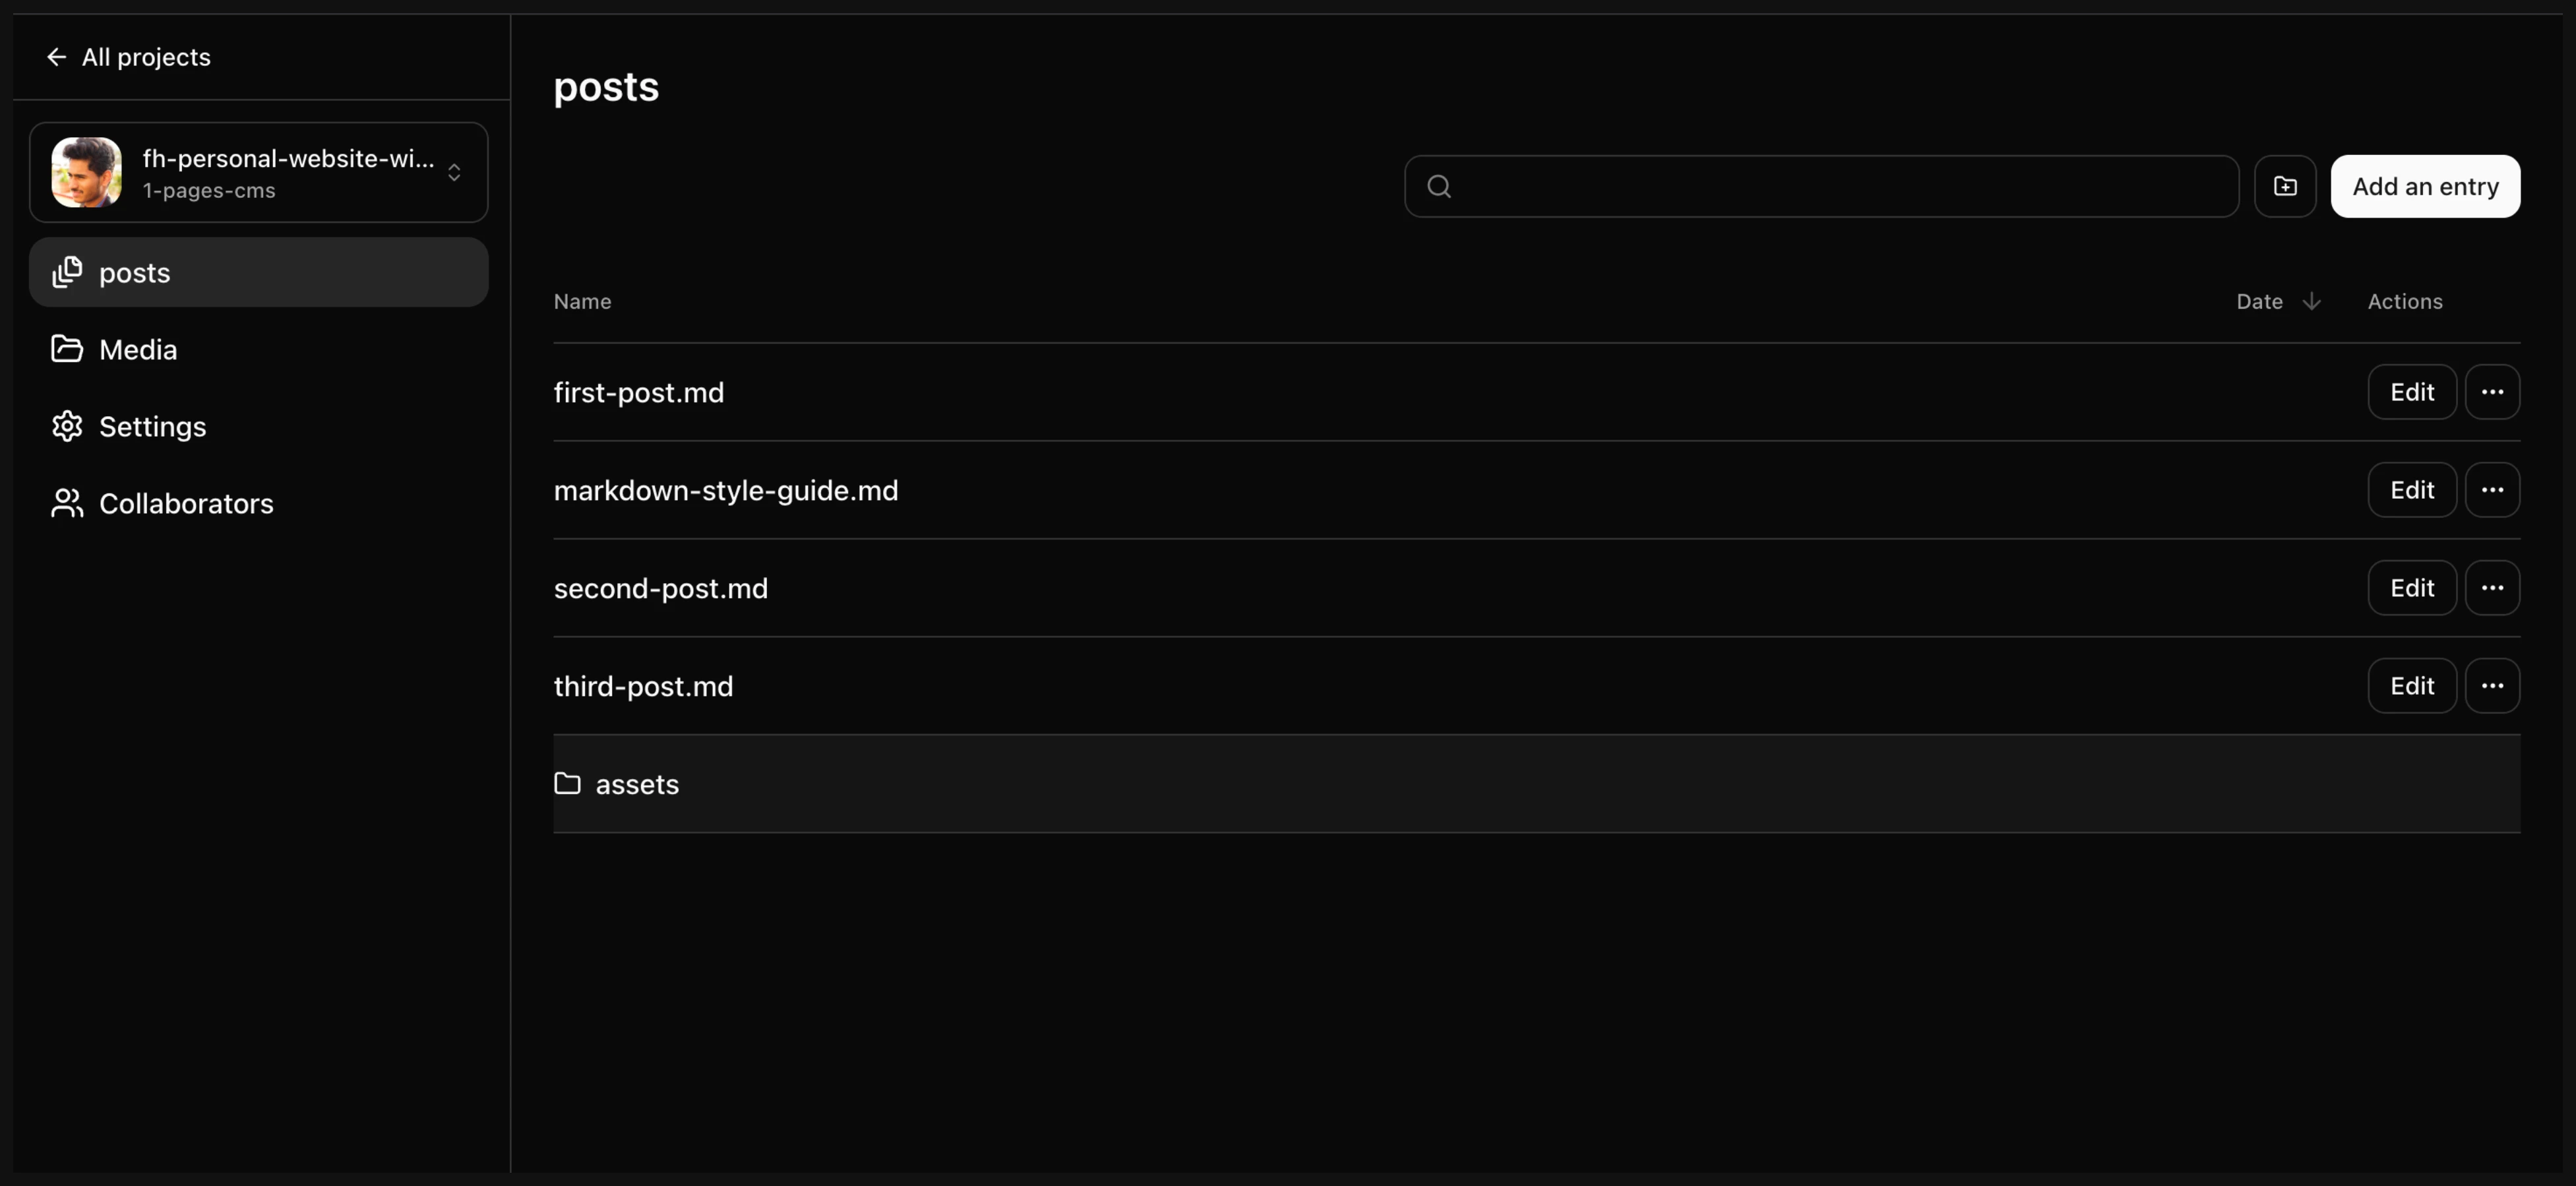
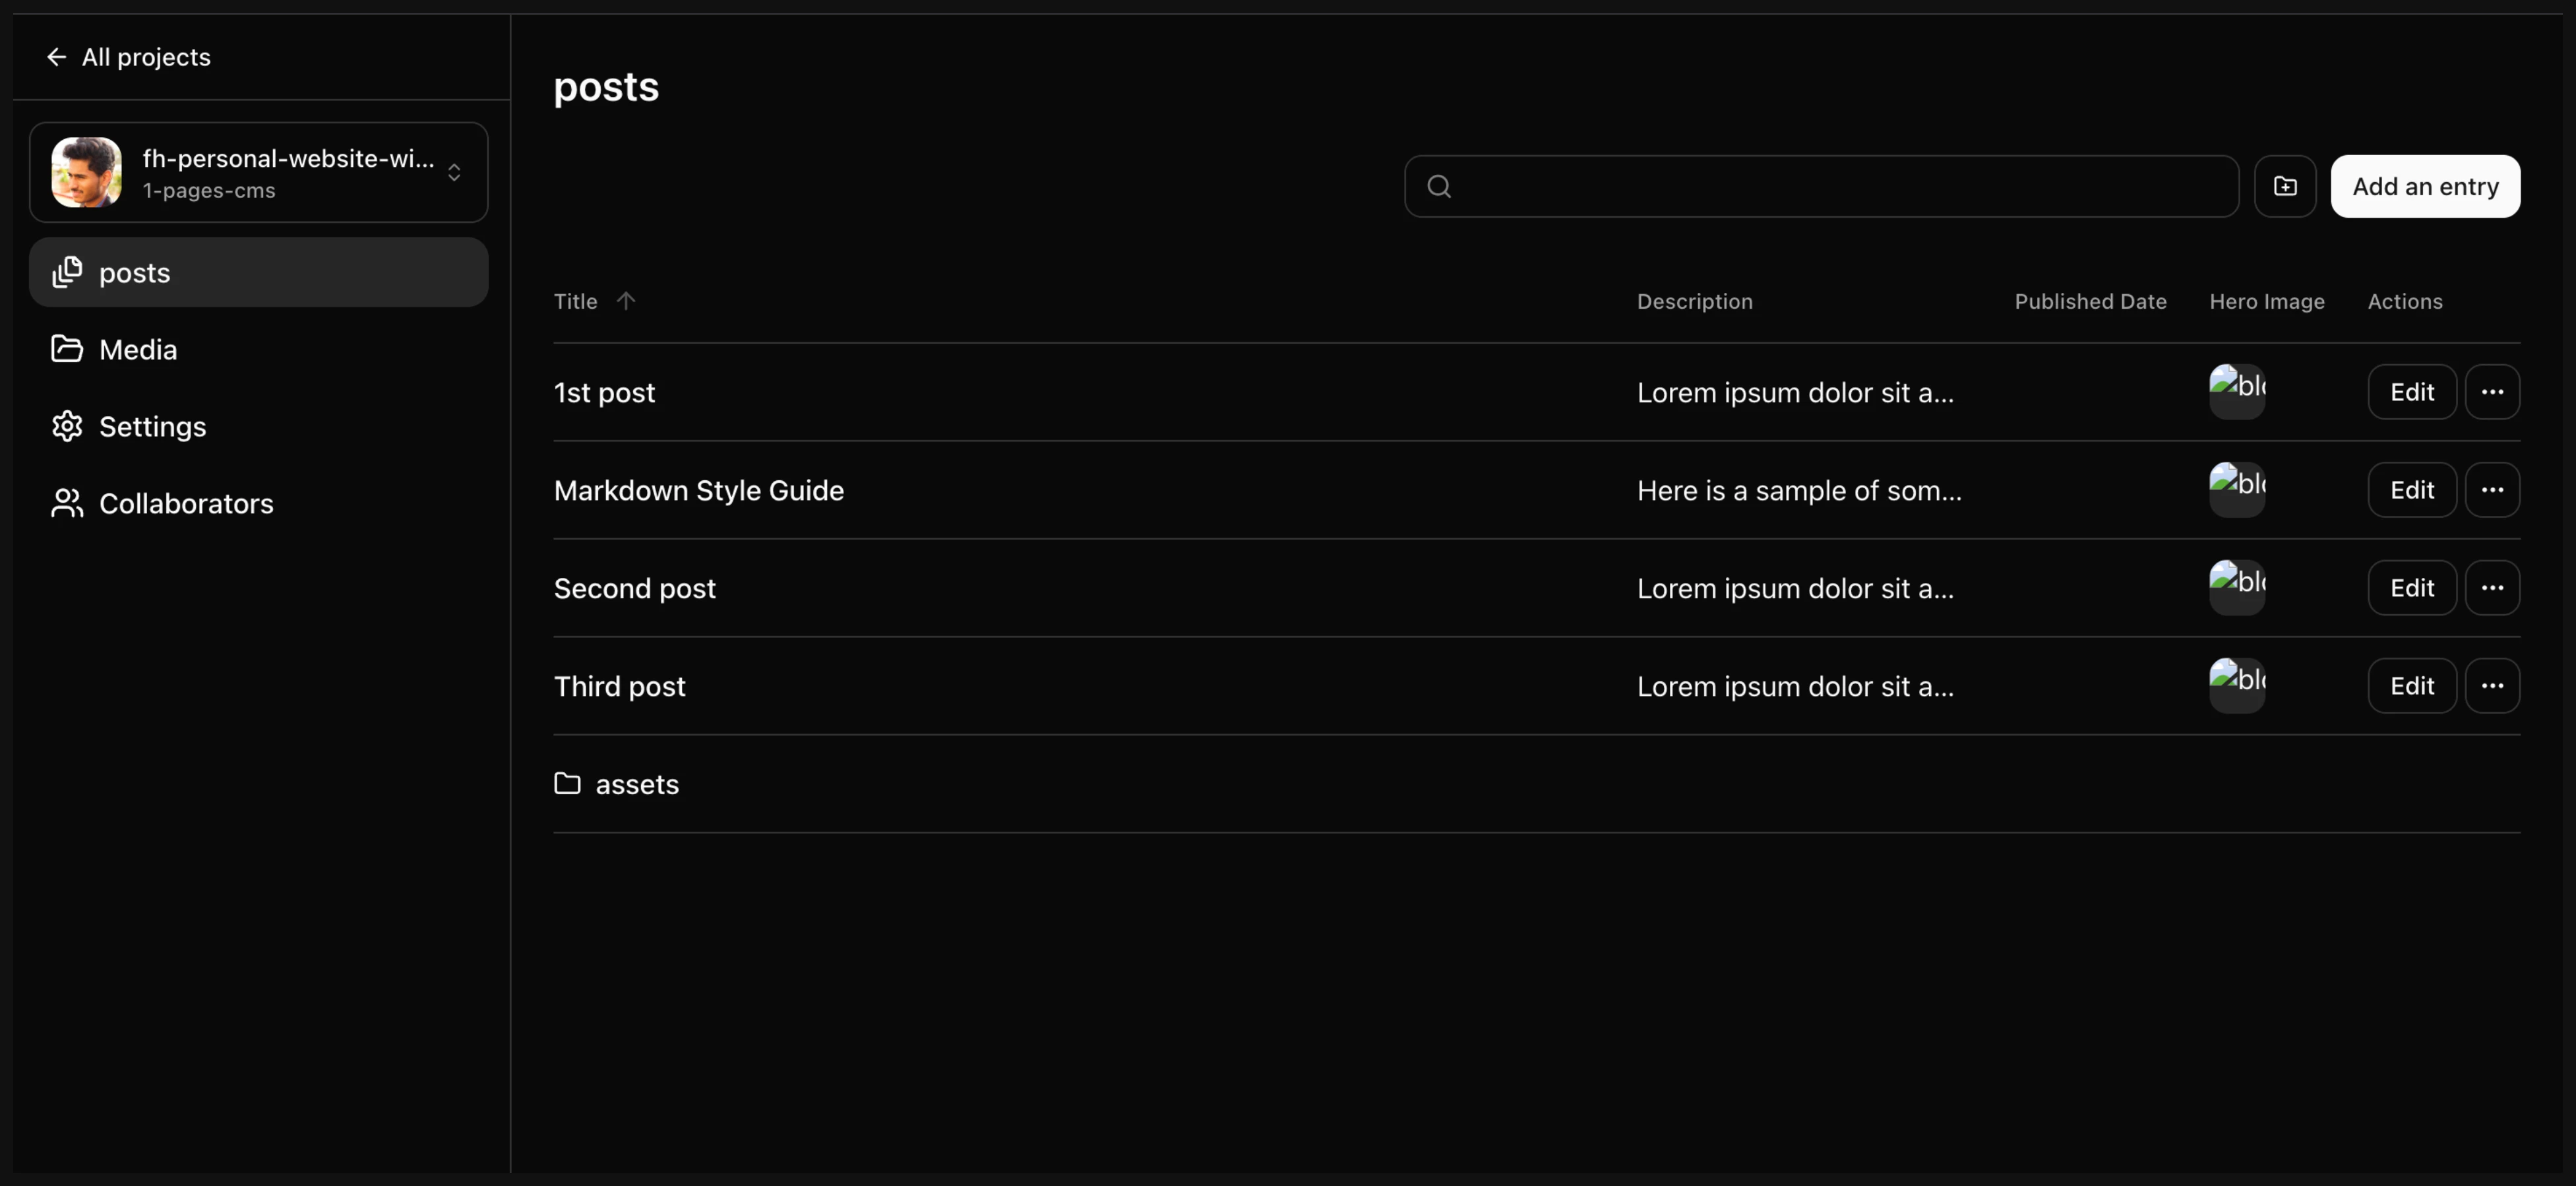
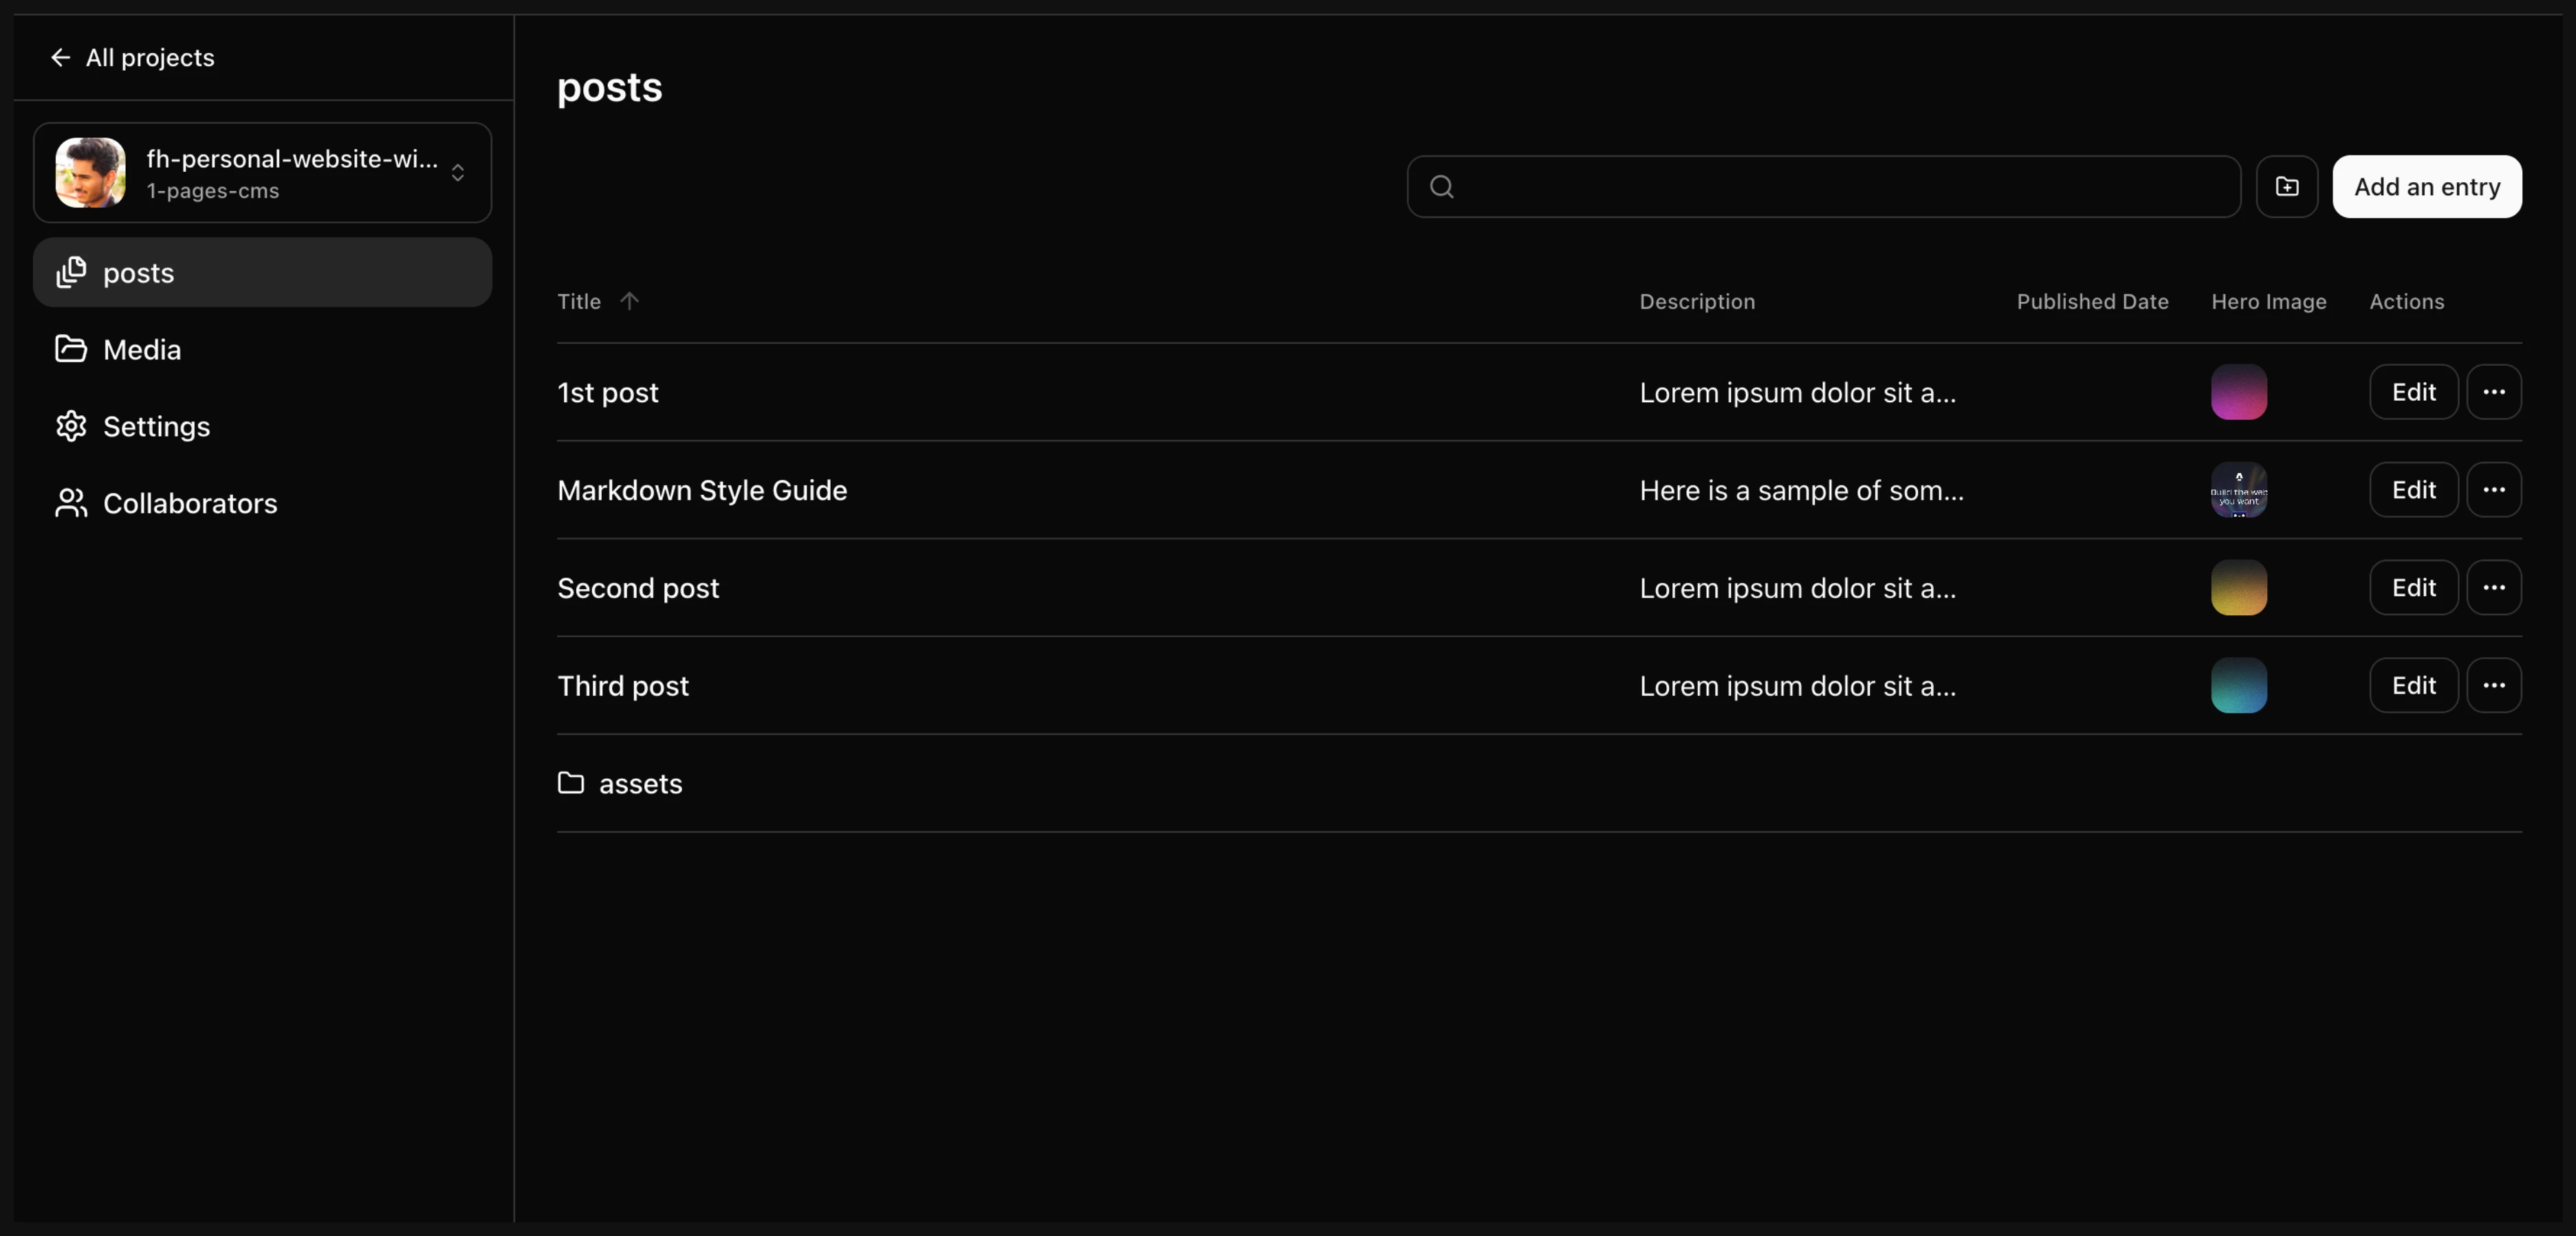
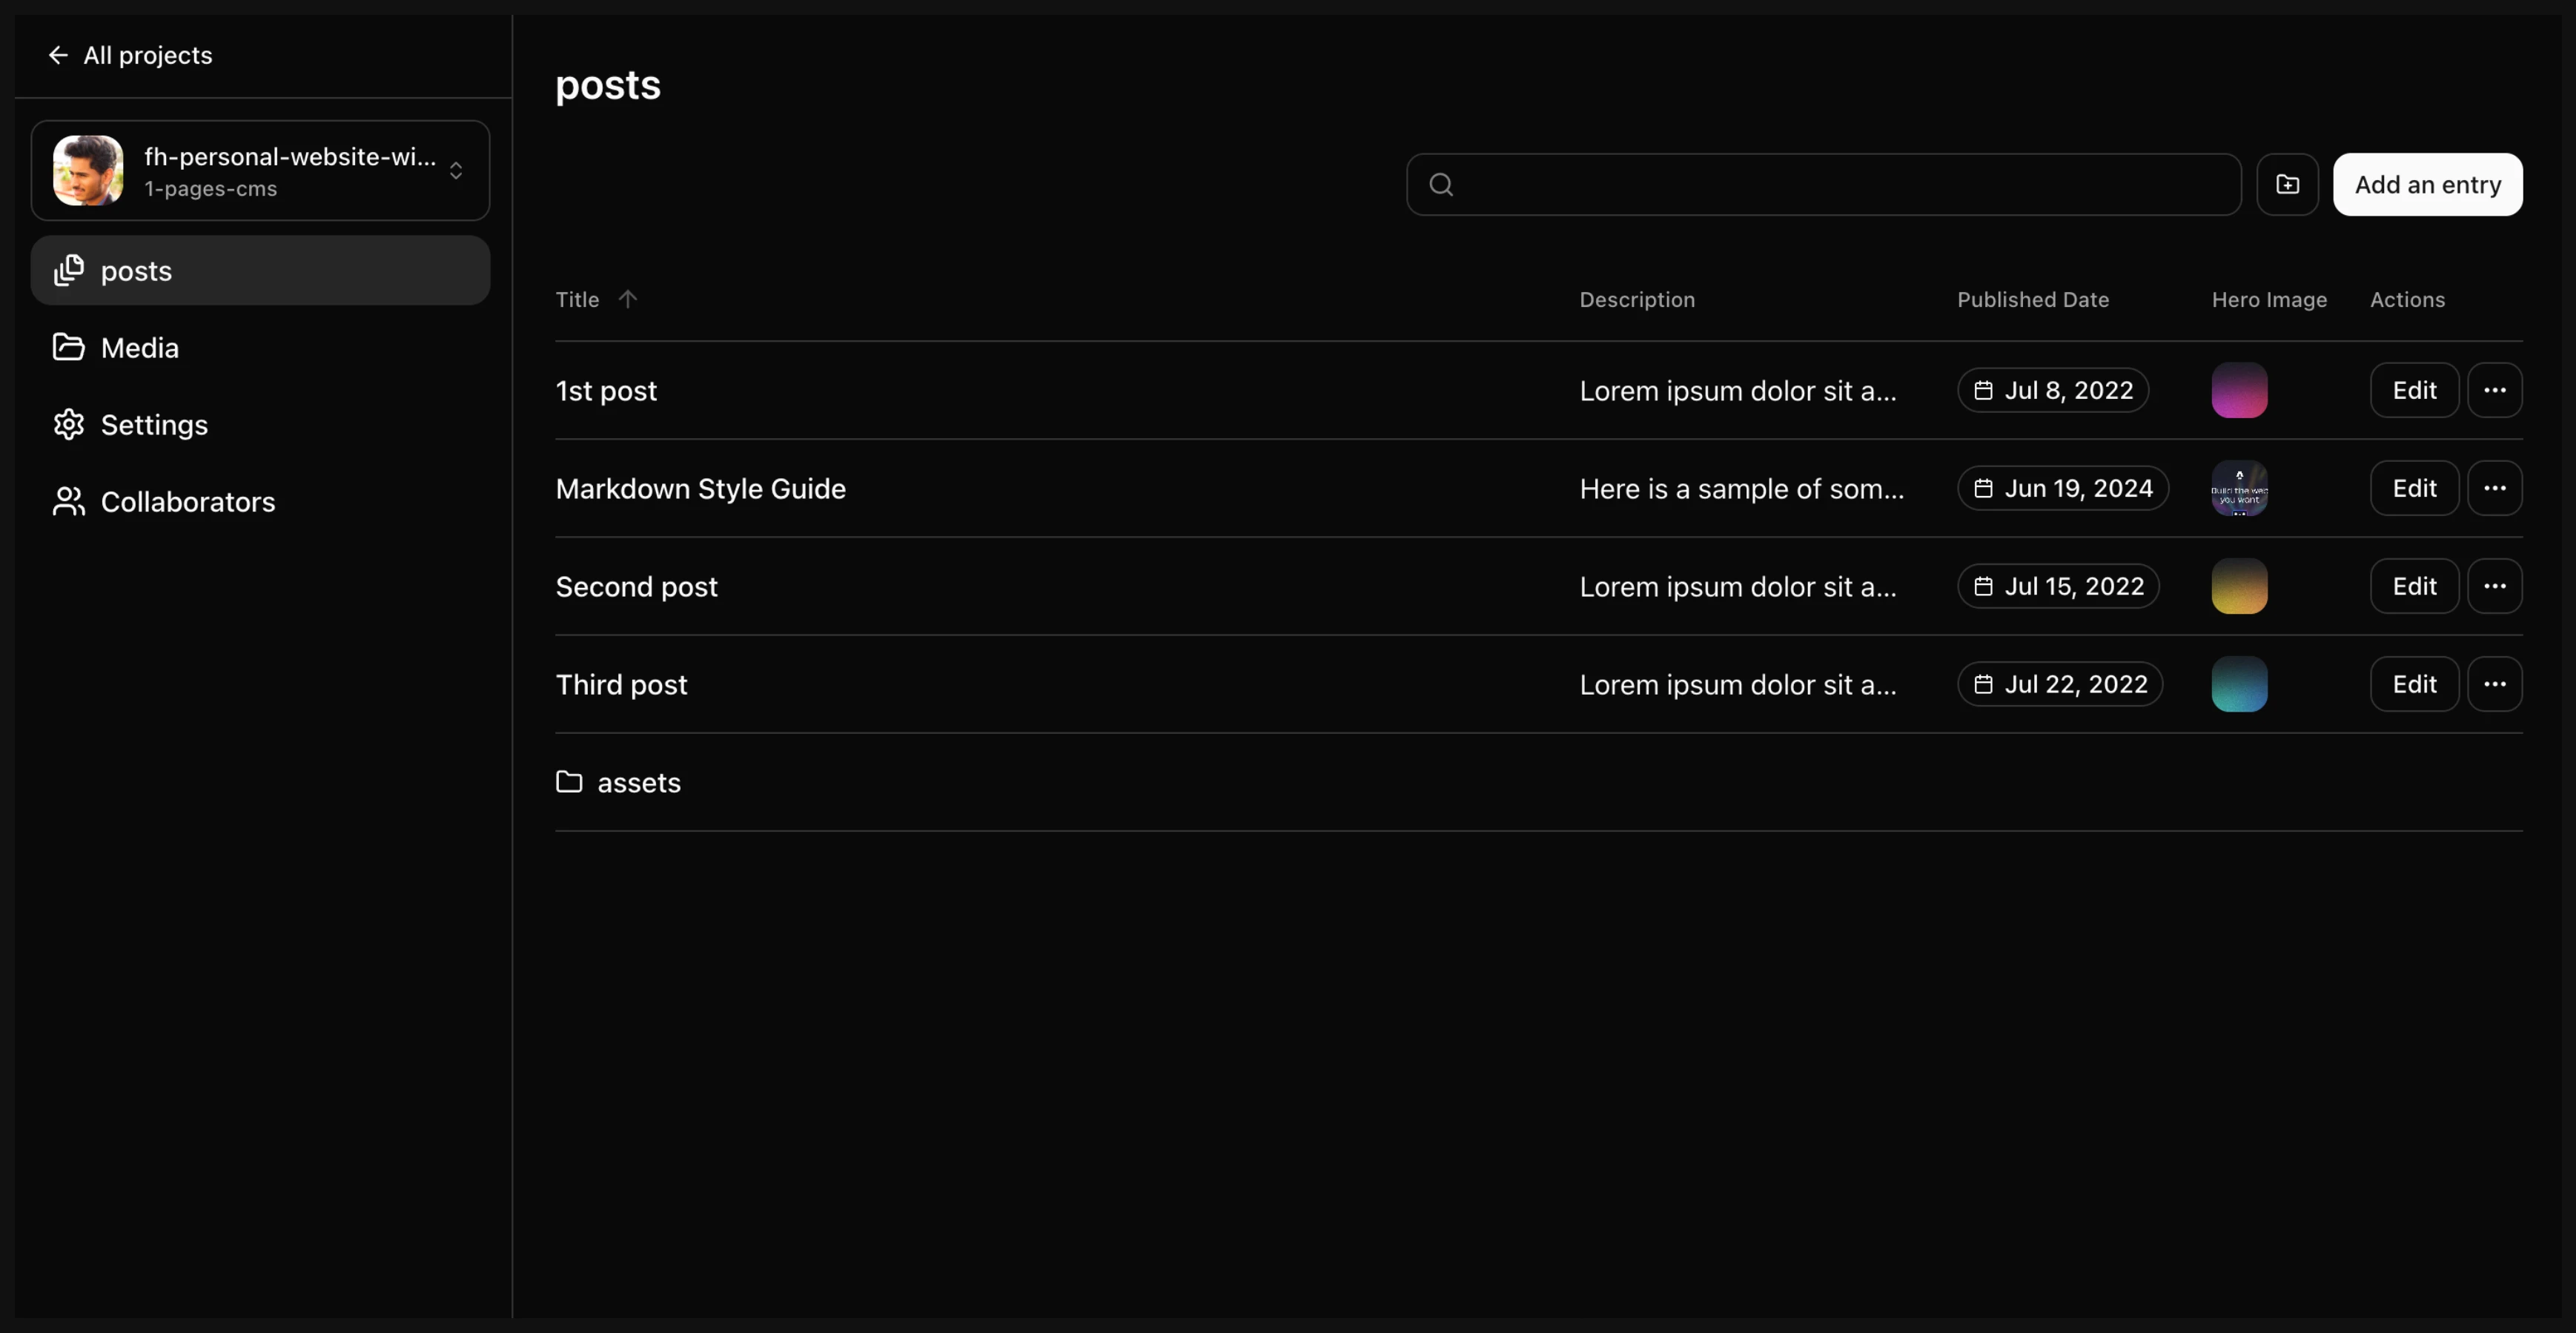
- Save, and you should immediately see a
poststab on the dashboard.
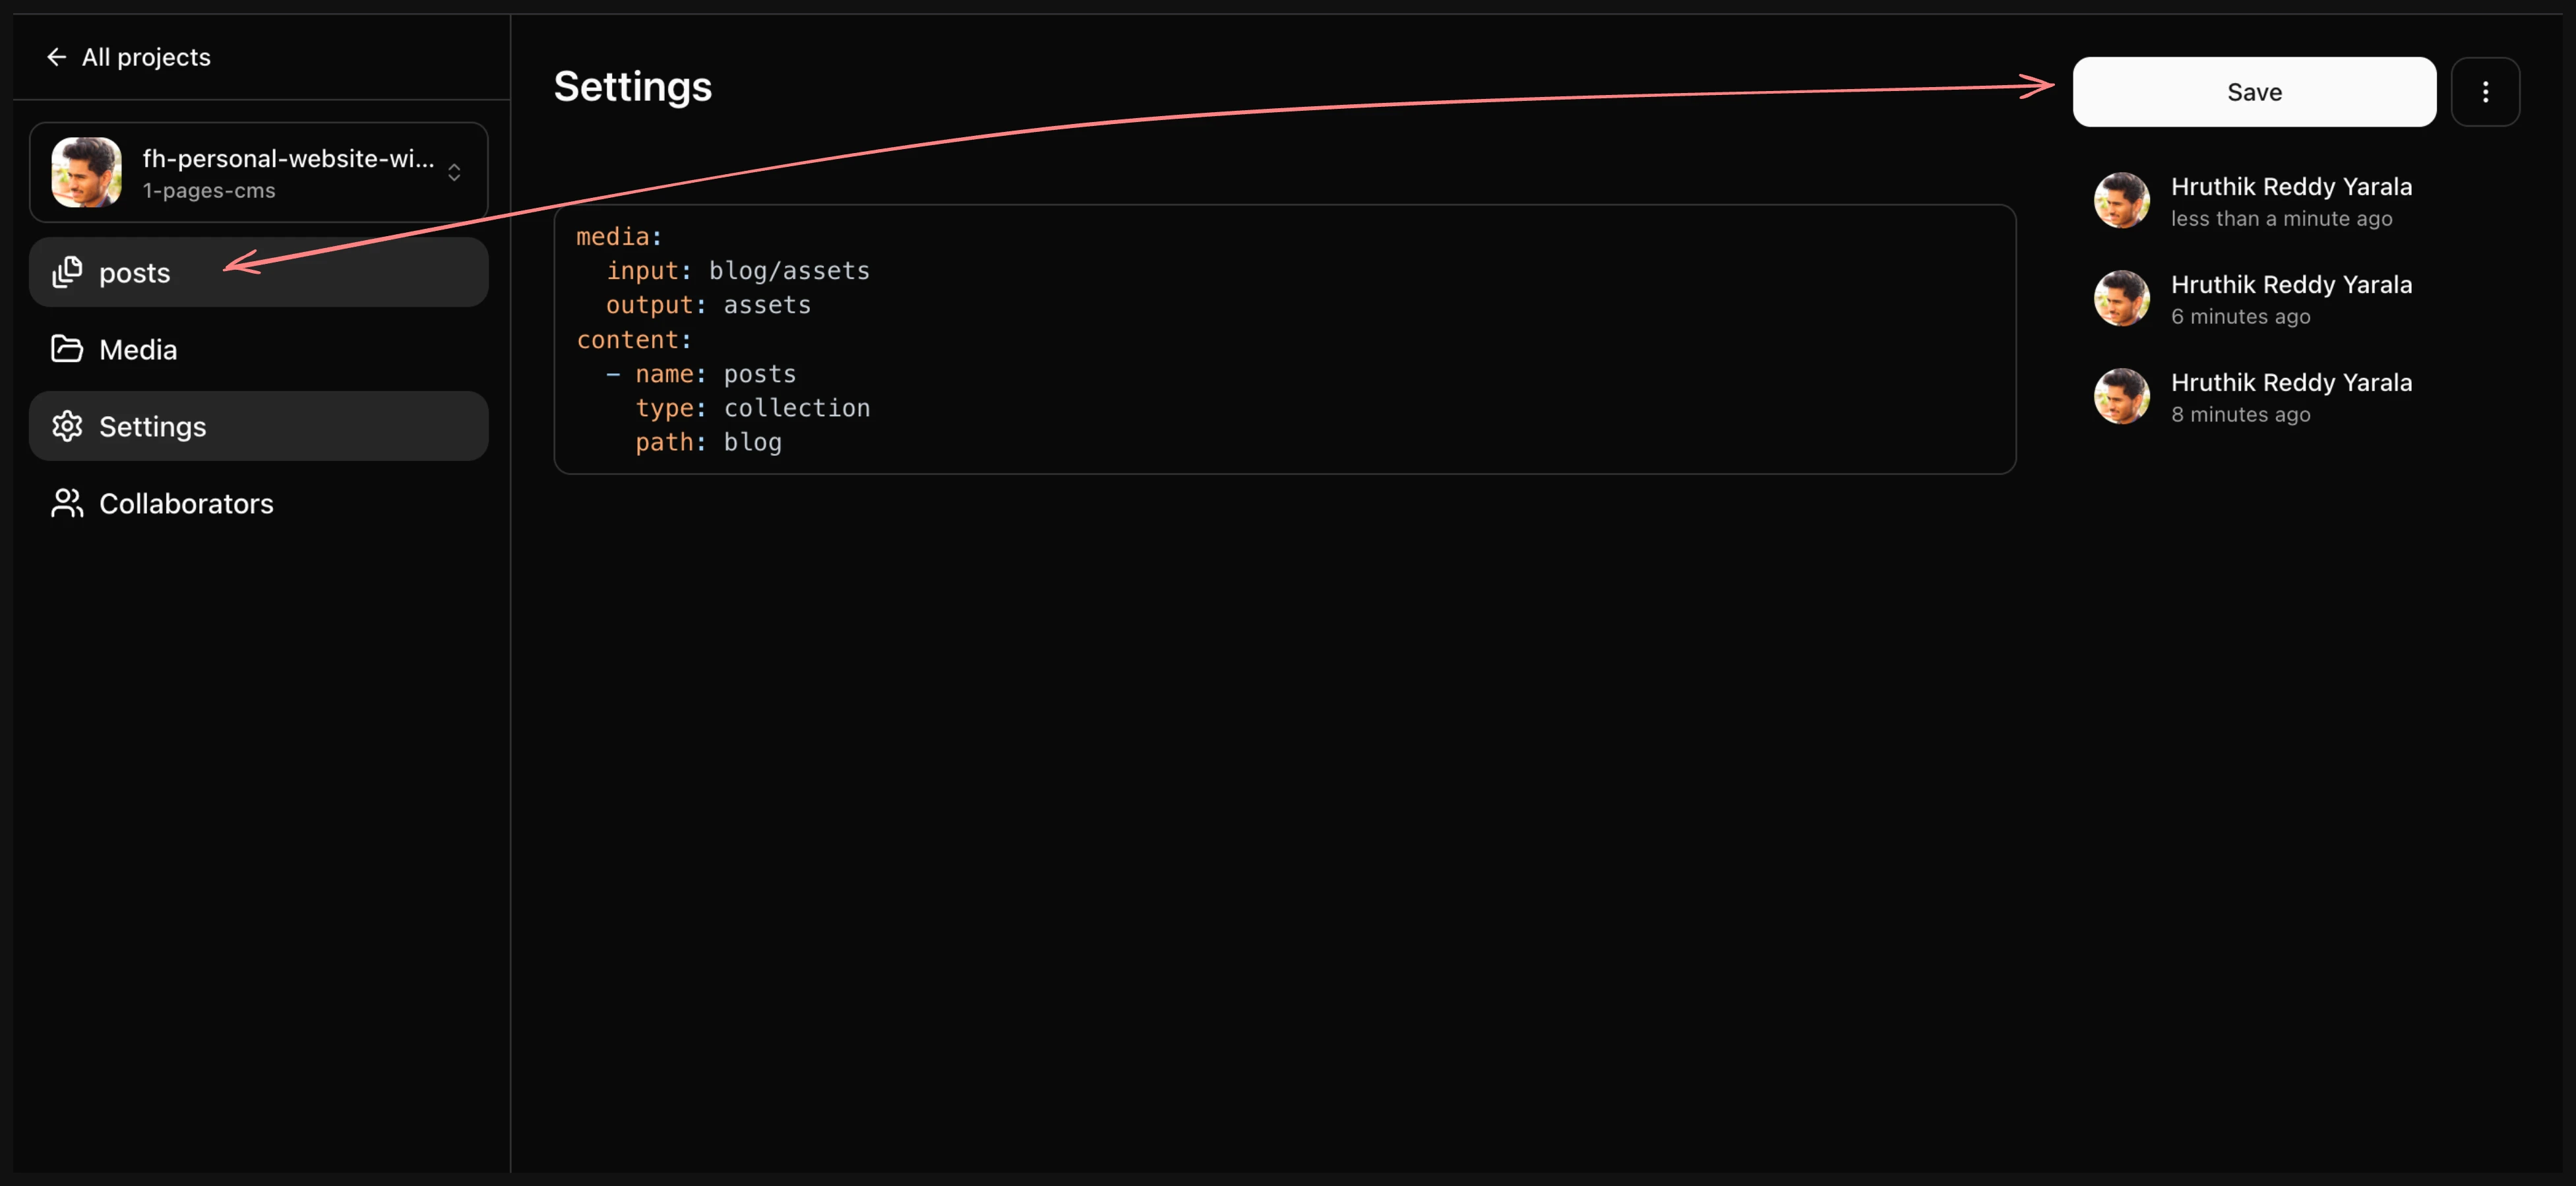
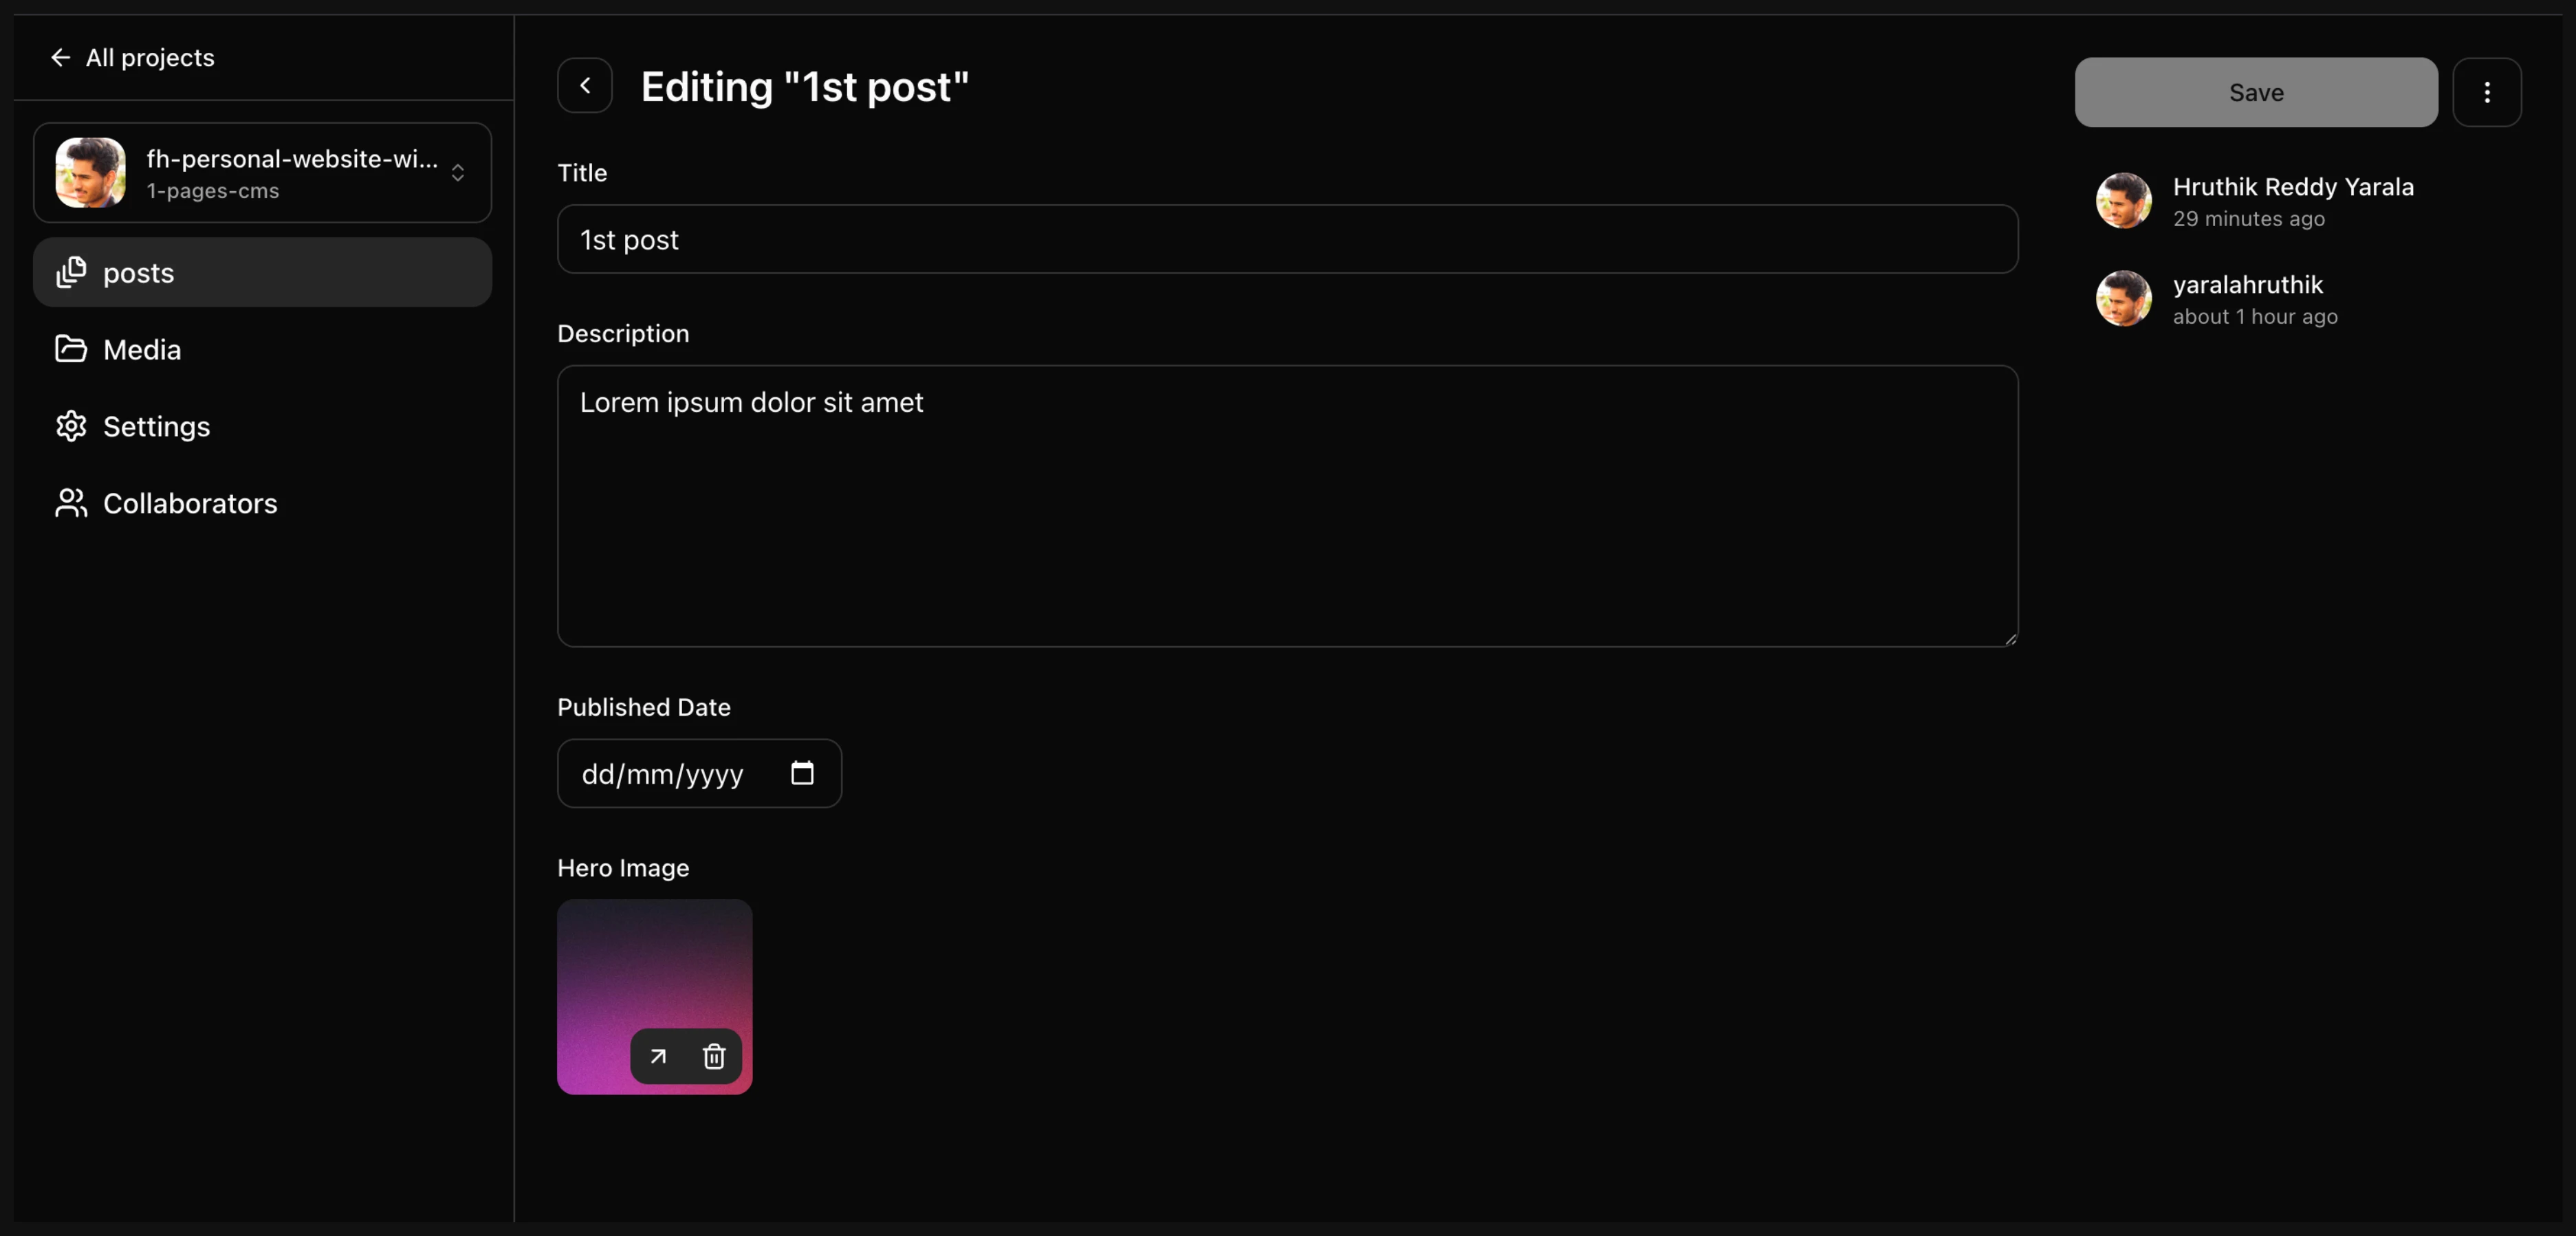
- Try editing one of the posts.
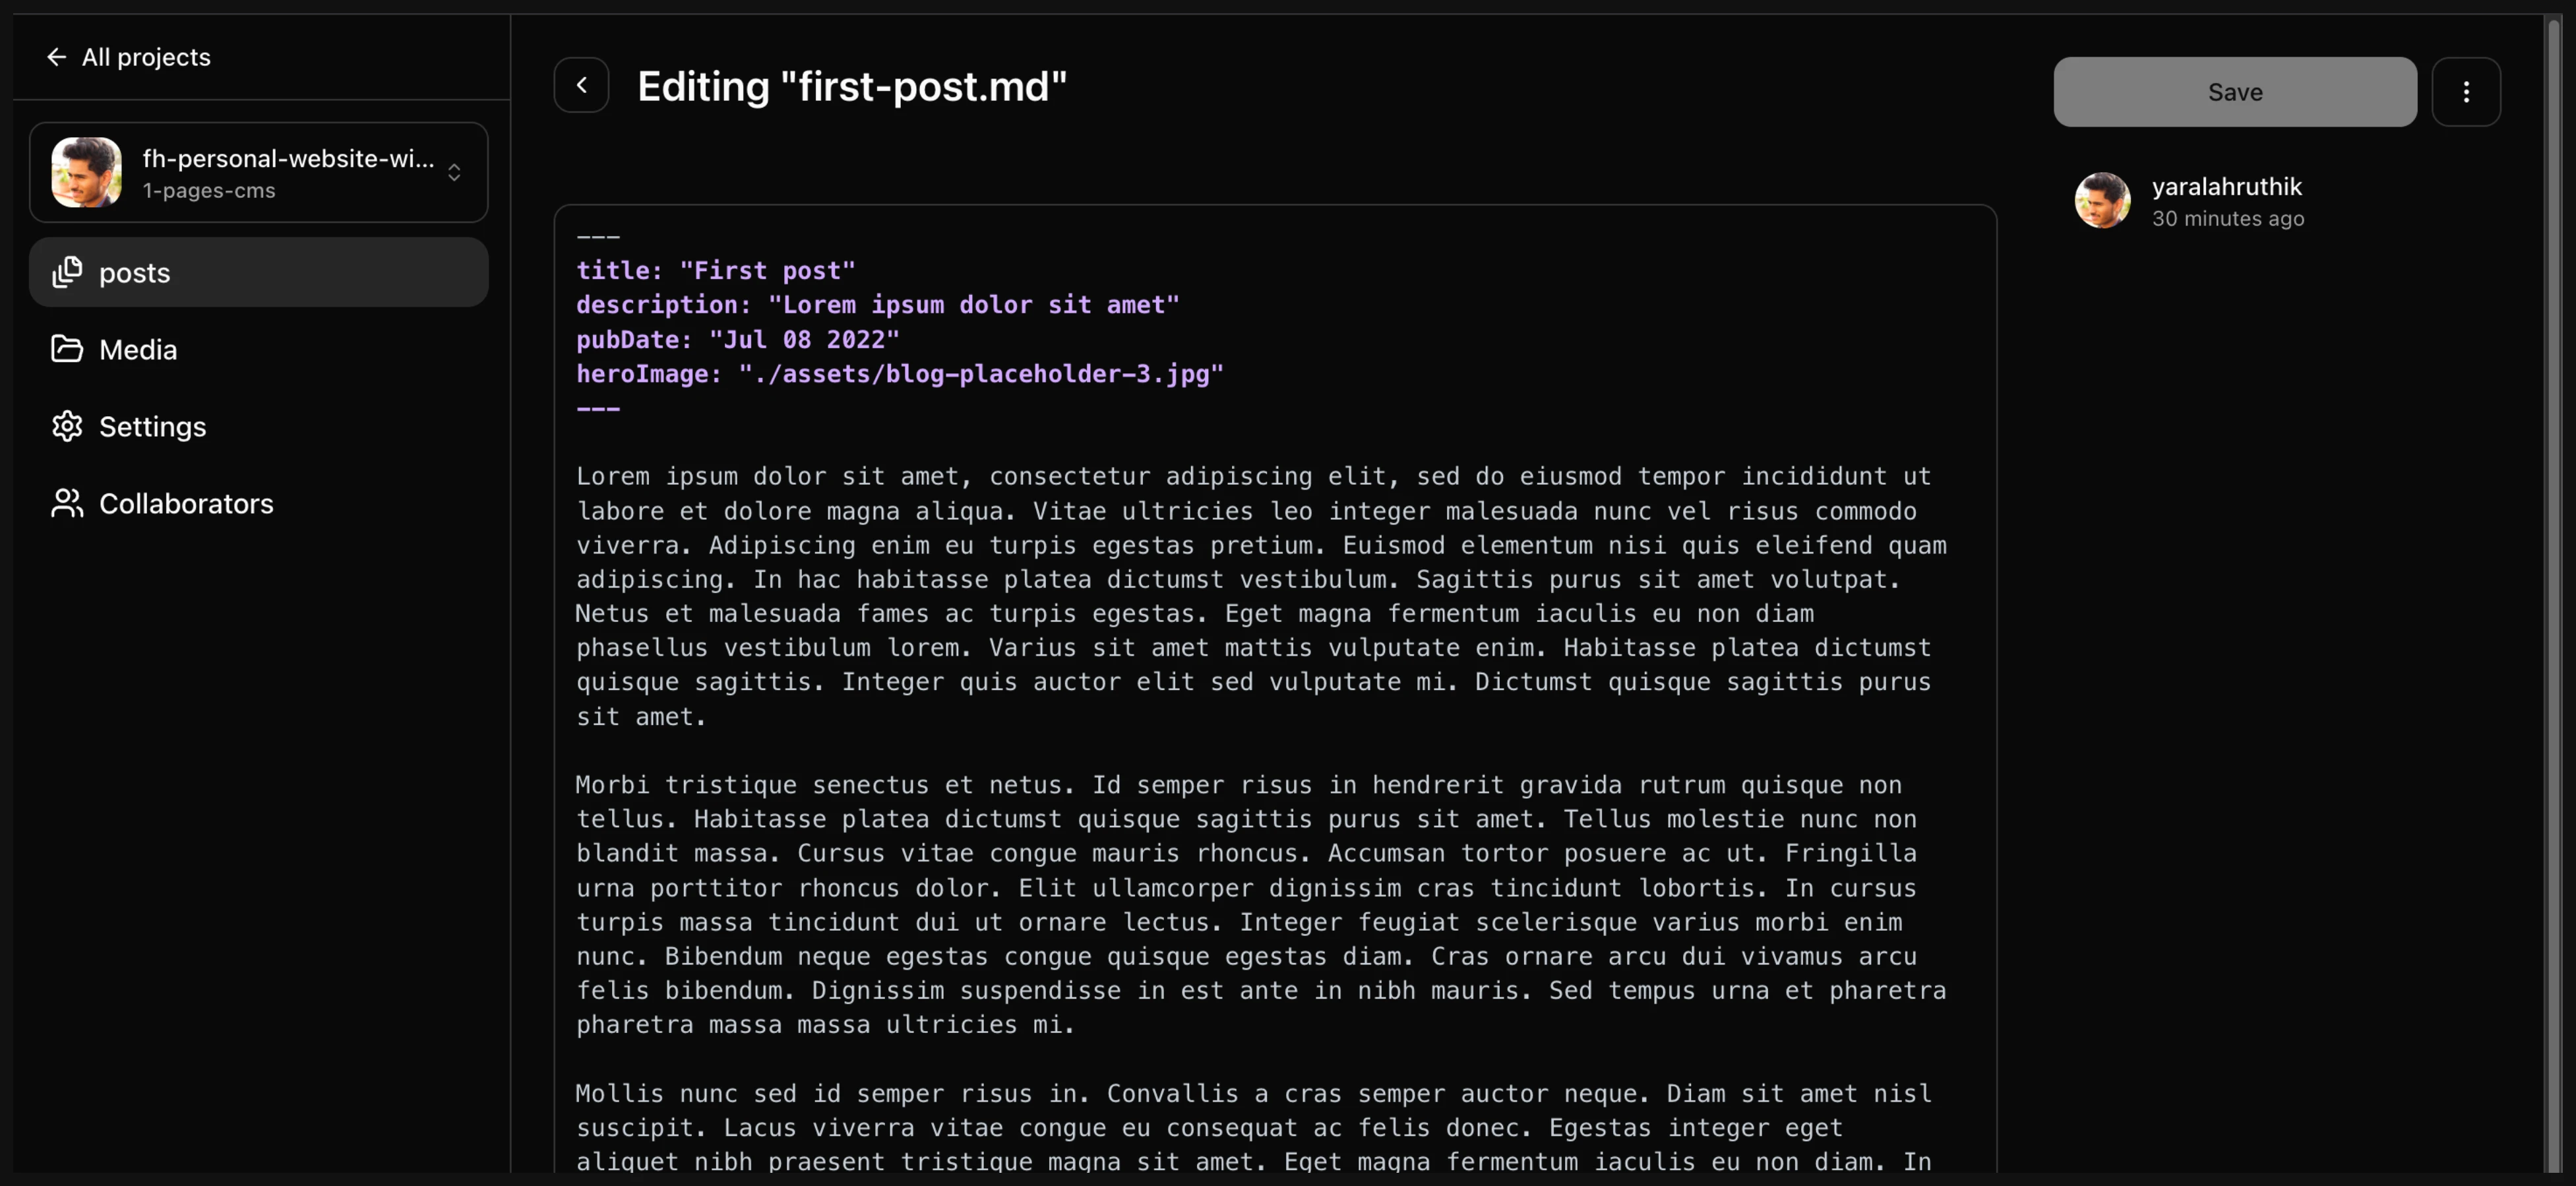
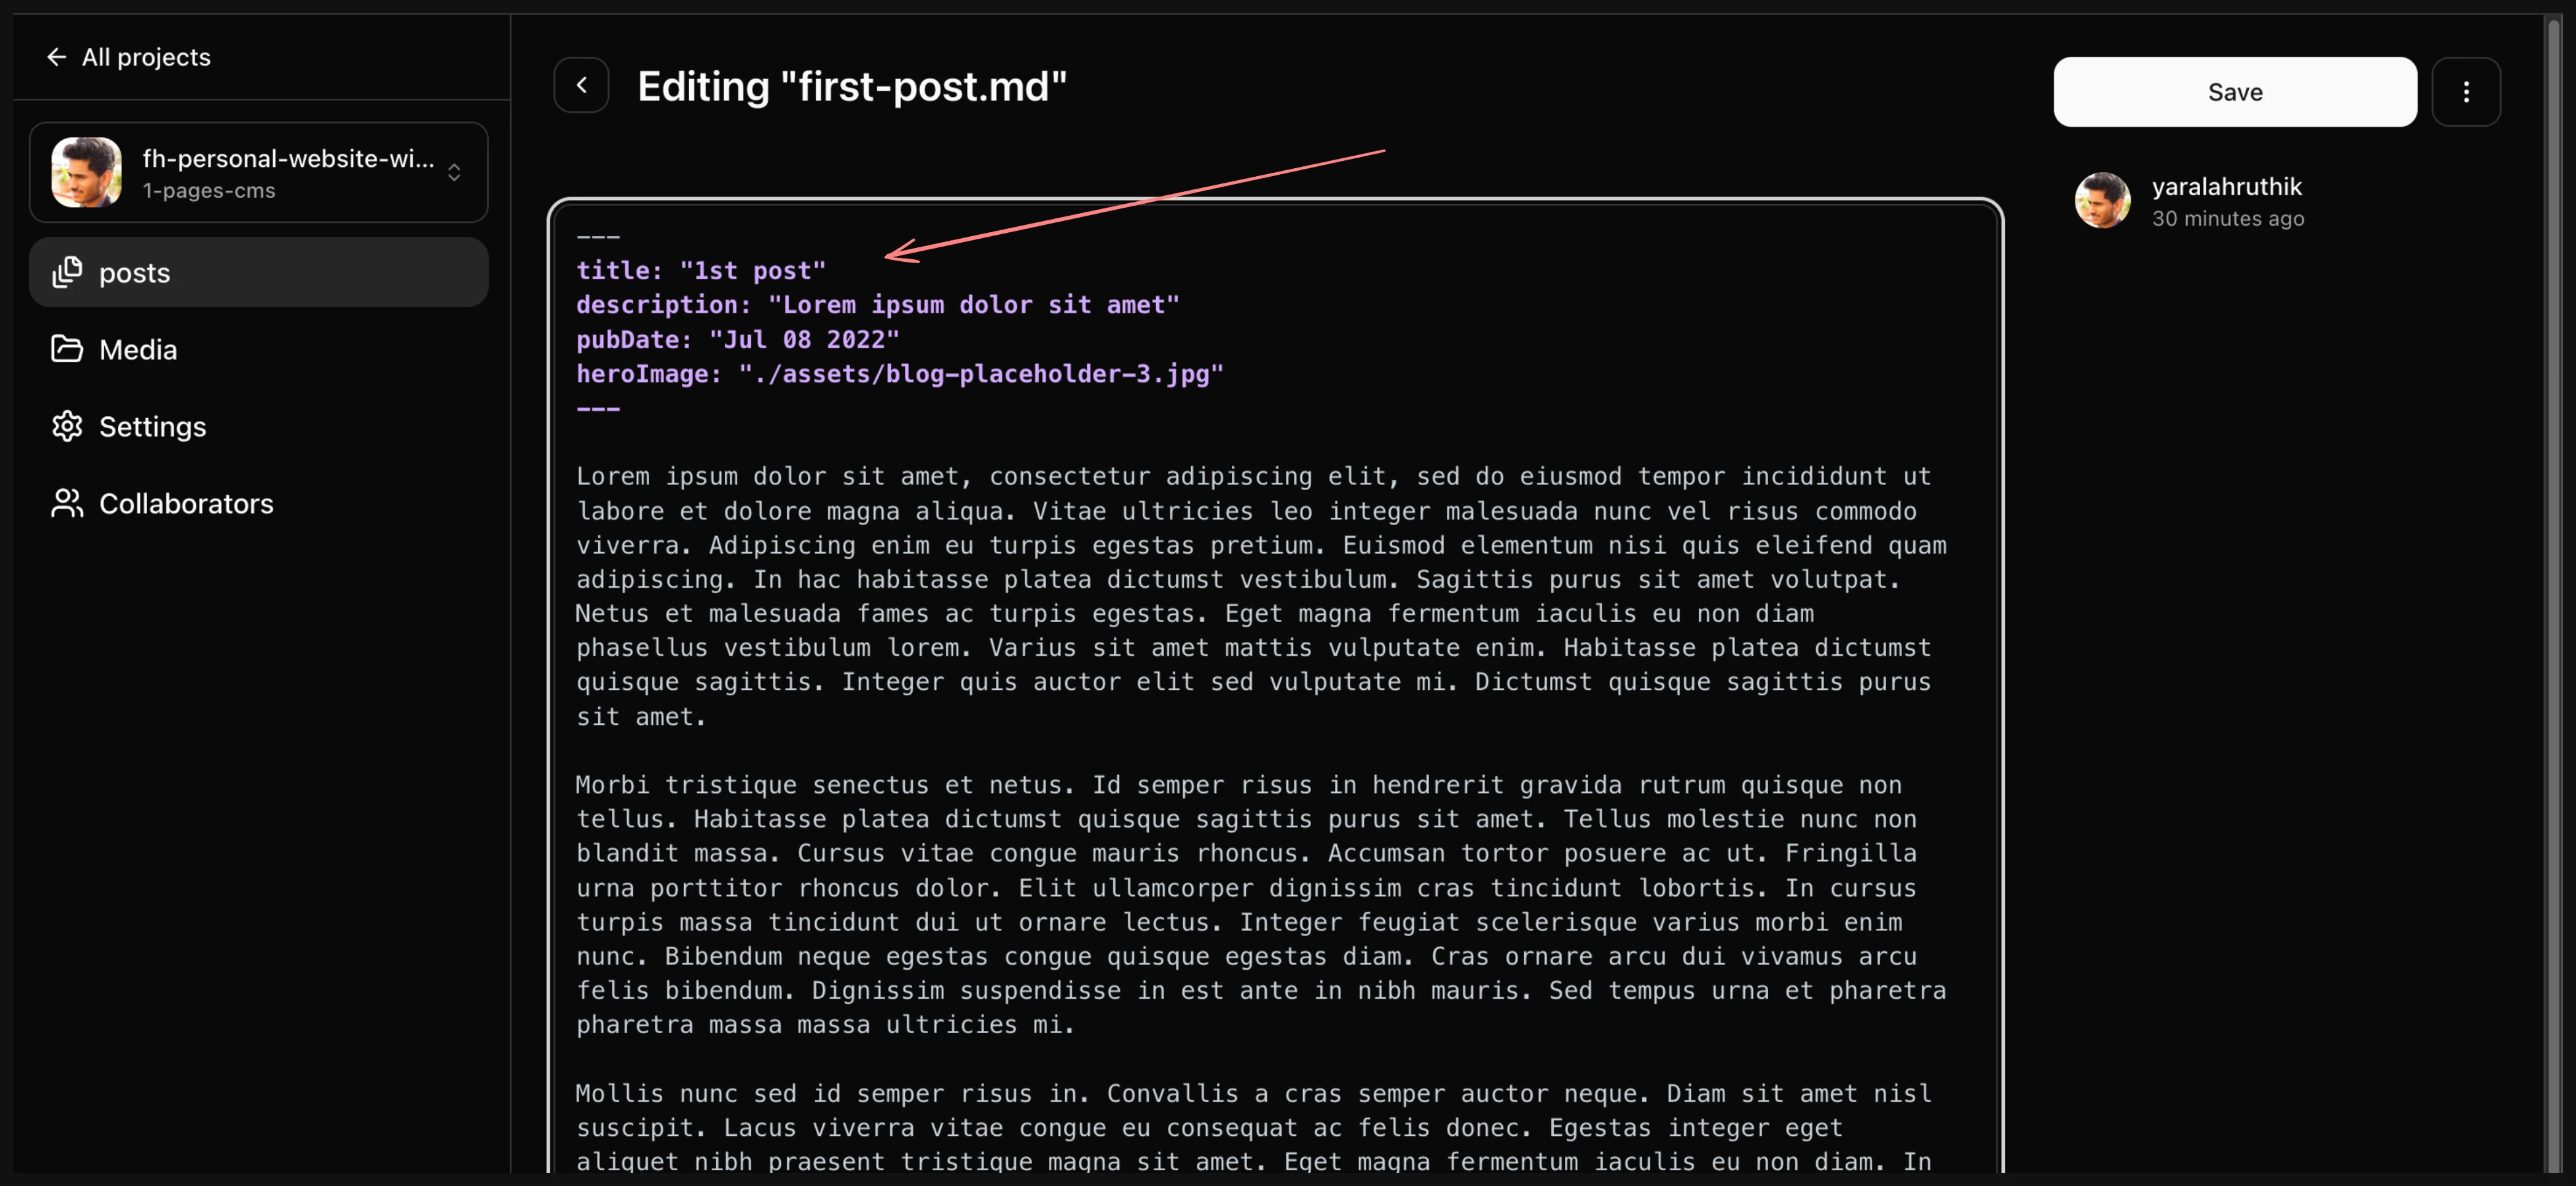
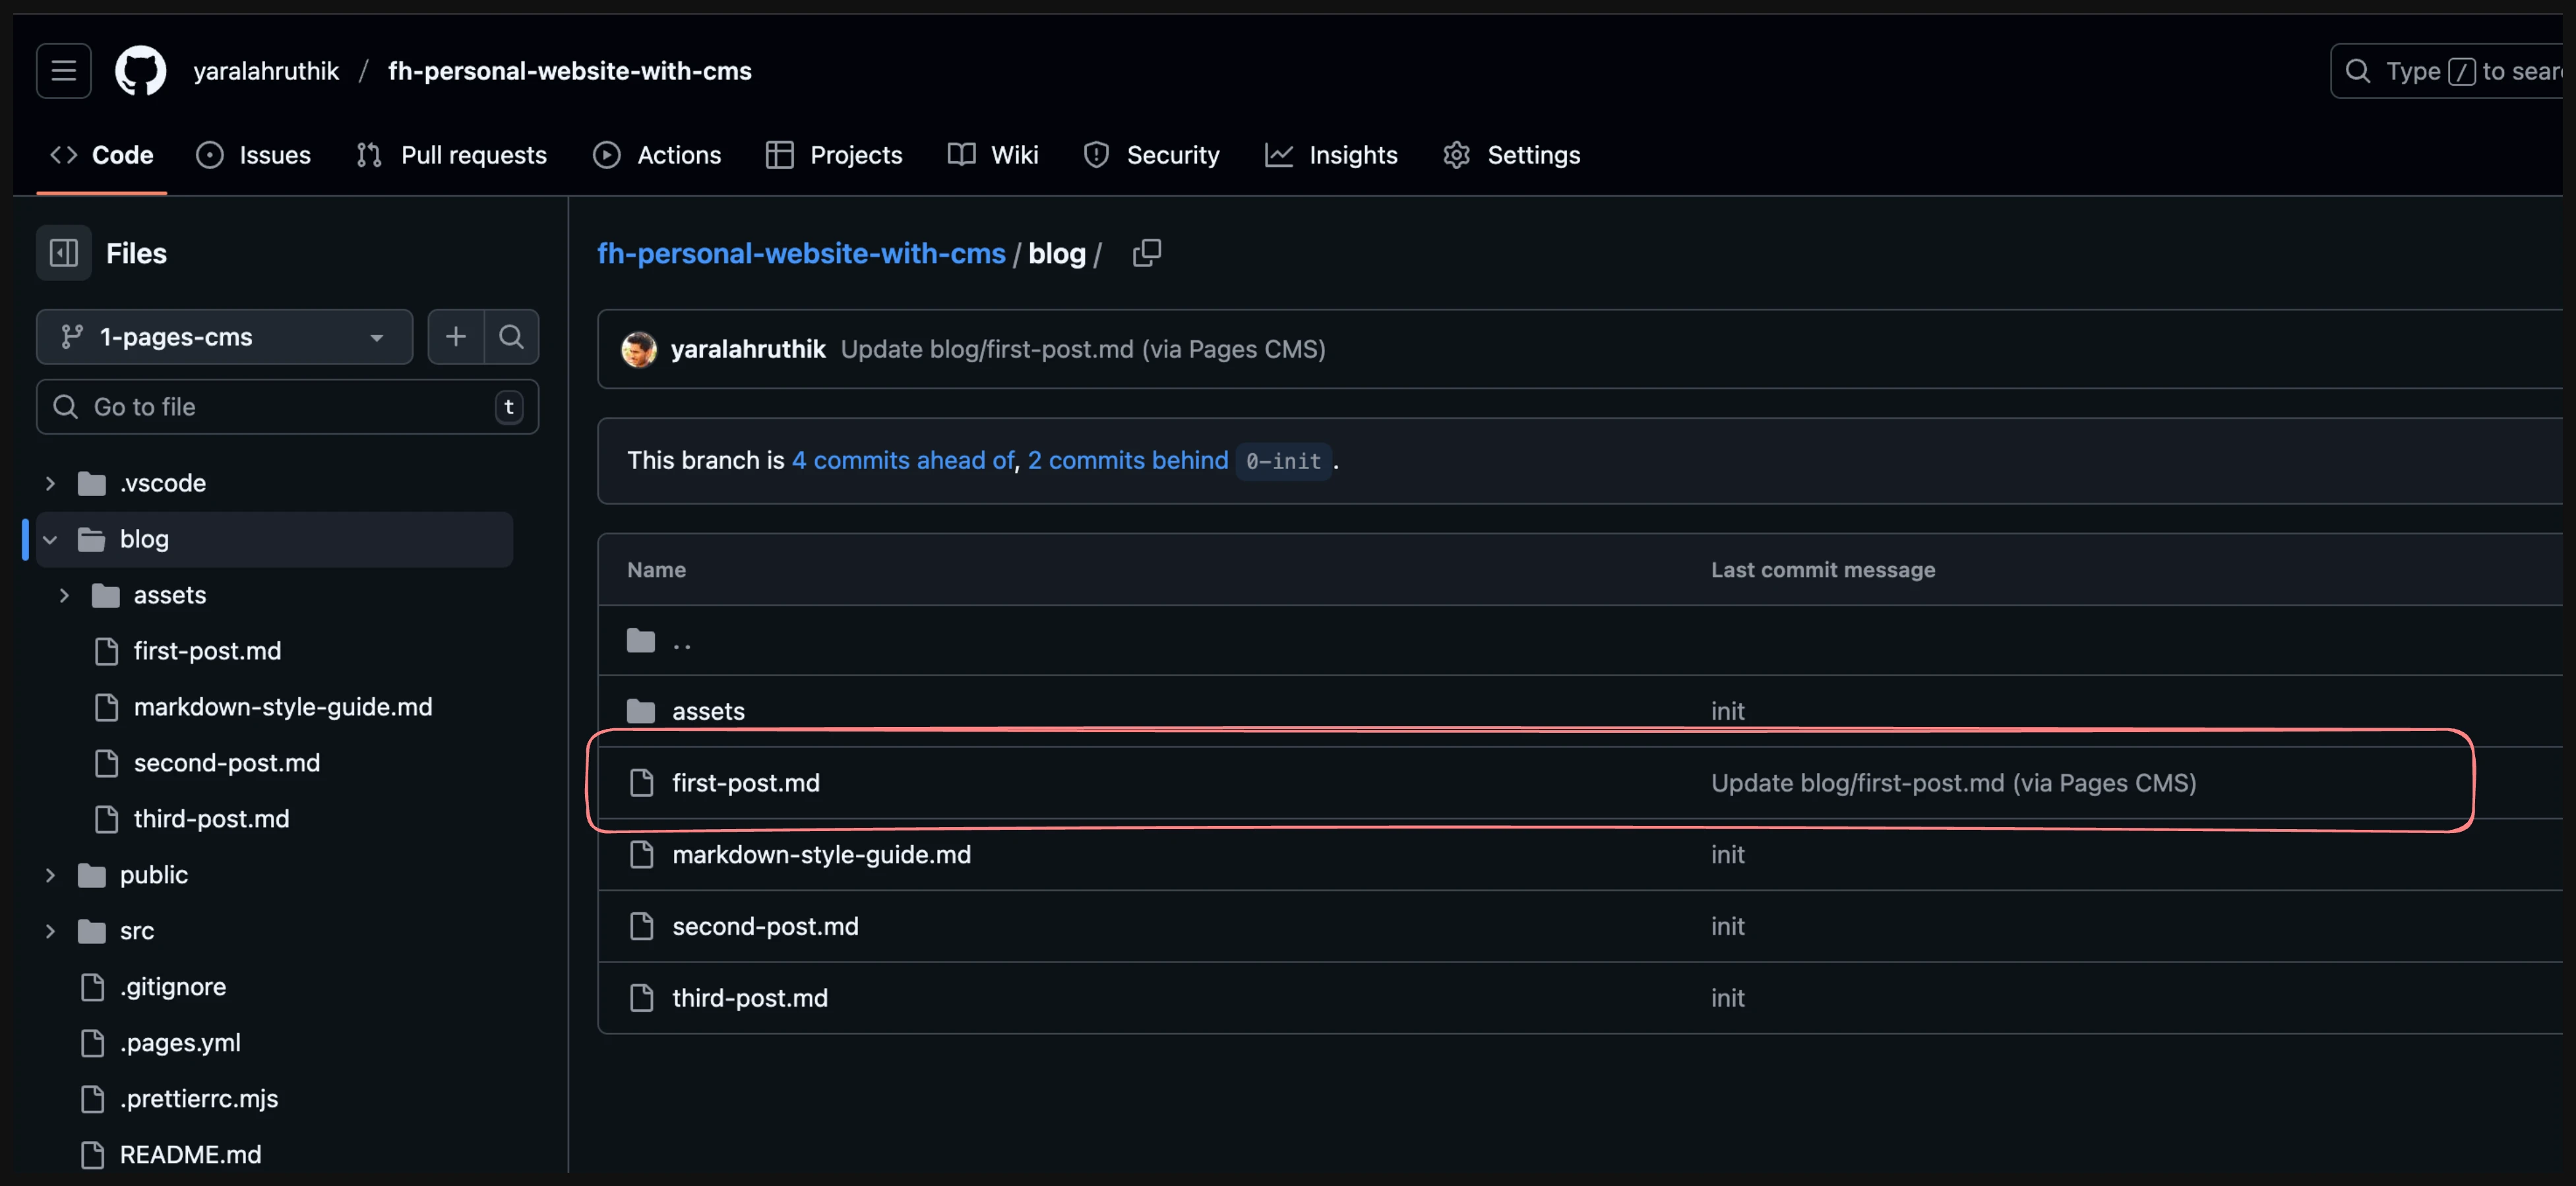
- There should be commit when you save the changes.
- Let us have a way better view and editing interface.
media:
  input: blog/assets
  output: assets
content:
  - name: posts
    type: collection
    path: blog
    fields:
      - name: title
        label: Title
        type: string
      - name: description
        label: Description
        type: text
      - name: pubDate
        label: Published Date
        type: date
      - name: heroImage
        label: Hero Image
        type: image
    view:
      fields: [title, description, pubDate, heroImage]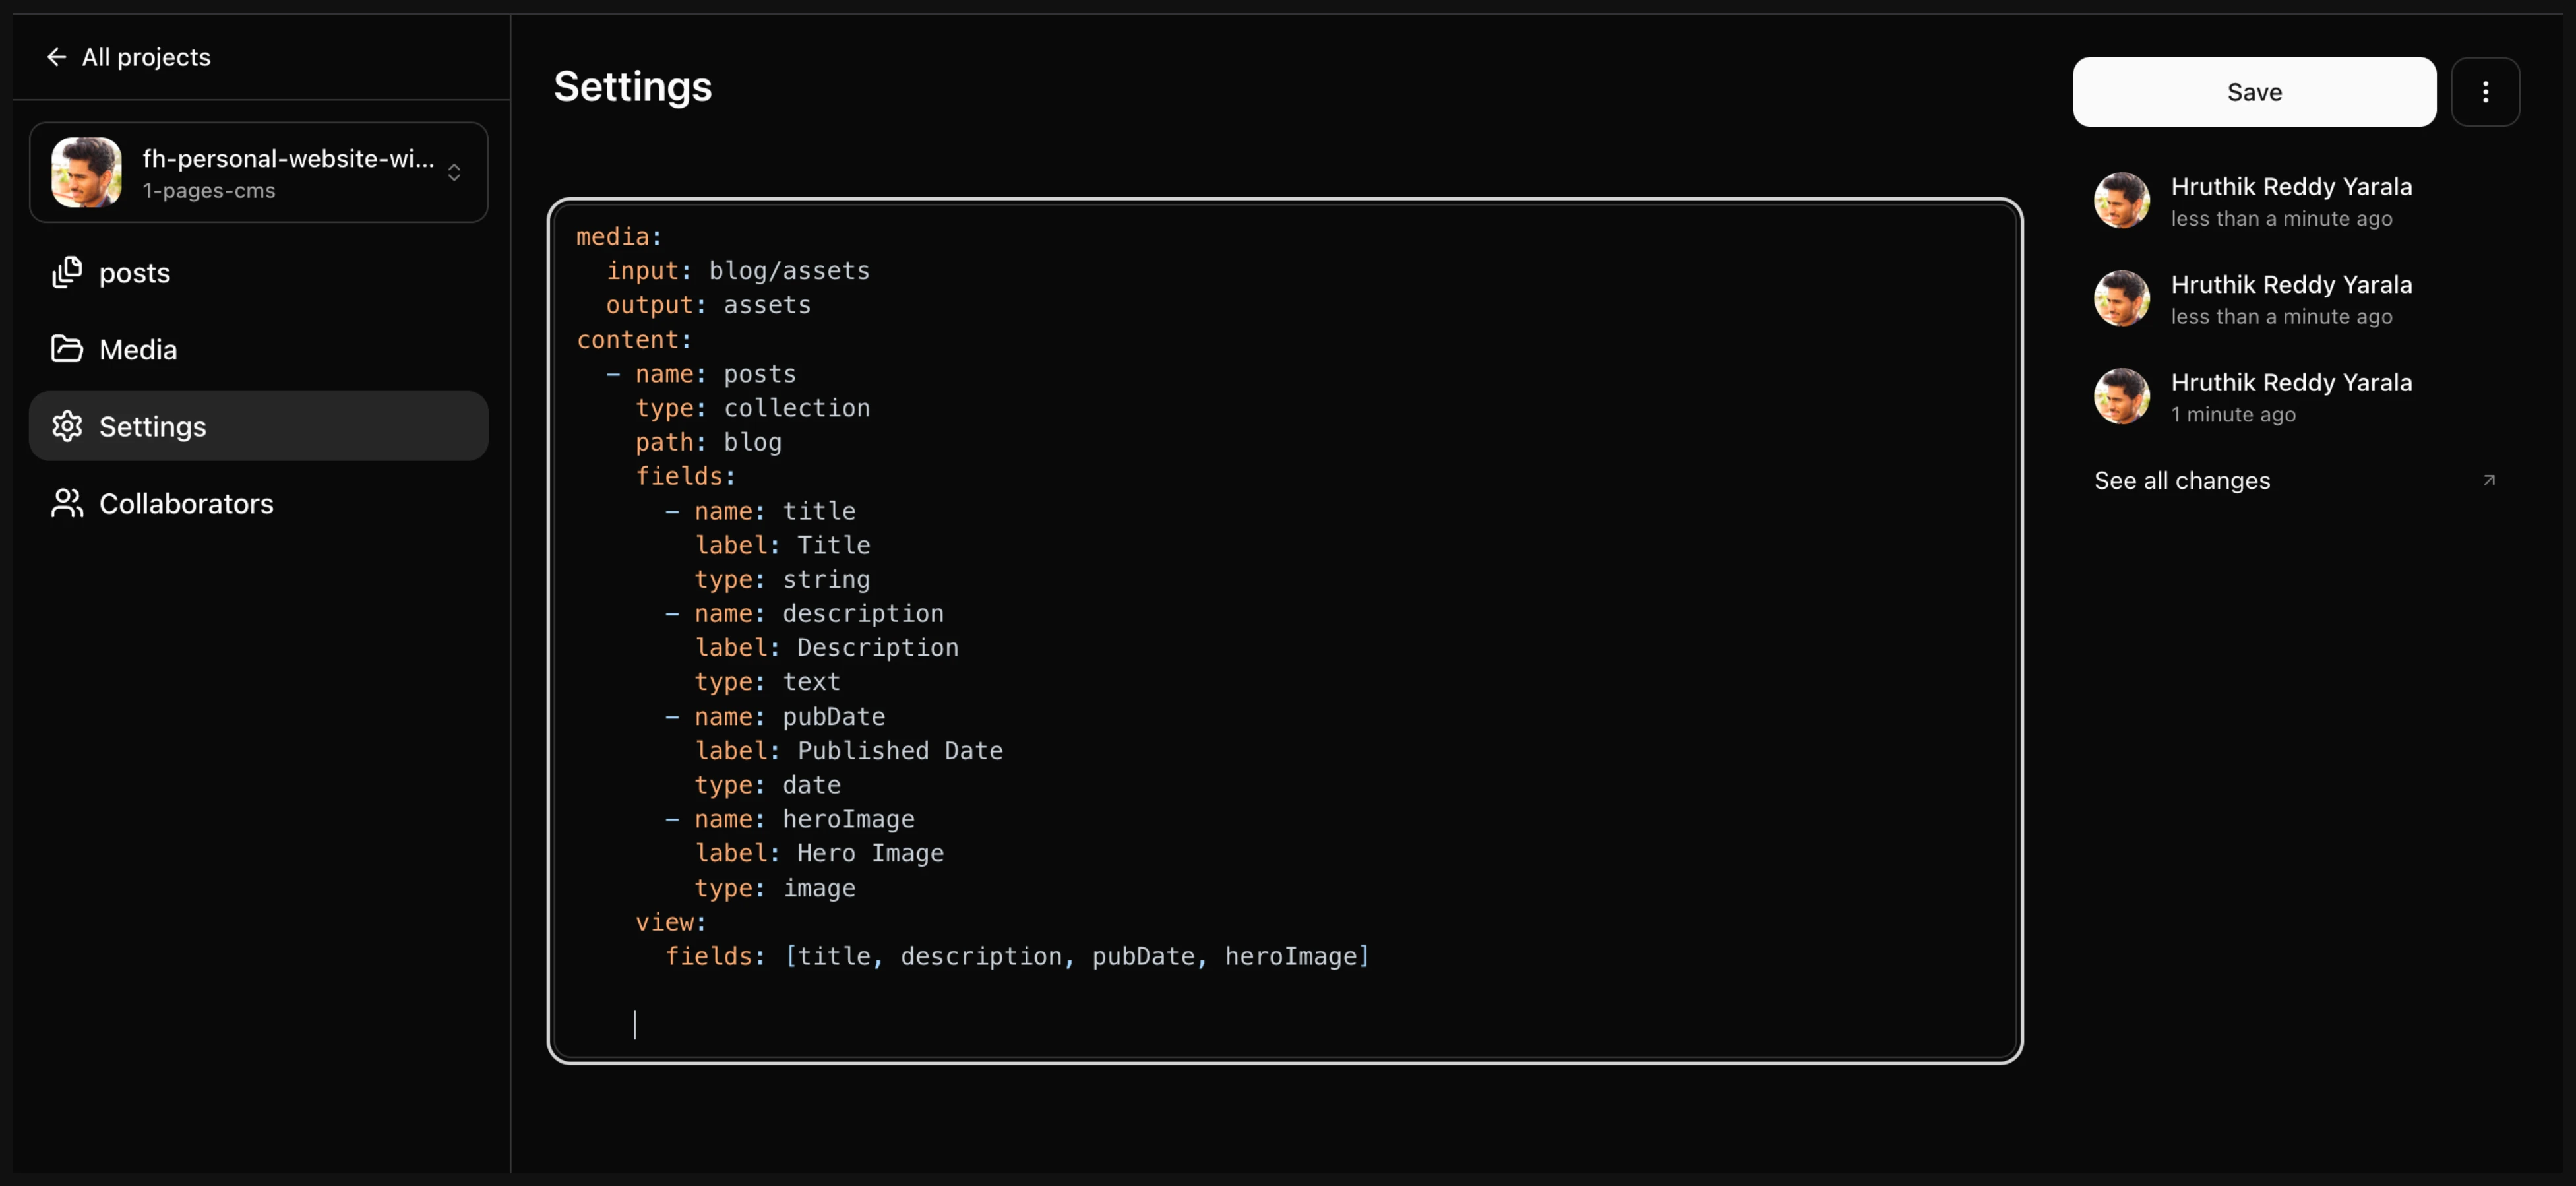
- Hmm, the images are broken. This is where understanding the
outputofmediais important. This should translate to the relative location of the asset to your content file. So, in our case that is./assets
media:
  input: blog/assets
  output: ./assets
  output: assets
content:
  - name: posts
    type: collection
    path: blog
    fields:
      - name: title
        label: Title
        type: string
      - name: description
        label: Description
        type: text
      - name: pubDate
        label: Published Date
        type: date
      - name: heroImage
        label: Hero Image
        type: image
    view:
      fields: [title, description, pubDate, heroImage]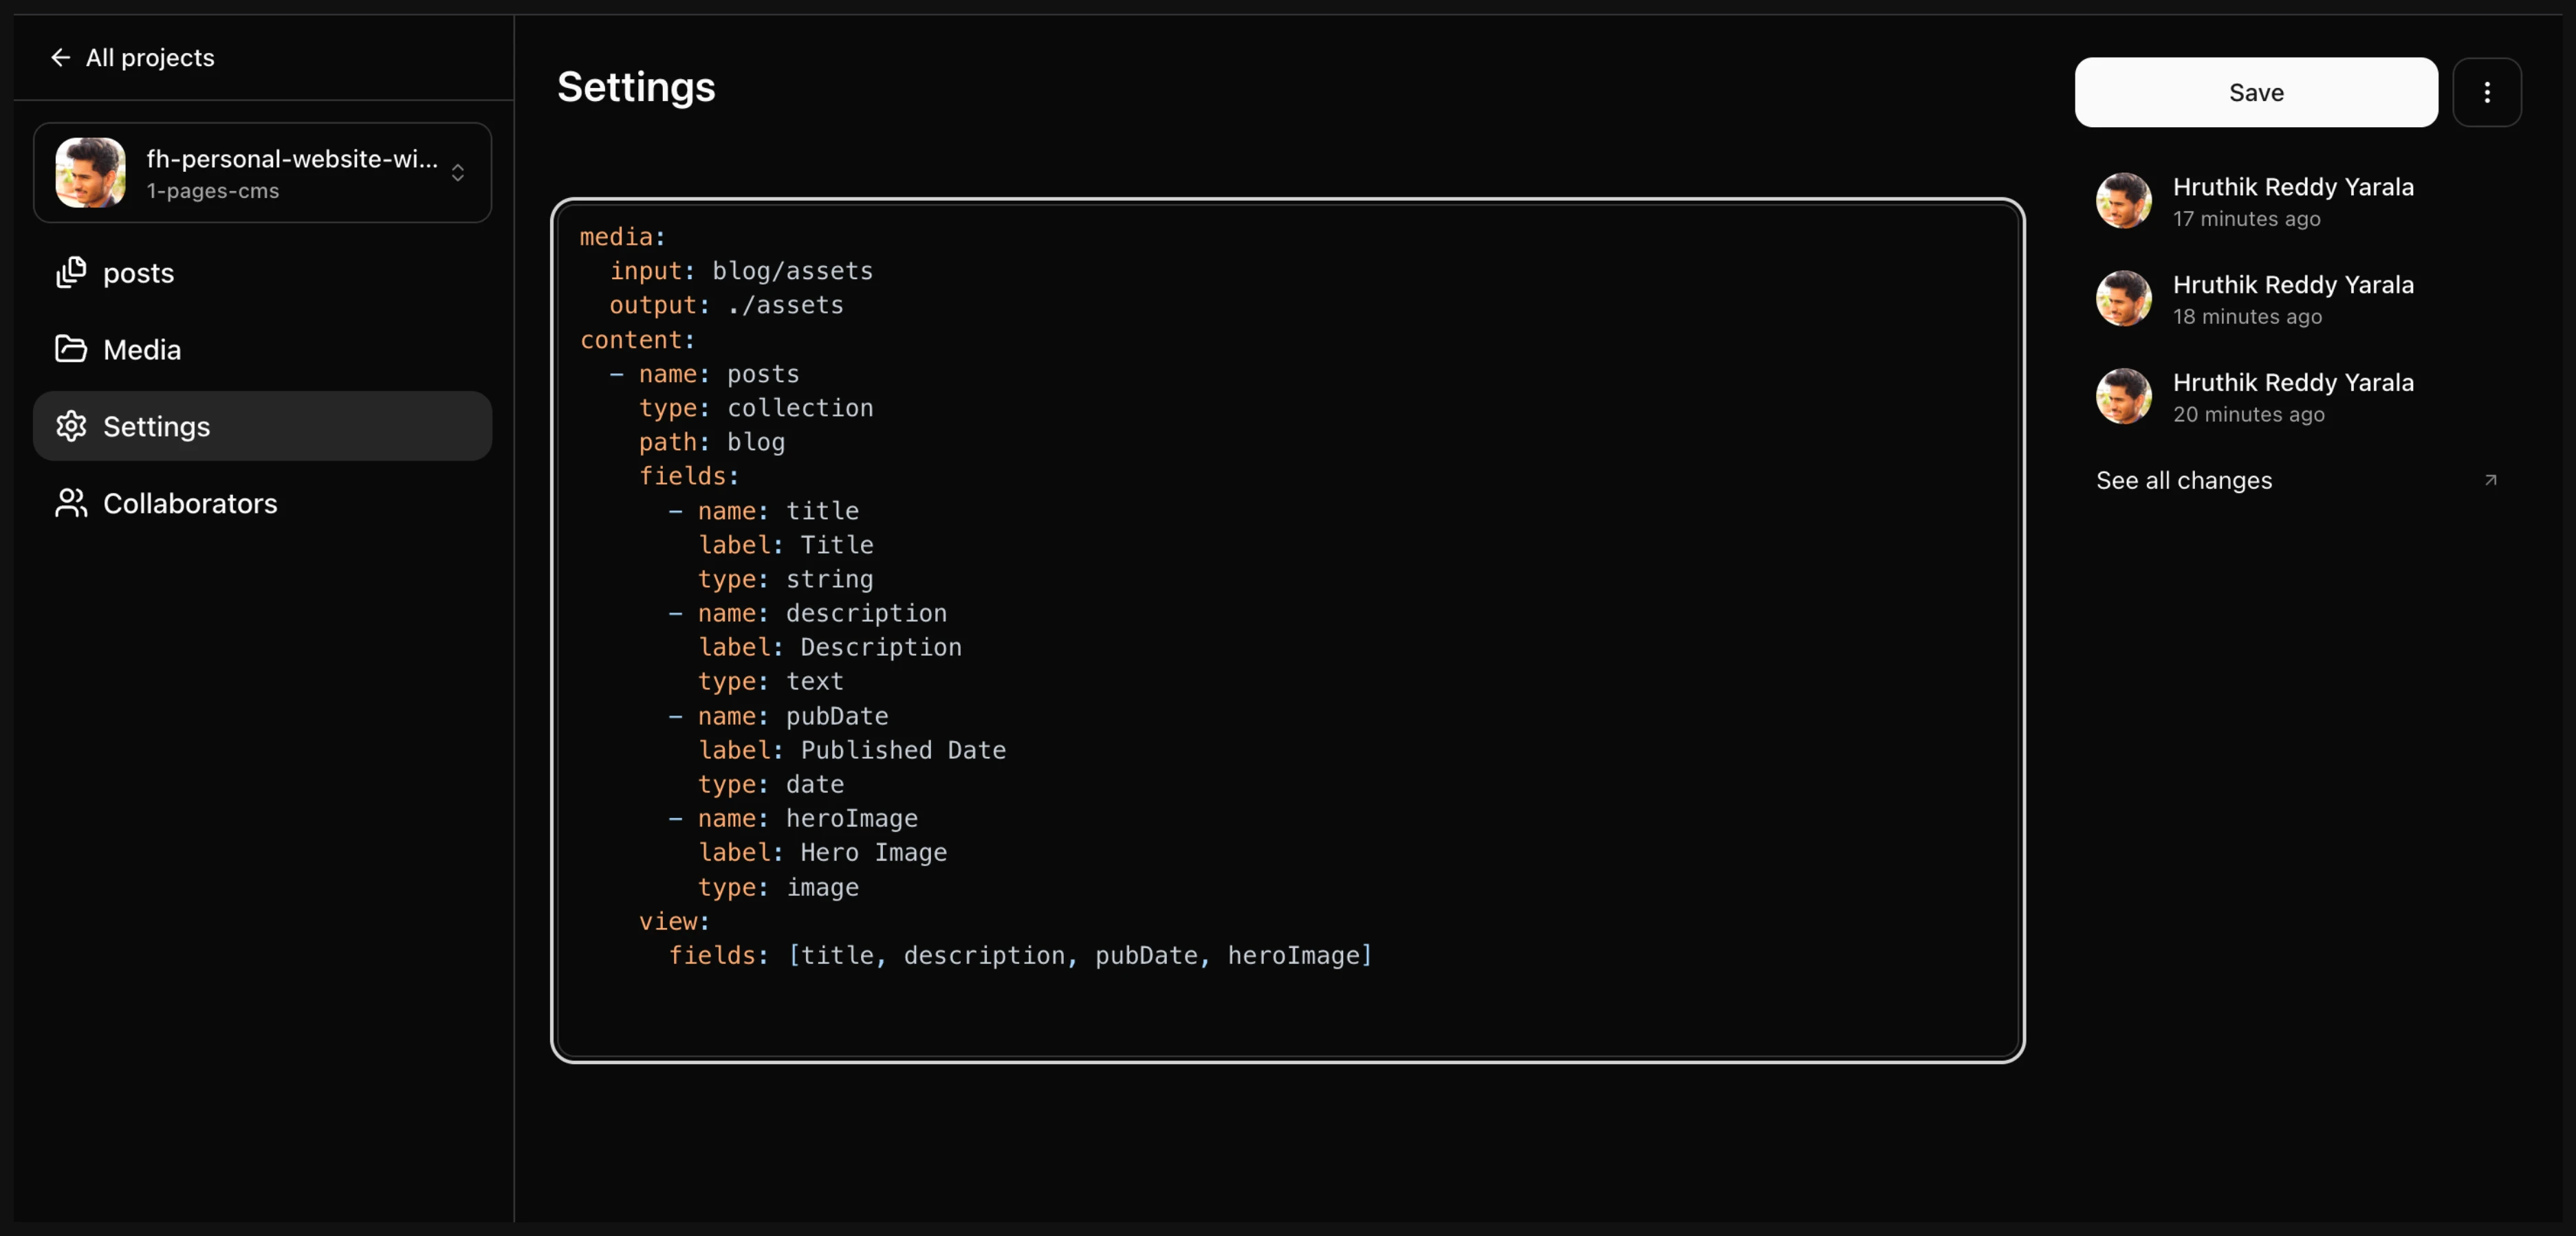
- But dates are still broken. Let us see why.
- Ahaan, we have a different format than
dd/mm/yyyy, luckily the author of Pages CMS gave us an option to configure this too!
media:
  input: blog/assets
  output: ./assets
content:
  - name: posts
    type: collection
    path: blog
    fields:
      - name: title
        label: Title
        type: string
      - name: description
        label: Description
        type: text
      - name: pubDate
        label: Published Date
        type: date
        options:
          format: MMM dd yyyy
      - name: heroImage
        label: Hero Image
        type: image
    view:
      fields: [title, description, pubDate, heroImage]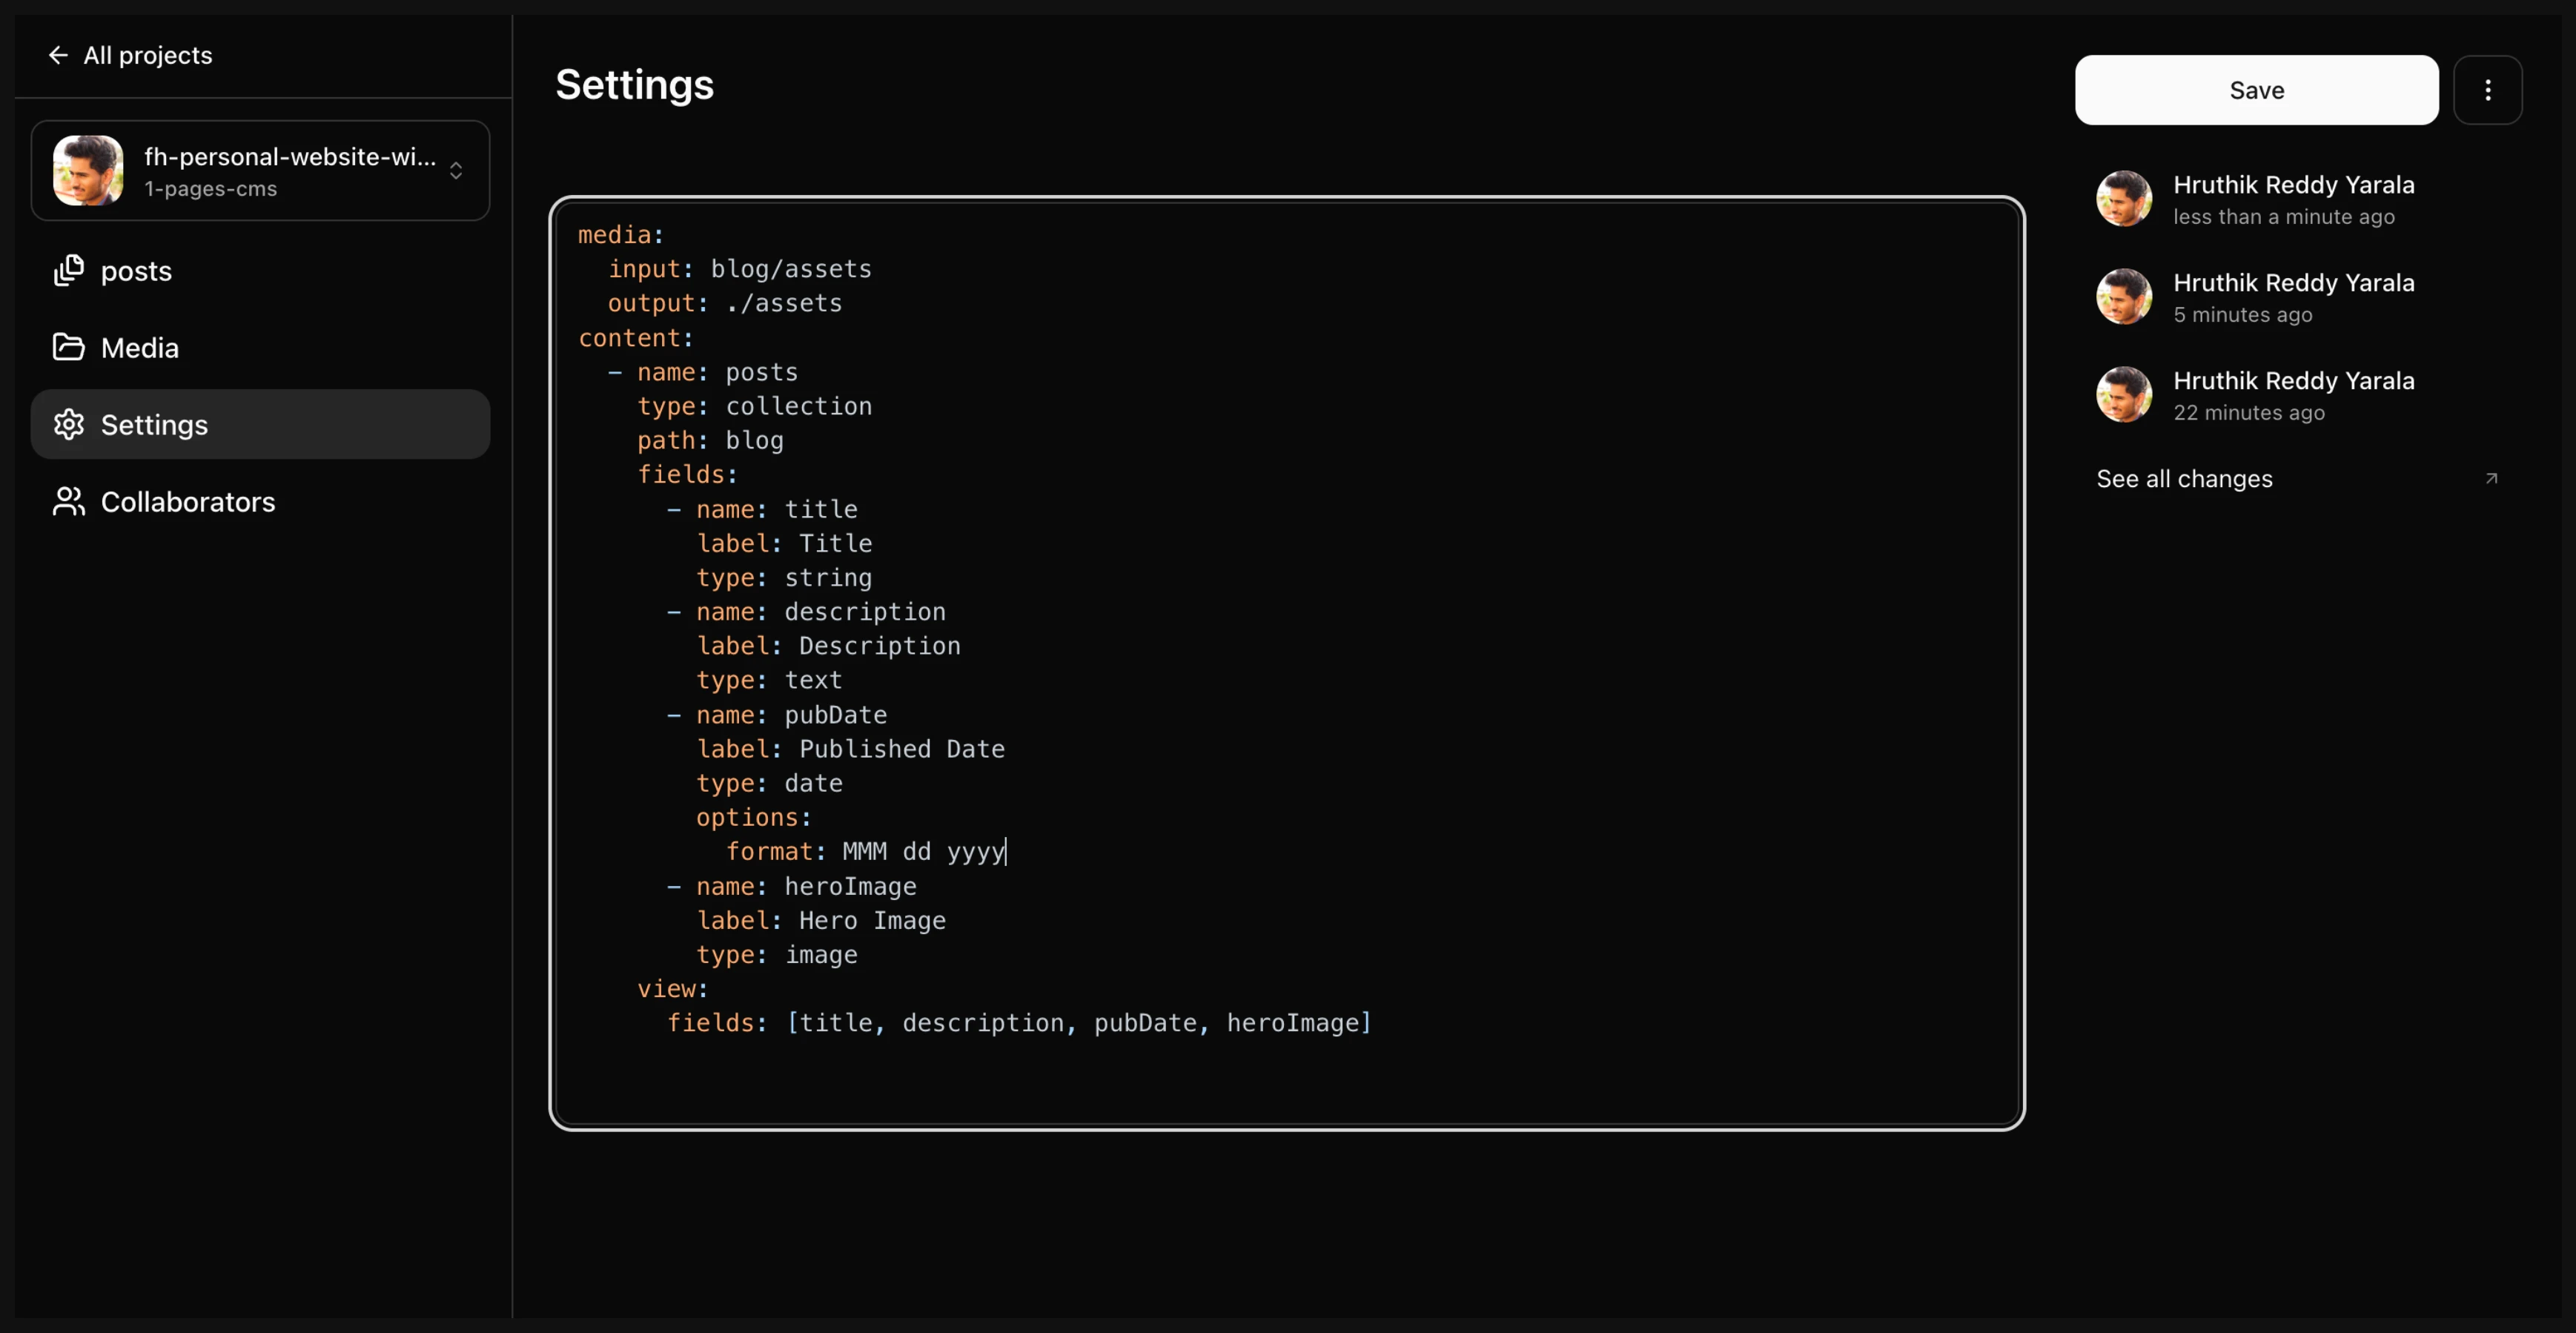
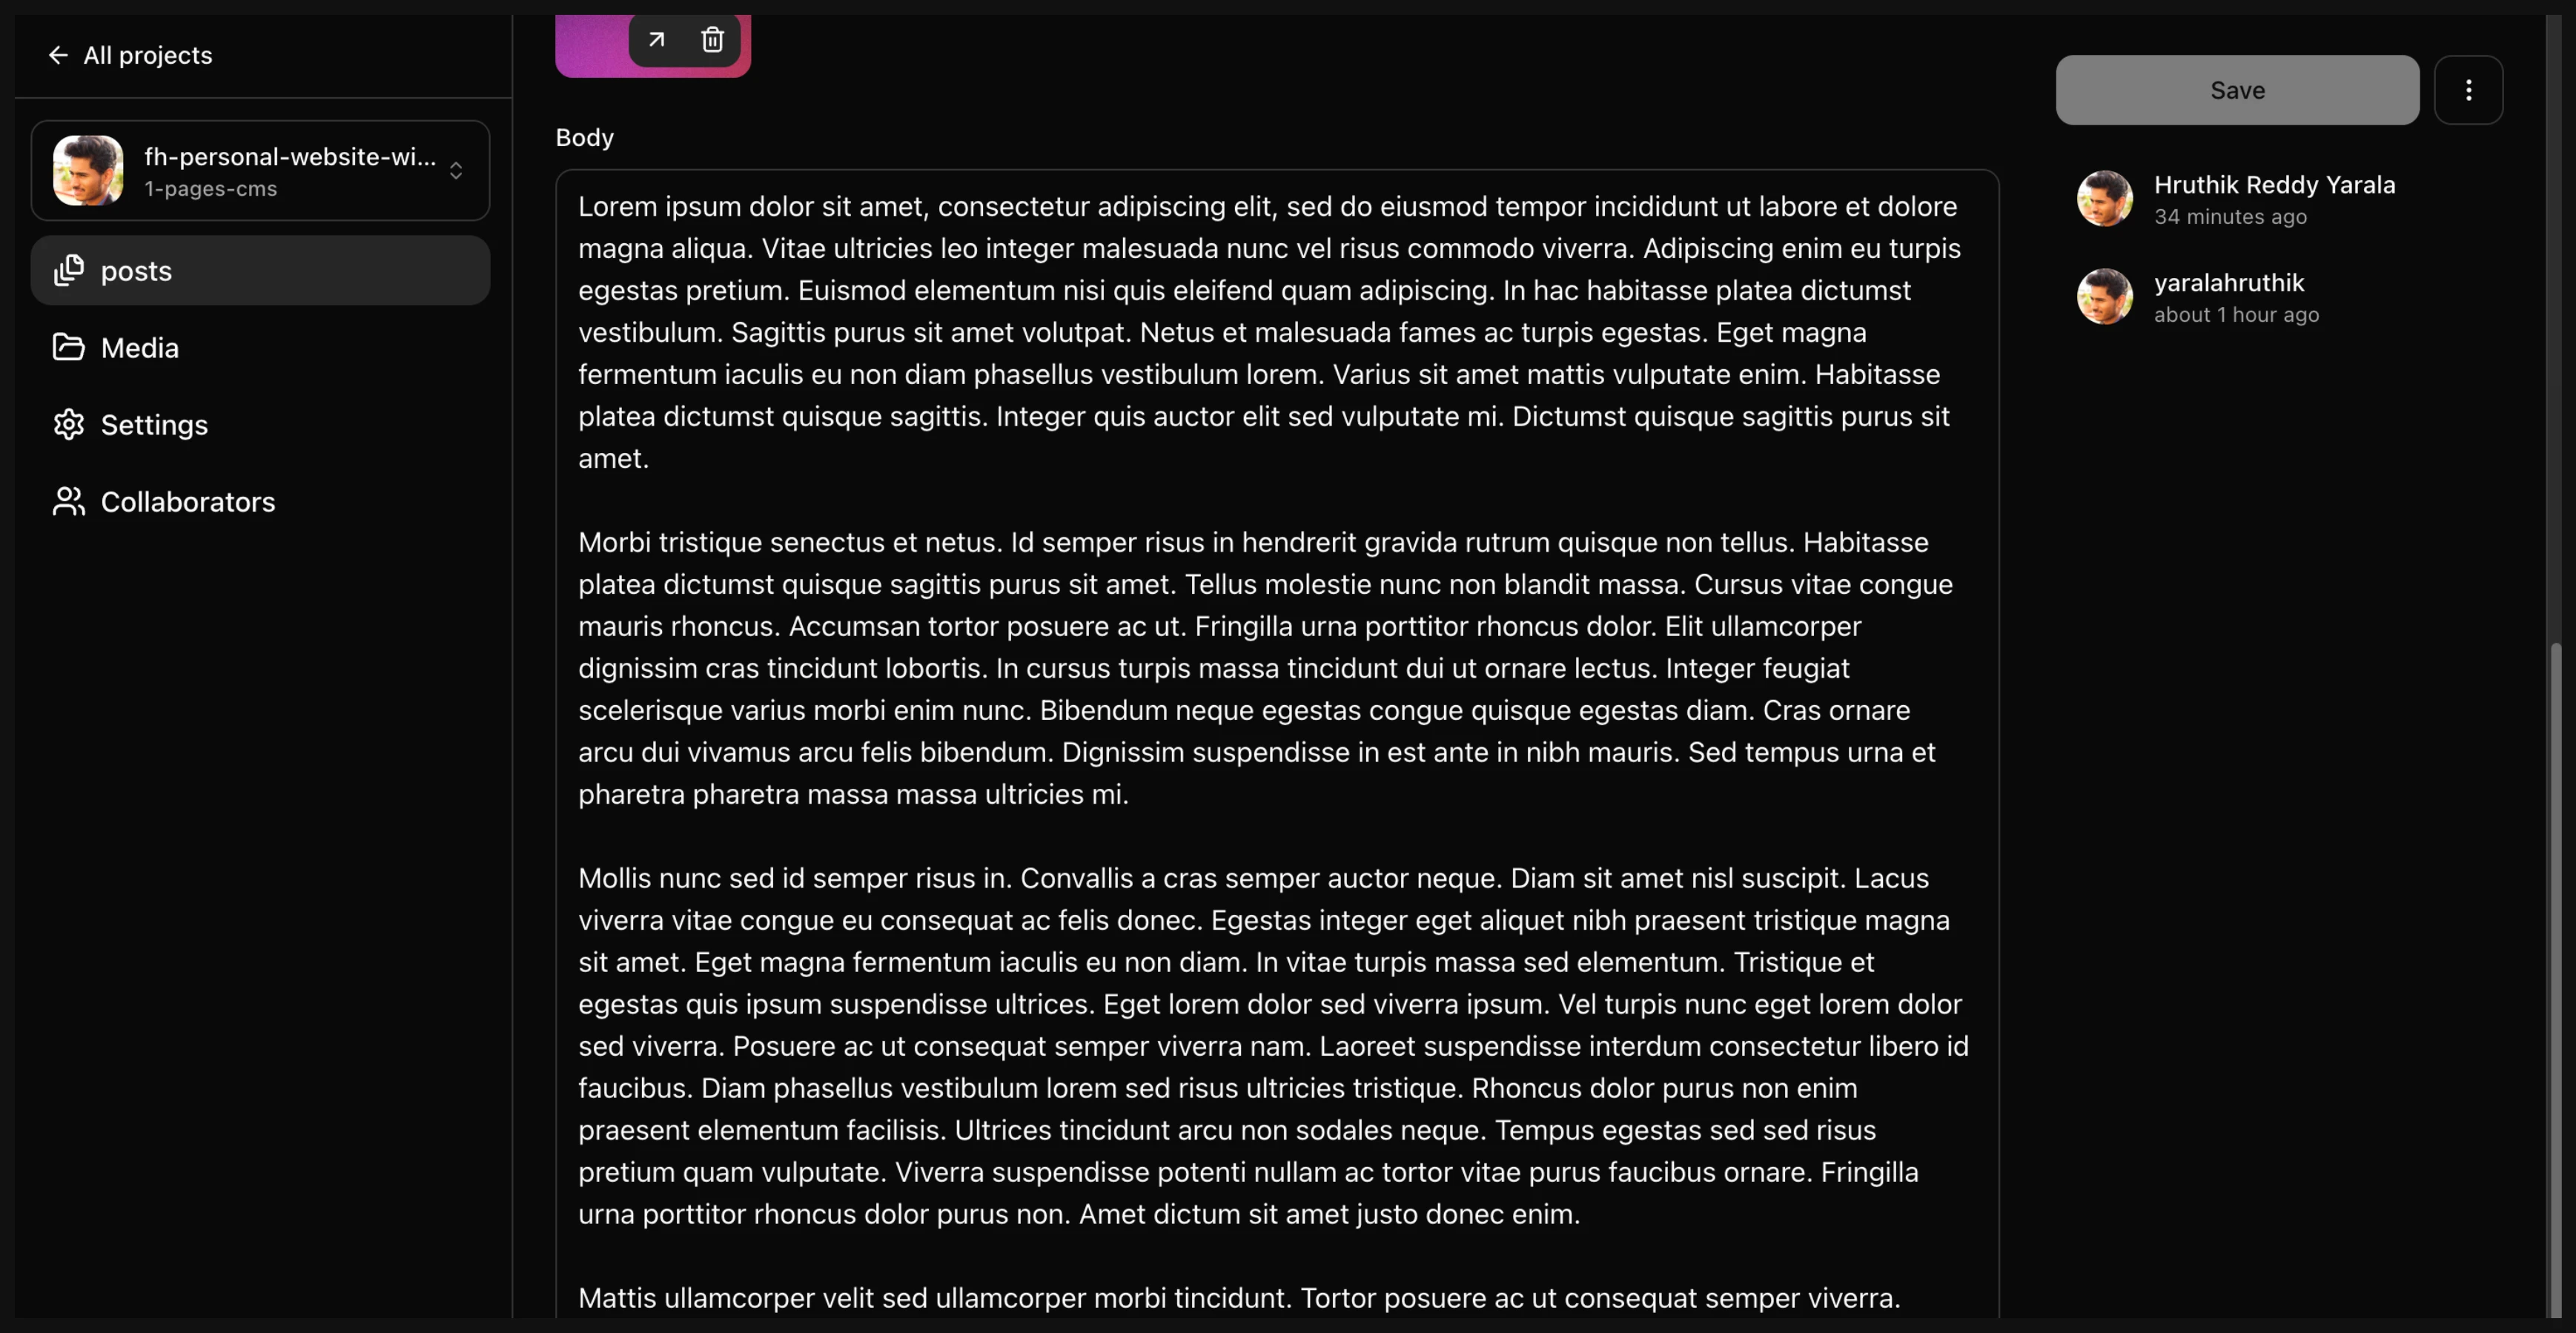
- Perfect! Let us do a final touch and bring in the
rich-textblock for the major content.
media:
  input: blog/assets
  output: ./assets
content:
  - name: posts
    type: collection
    path: blog
    fields:
      - name: title
        label: Title
        type: string
      - name: description
        label: Description
        type: text
      - name: pubDate
        label: Published Date
        type: date
        options:
          format: MMM dd yyyy
      - name: heroImage
        label: Hero Image
        type: image
      - name: body
        label: Body
        type: rich-text
    view:
      fields: [title, description, pubDate, heroImage]
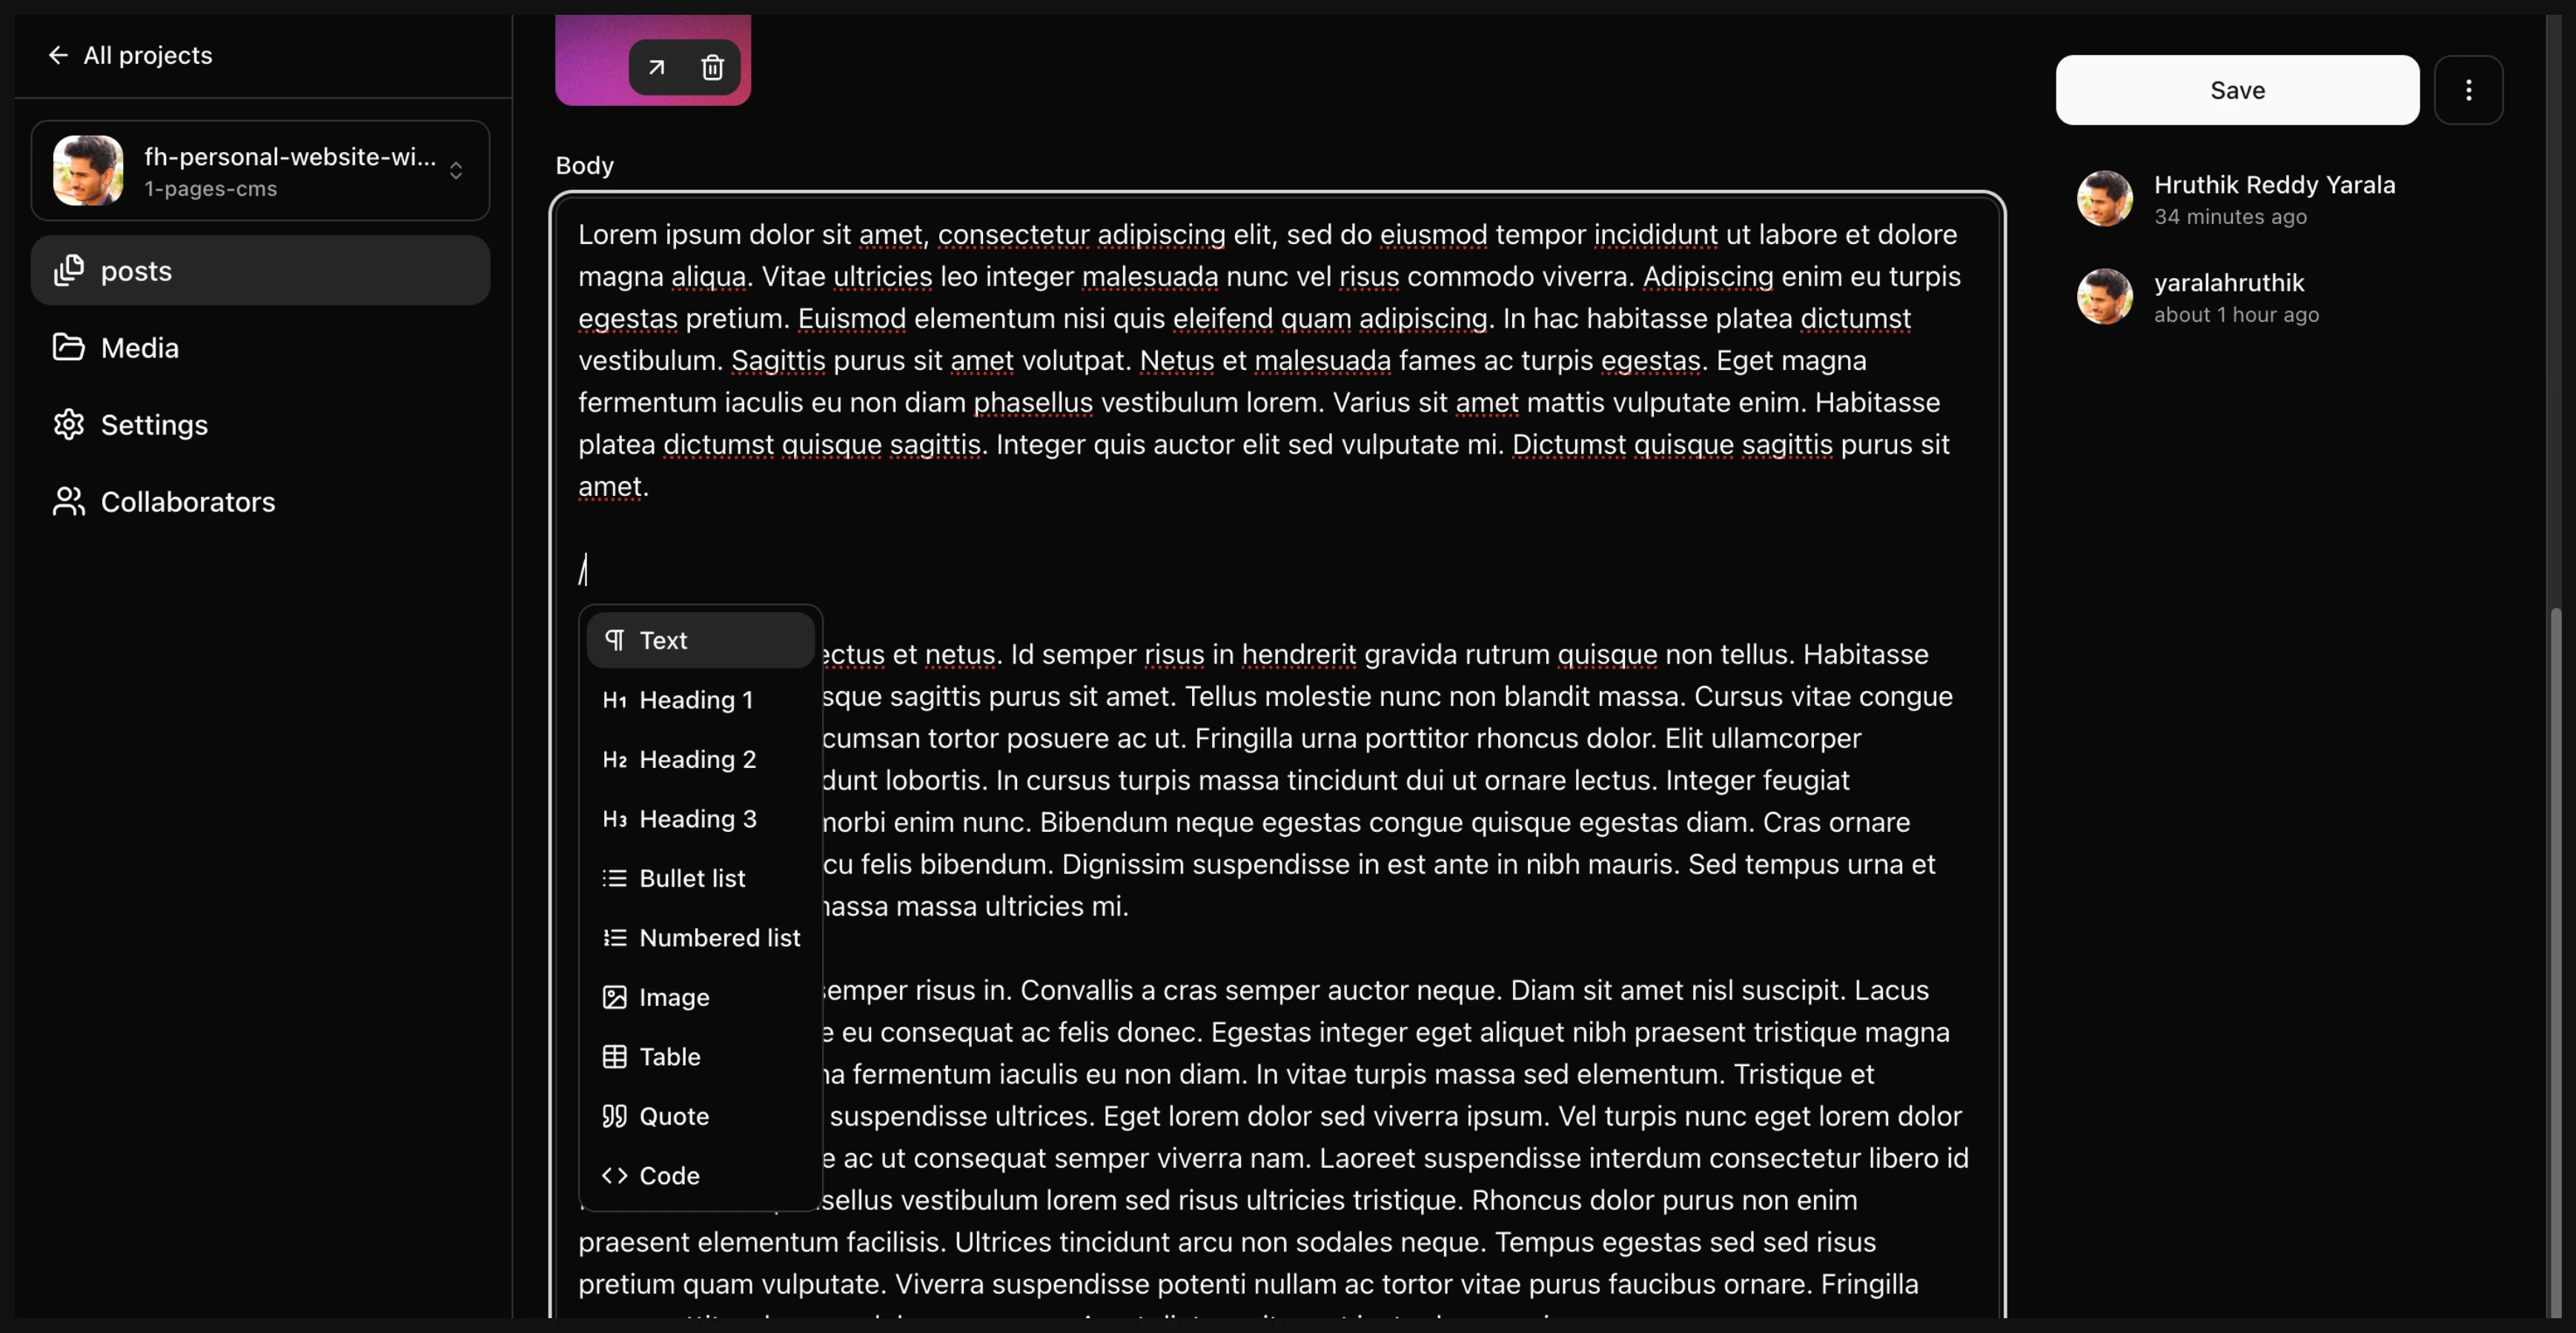
- This is a nice editor with good
/support to add markdown nodes!
In case you got lost, the final code should be available in the branch 1-pages-cms, the only file you have to care about is the .pages.yml file.
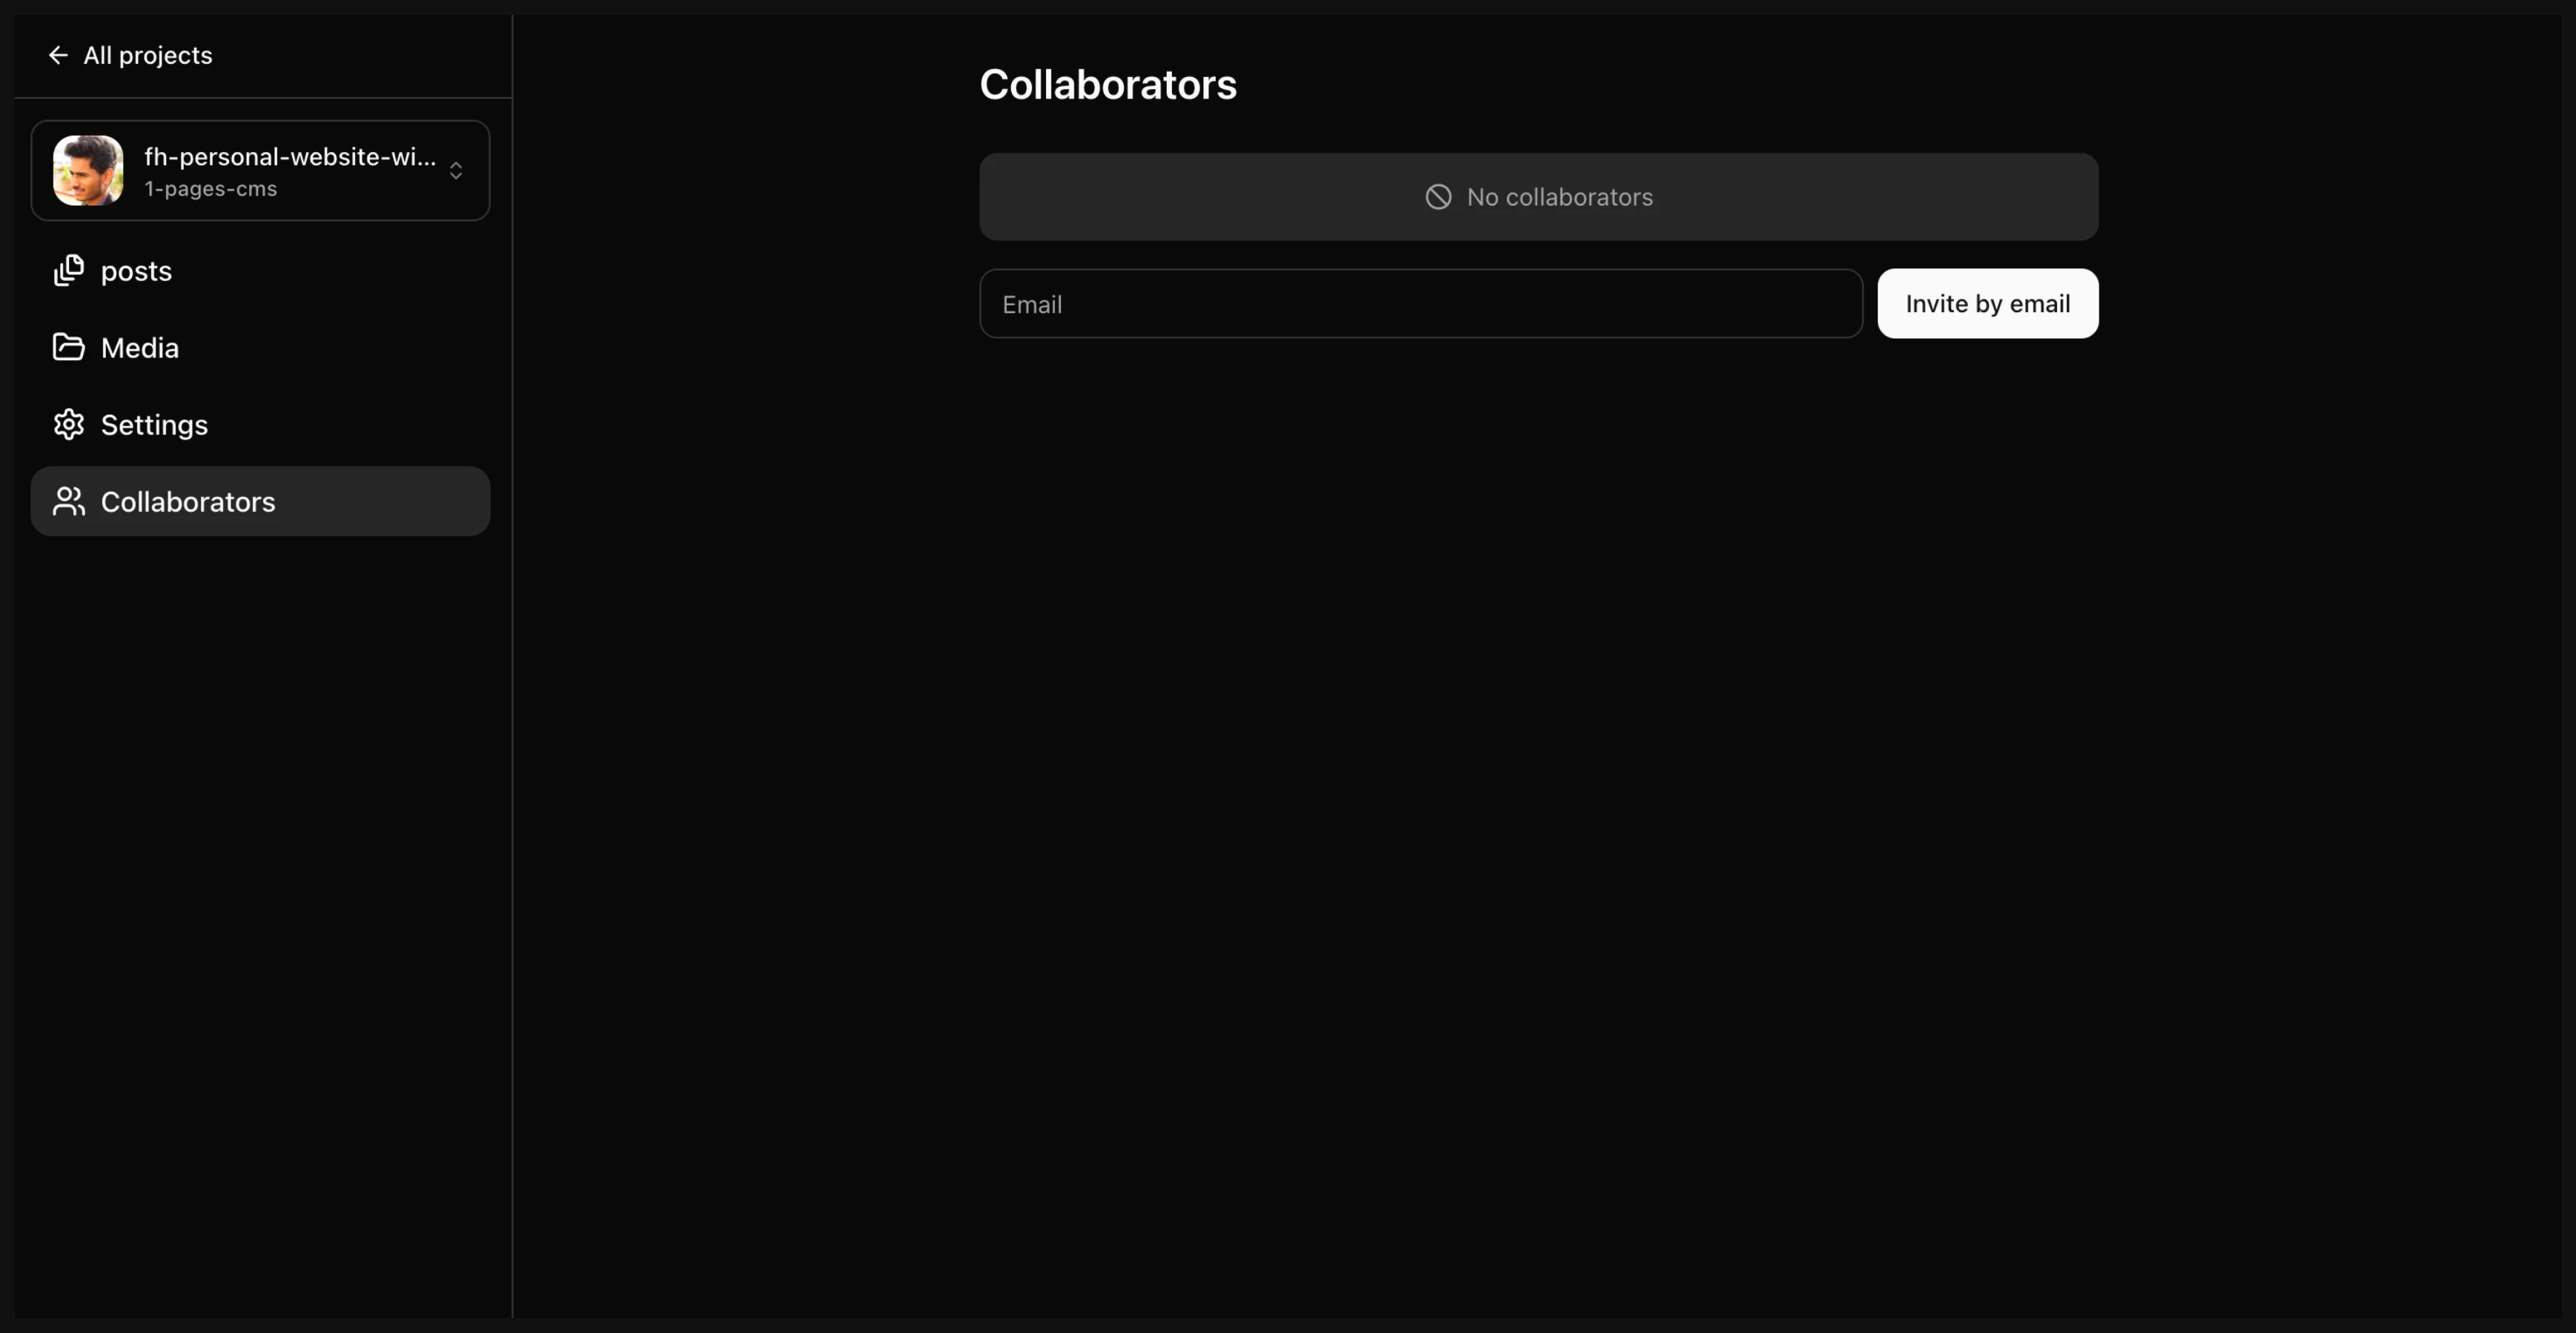
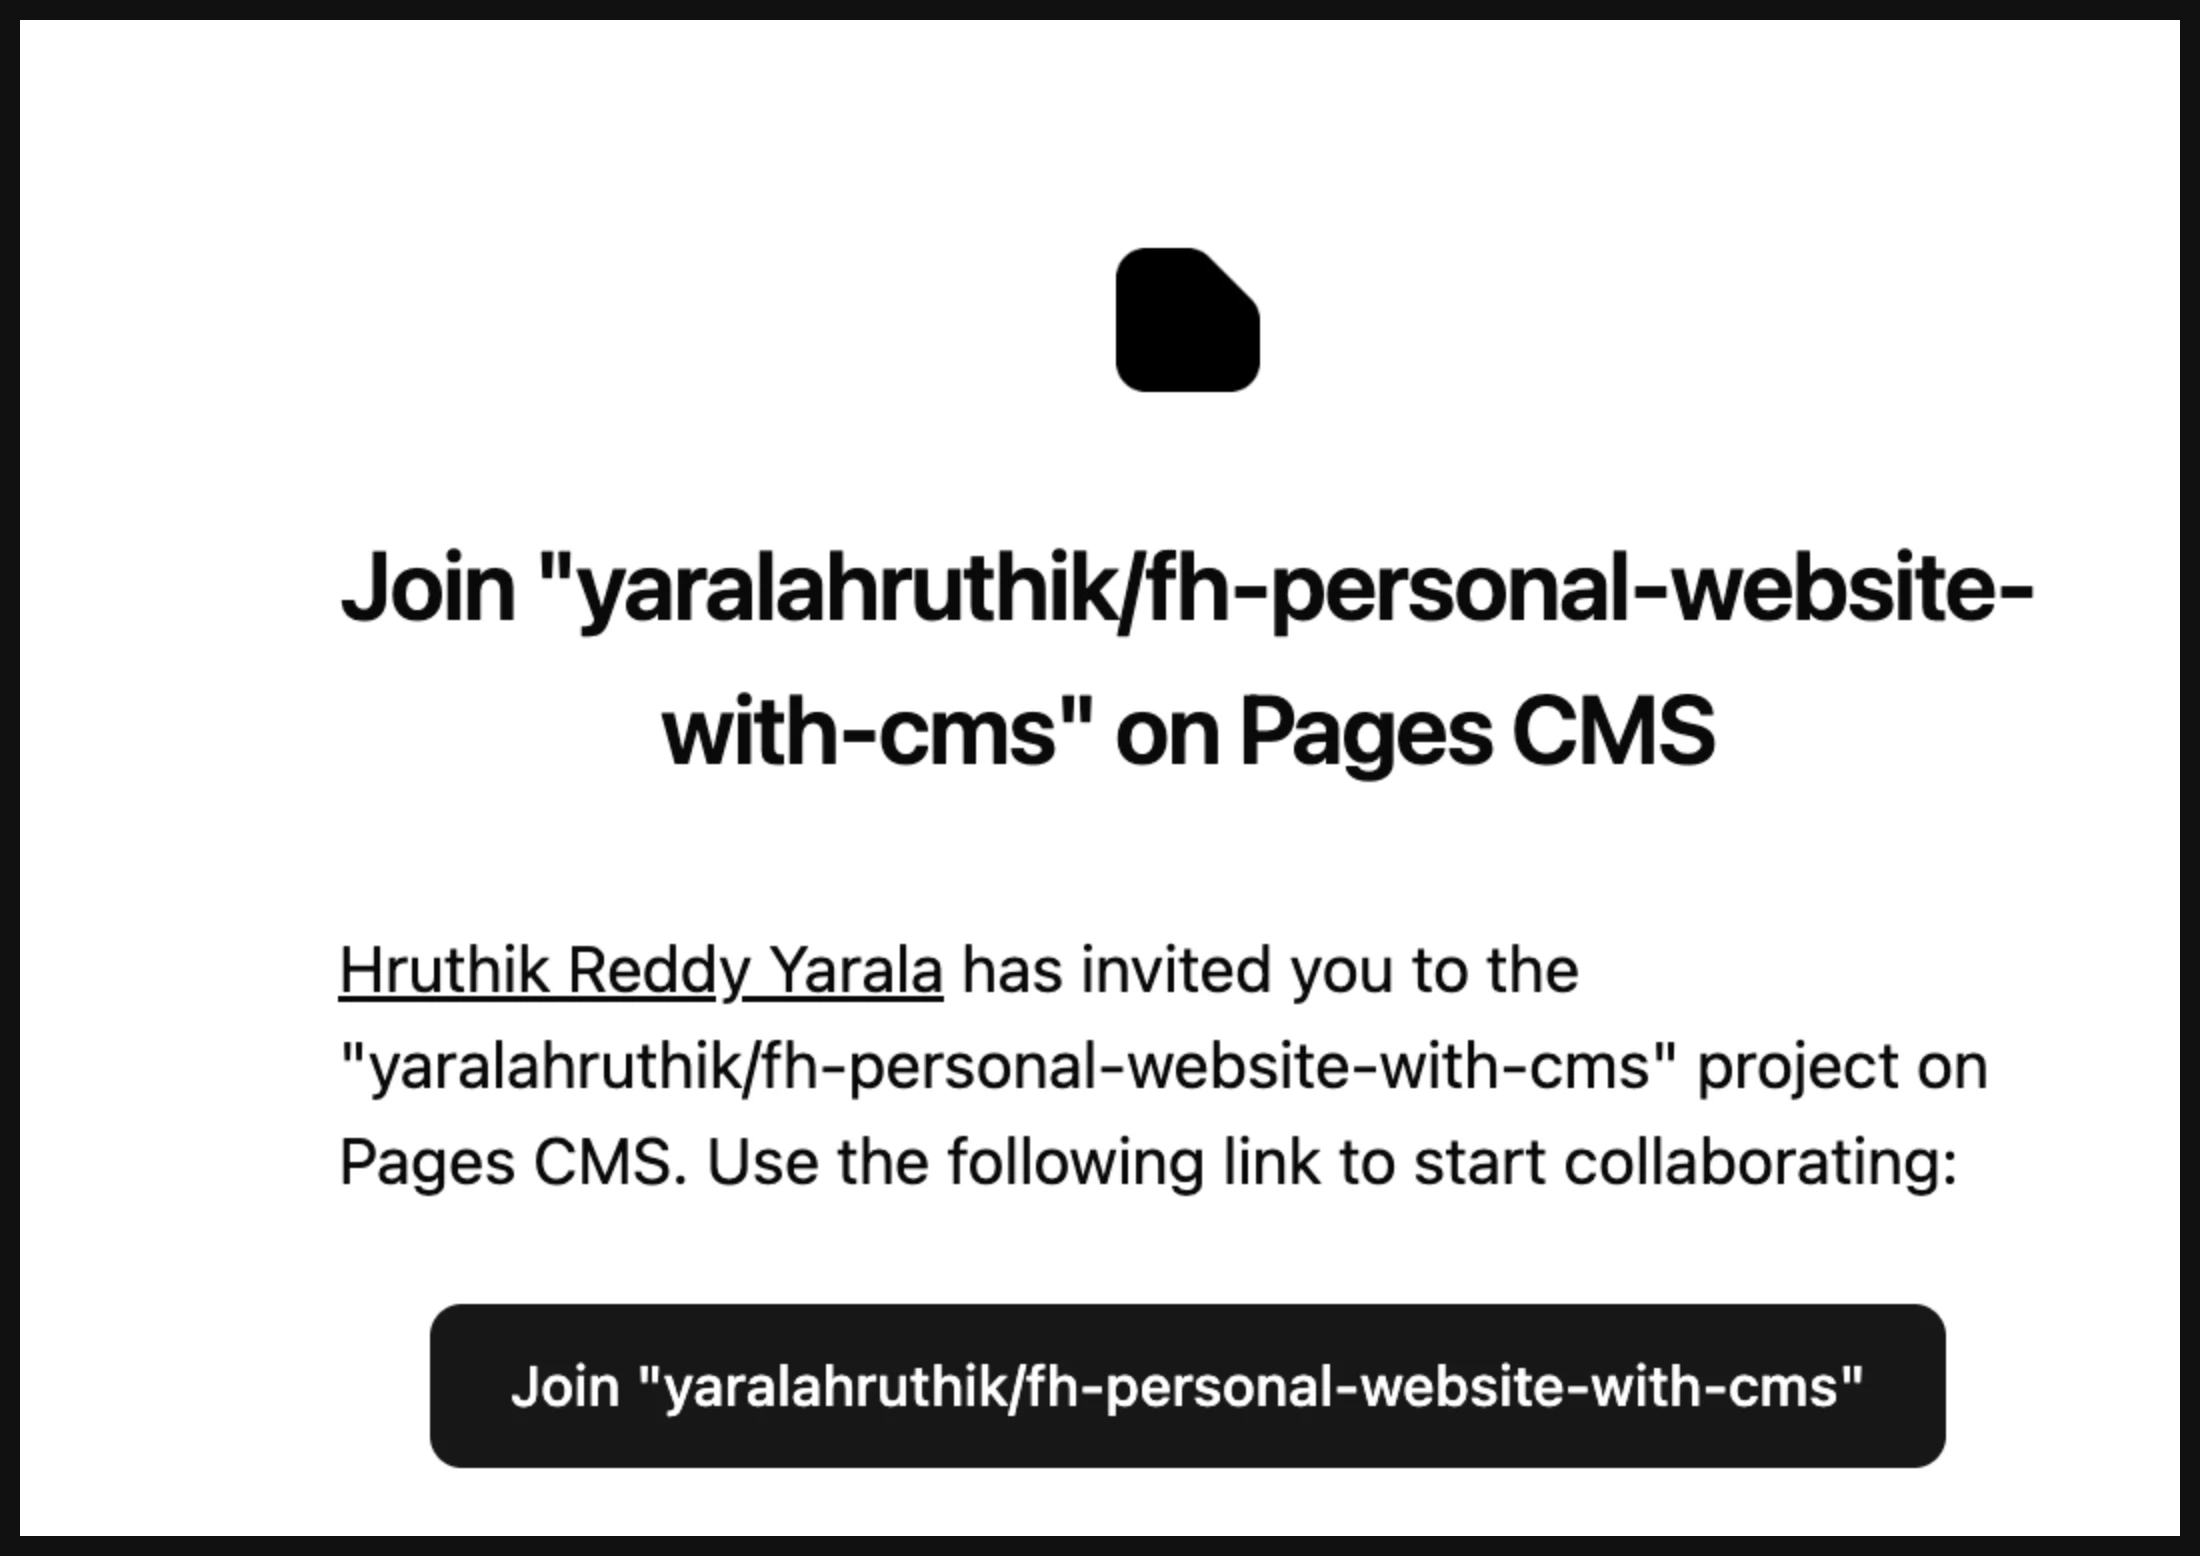
Invite collaborators
Now, how do you give your team the access to edit this content without them having GitHub account and go through the whole permissions thing?
Well, the author gave us a flow to invite your team through email!
More features are in the pipeline
This is a great product in our opinion and one to support and keep an eye on!

Support the author!
Ronan Berder is the person behind this amazing project! If you like it and you use it in some capacity, consider sponsoring!