We have created a GitHub repository with the initial setup to make it easier for you. You can fork or clone the repository and start working on the project. The branch should be 0-start.
git clone https://github.com/yaralahruthik/stackpack.gitThen run the following commands:
cd stackpack
pnpm install
If you want to do this manually, check out the project setup in the course: Todo App with React, TypeScript, and TDD
Tailwind CSS
We will use Tailwind CSS to style our application. This course is not a Tailwind CSS course, so I will not cover the basics of Tailwind CSS. We recommend checking out the official documentation if you are new to Tailwind CSS.
However, we will cover the setup and usage of Tailwind CSS for our project. The setup is straightforward, and we follow the official documentation's install steps for Vite.
Installing Tailwind CSS
pnpm add tailwindcss @tailwindcss/viteThen configure the vite plugin:
import tailwindcss from '@tailwindcss/vite';
import react from '@vitejs/plugin-react-swc';
import { defineConfig } from 'vite';

// https://vite.dev/config/
export default defineConfig({
  plugins: [react(), tailwindcss()],
});
We must set up the Tailwind directives in our global CSS file, src/index.css
@import 'tailwindcss';Let us run the dev server.
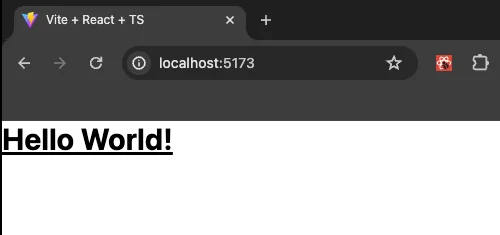
pnpm devMake a slight change in the src/App.tsx file to see if Tailwind CSS works.
export default function App() {
  return <div className="text-3xl font-bold underline">Hello World!</div>;
}
We should see the following output in the browser.
Editor setup for Tailwind CSS
We recommend setting up a few editor extensions to make working with Tailwind CSS easier.
-
Tailwind CSS IntelliSense: This extension provides IntelliSense for Tailwind CSS in your editor. A must-have extension for working with Tailwind CSS.
-
Inline-fold (Optional): This extension allows you to fold the Tailwind CSS classes in your editor. This helps to avoid bloating the editor with a lot of classes.
Prettier plugin to sort Tailwind CSS classes
We recommend using the Official Prettier Plugin to sort the Tailwind CSS classes in your editor. This plugin dramatically reduces the cognitive load of working with the classes.
Install the plugin:
pnpm add -D prettier-plugin-tailwindcssAdd the plugin to your .prettierrc file:
{
  "trailingComma": "all",
  "tabWidth": 2,
  "semi": true,
  "singleQuote": true,
  "printWidth": 80,
  "plugins": ["prettier-plugin-tailwindcss"]
}
Great, this wraps up this section. We have a decent project setup to start working on our application.
At this point, our code should match the code in the branch 1-project-setup.