Also, run the dev server and open the respective dev URL as shown by Vite in your browser.
npm run devData Structure
Let's think about the data structure for our tasks. We'll need to think about the following:
- What properties does a task have?
- What types do those properties have?
- What is the shape of the data?
Let's start with the first question. What properties does a task have? We'll start with the following:
- Unique ID
- Title
- Completion Status
- Priority (optional)
Now let's think about the types for each of these properties. We'll start with the following:
- Unique ID can be a number or a string, but we'll use a number for now.
- Title is a string.
- Completion Status is a boolean.
- Priority is optional, but it can only be one of three values:
'p1','p2', or'p3'.
This gives us the following types for Task and Priority:
type Priority = 'p1' | 'p2' | 'p3';

type Task = {
  id: number;
  title: string;
  isCompleted: boolean;
  priority?: Priority;
};Render Tasks with Default Data
Now that we have our Task data structure type, let's create some default data to work with. We'll create an array of tasks, and we'll use the Task data structure we just created to define the types for the array.
const tasks: Task[] = [
  {
    id: 1,
    title: 'Learn React',
    isCompleted: true,
  },
];
Now that we have some data, let's render it to the screen. We'll use the map method to iterate over the tasks array and render each task to the screen.
<ul>
  {tasks.map((task) => (
    <li key={task.id}>{task.title}</li>
  ))}
</ul>Putting it all together, we should have the following App.tsx file:
type Priority = 'p1' | 'p2' | 'p3';
type Task = {
id: number;
title: string;
isCompleted: boolean;
priority?: Priority;
};
function App() {
const tasks: Task[] = [
{
id: 1,
title: 'Learn React',
isCompleted: true,
priority: 'p1',
},
];
return (
<div>
<h1>Tasks</h1>
<ul>
{tasks.map((task) => (
<li key={task.id}>{task.title}</li>
))}
</ul>
</div>
);
}
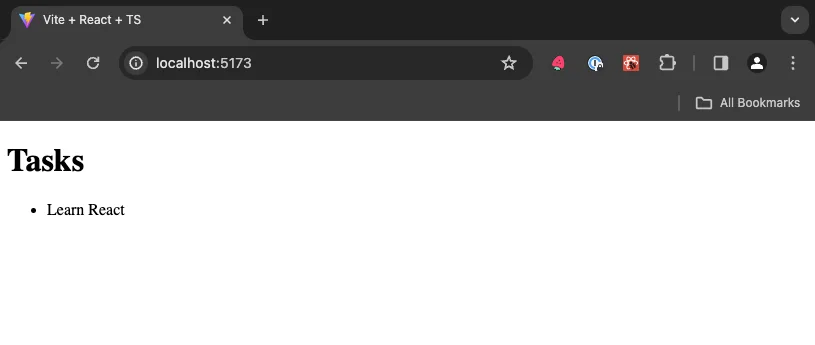
export default App;You should see the following in your browser:
Great! We've created some default data and rendered it to the screen. In the next section, we'll add some interactivity by creating an input and button to add new tasks.
At this point, your code should be a good match to the branch of the repository: 2-reading-tasks